
Just like last year I made a few Christmas cards that are very quick and simple to make and there is not much to say about the creating process and writing lengthy blog post or video. So I decided to put them all together into one bonus article.
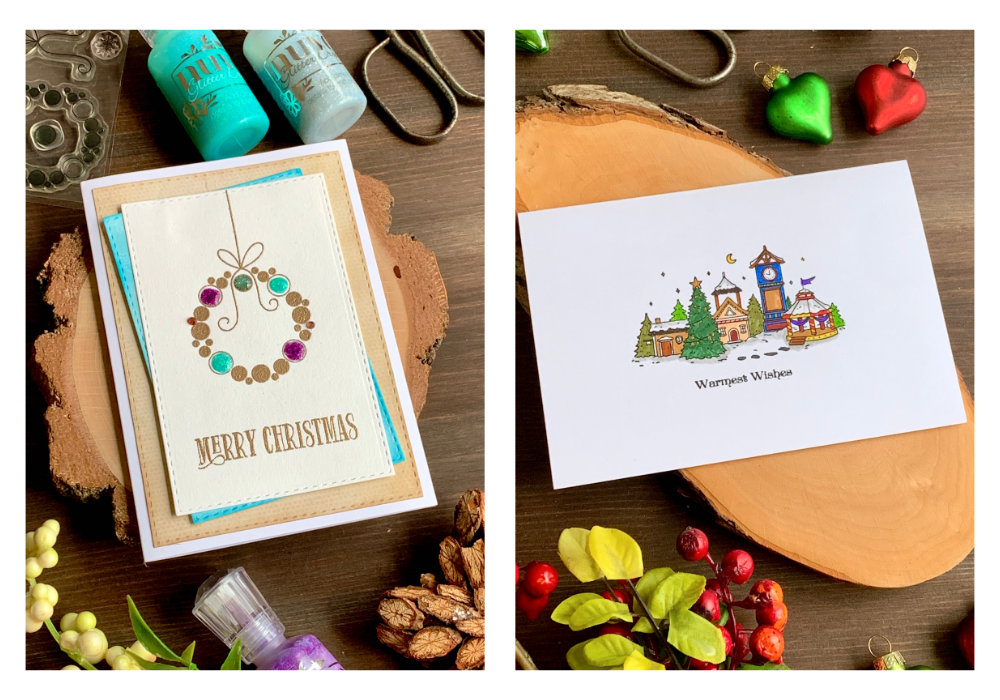
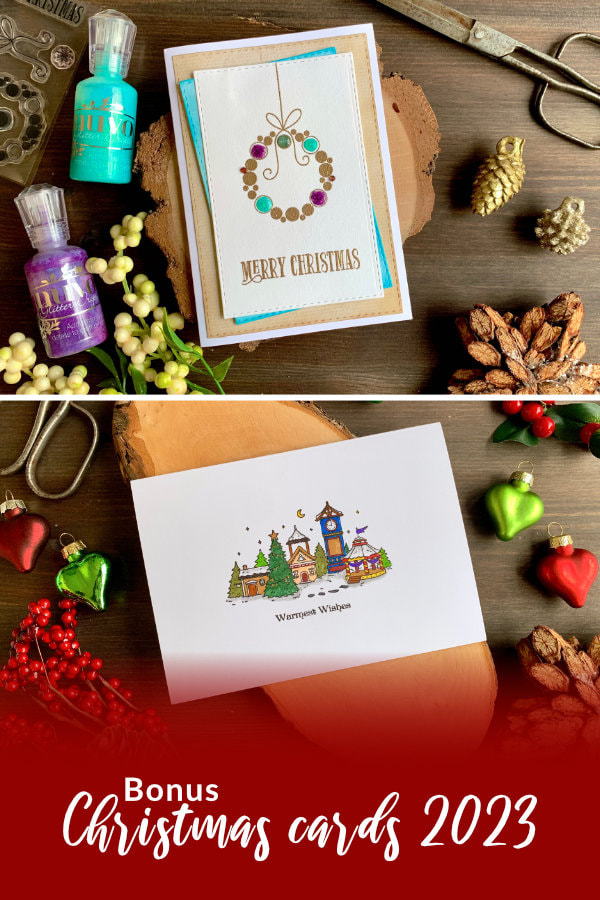
MODERN CHRISTMAS WREATH
For my first card I used a stamp set that is very old that's why I made a quick vertical video. It's from Clearly Besotted and it's called Hanging Around. I'm sorry to use a stamp set that is no longer available, but I have so many ...well maybe not so many... Christmas stamp set that I really like. And would like to re-use it now and then. If think about it you could make this wreath yourself by using circle stamps. If there is time to do that, I will try making it.
I actually this is a re-creation of a card that I made for my old blog. You can find the card here. I did exactly the same. I started with die-cutting a panel using the second large stitched rectangular die from Clearly Besotted. Then I stamped and heat embossed the wreath and the greeting. There is a bow within the stamp set, which I stamped after I melted the powder on the wreath and the greeting. It's just not possible to stamp it all at once. 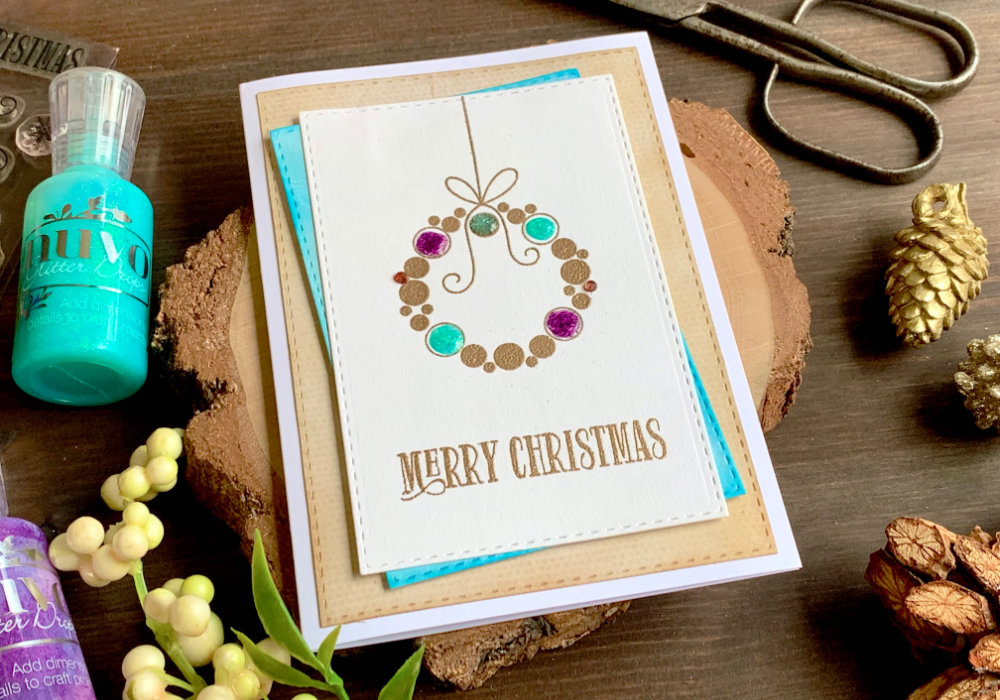
Once I was done with the stamping and heat embossing, I used the Nuvo Glitter Drops and squeezed the liquid mainly in the areas with the outlined circles. You could use other embellishments such as enamel dots or sequins. Especially if you do not have time, as the Nuvo drops need a few hours to dry.
Next I searched through my stash, looking for a pattern paper that would fit the wreath. The pattern paper that I used for the original cards I don't have anymore, but I was able to find good patterns. One with a light blue background and white pattern, very subtle and the other was beige with brownish dots. I die-cut both papers using the rectangular dies, for the blue one I used the same size die as the one I used for the wreath and for the beige paper I used the largest die in the set. 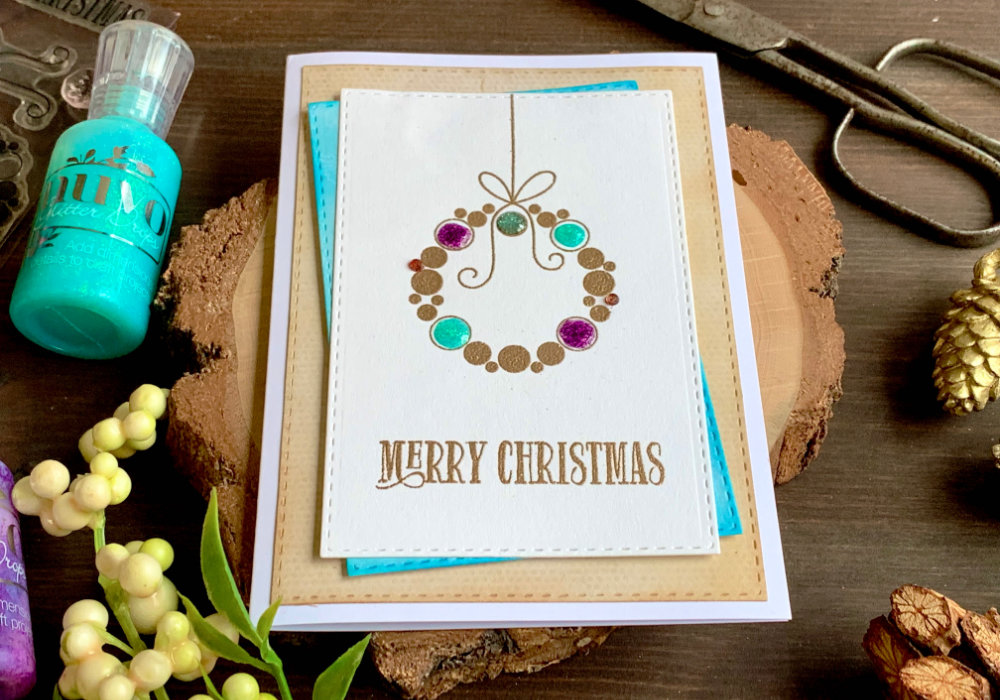
Before I adhered all of the panels together, I first used Distress inks in matching colour of the pattern papers and lightly blended the edges of the panels. This is optional, but I think it improves the look. For the beige pattern paper I used Vintage Photo and for the blue panel I used Mermaid Lagoon.
The beige pattern paper I adhered directly on top of a white card base using a liquid glue. The panel with the wreath I first adhered on top of the blue pattern paper at an angle. Then I adhered the two panels over the beige pattern paper, here I used a foam tape to make it a little bit raised. If you would like to see a quick video of me making this card, you can watch the video below or on my YouTube channel as well as on my other social media. SHORT VIDEO
Watch the video below or directly on my YouTube channel or Instagram.
CHRISTMAS VILLAGE STAMP & COLOURING WITH WATERCOLOUR MARKERS
I don't shop that often for new stamps, dies and other card making products, but last summer I bought a few things and among them I purchased a stamp with a Christmas village. One of my favourite Christmas images to use for my cards.
This is a very simple stamp, the single objects are rather tiny and when I was thinking what to do with this stamp set, I knew that doing a very simple colouring is all I can do with it. Well, besides just stamping it in black ink or heat embossing it without colouring. For the colouring I decided to use the Zig Clean Brush markers as they have small tips, perfect for such tiny images. 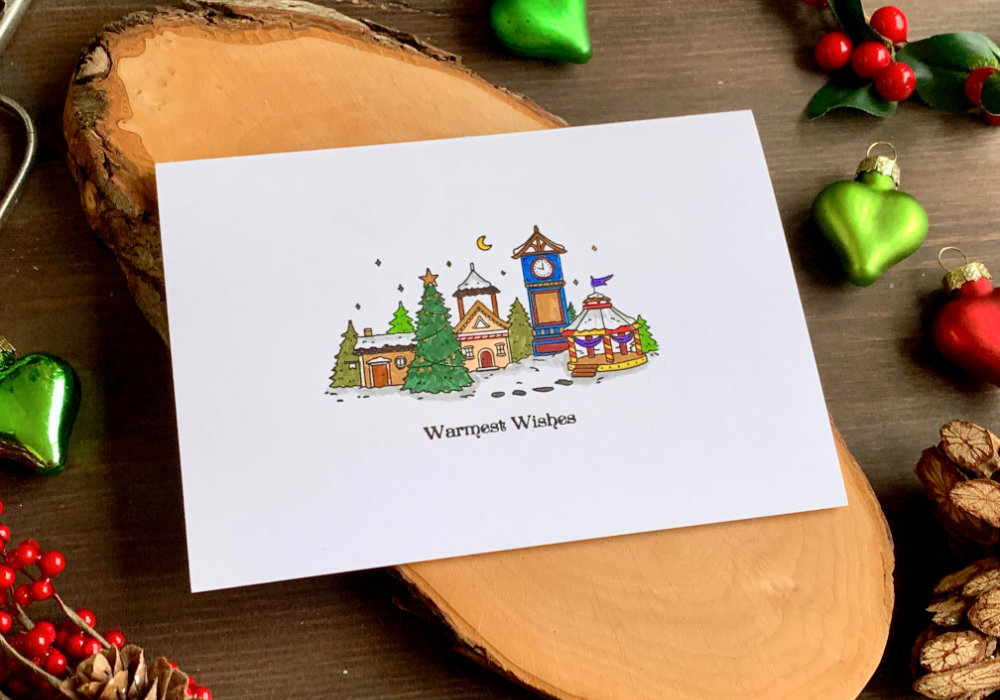
I did nothing complicated here, just a flat colouring. The images were way too small for shading and creating depth. I actually had to put glasses on to see properly and even then I managed to completely cover the lights that are on the main Christmas tree. This was easy to correct however, I just used golden watercolours and painted small dots on the tree. I also used the golden watercolours for the star at the top of the tree. Note, I needed to use a very tiny brush for this.
For the ground and the roofs with the snow I used very light grey just on the edges. I was thinking colouring the sky, but I stamped directly onto the card base and the card stock doesn't handle water very well, so I left it white.
The stamp set didn't have a greeting, so I checked what I have and found a small stamp that says Warmest Wishes and I stamped it below the greeting using the Versafine ink in Onyx black, which I also used for the stamping of the Christmas village.
I really like this stamp set I just wish it was a little bit bigger to make the colouring easier. So if I could give you an advice about buying stamps, think of the size. I only filmed a vertical video as this was way too simple for a long video tutorial, if you want to see it, you can watch the video below or on my YouTube channel or on my other social media. Don't forget to subscribe or follow. SHORT VIDEO
Watch the video below or directly on my YouTube channel or Instagram.
YOU MIGHT ALSO LIKEPIN ME
Did you like the card? I would love, if you pinned it to your board on Pinterest!
0 Comments
Leave a Reply. |
FOLLOW ME
SEE MORE


CATEGORIES
All
Stamping Die Cutting Using Stencil Heat Embossing Embossing or Texture Paste Distress Inks Nuvo Products Stamping & Colouring Stamping With Solid Stamps Watercolouring Watercolour Pencils Waterbased Markers Pencil Colouring Alcohol Markers Altenew Markers Zig Brush Markers Easy Backgrounds Stamped Backgrounds Small Stamp Ideas Simple Cards Complex Cards Cardmaking For Beginners All
Painting With Acrylics Painting With Gouache Painting With Watercolours Drawing With Fineliner Minimal Supplies Cards Christmas & Holiday
Love & Valentine Mother's Day Father's Day Halloween Spring Cards Summer Cards Autumn/Fall Cards Winter Cards Cards For Children Cards For Women Cards For Men Thank You Cards Sympathy Cards Get Well Soon Cards Floral & Leav Cards Rainbow Colours Messy Watercolouring Modern Art Inspirations Geometric Patterns Landscape Painting Acrylics
Gouache Watercolours Watercolour Pencils Waterbased Markers Distress Inks Alcohol Markers Colouring Pencils No Stamps No Dies Cards
Cardmaking On A Budget Let’s Colour Quick Cards Fun Masculine Cards Background Ideas Distress Ink Combinations |

 RSS Feed
