
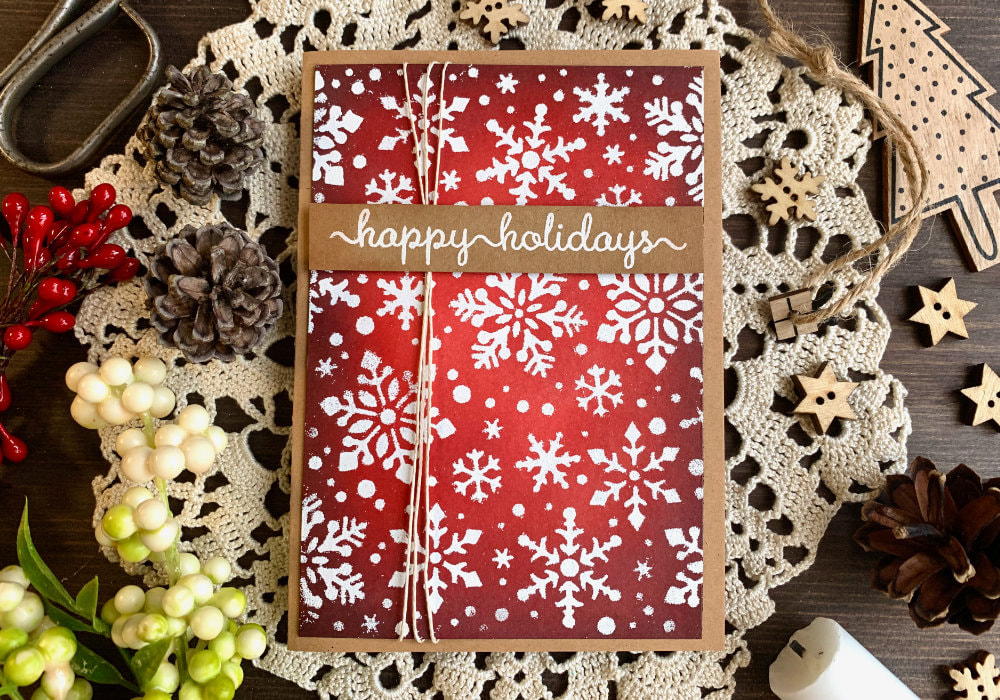
 I've been creating cards with Distress ink blending combination ideas for a few months now and I cannot leave Christmas cards without a festive combination. I also wanted to have stamped and heat embossed snowflakes, but I don't have any snowflake stamps at the moment. What I have, however, is a stencil with snowflakes and since you can use stencils for stamping, that's what I did. The card stock I used is the Canson XL watercolour paper, which I cut into a panel that is slightly smaller than A6. I started with the blending, the inks I used are: - Ground Espresso - Aged Mahogany - Barn Door - Candied Apple 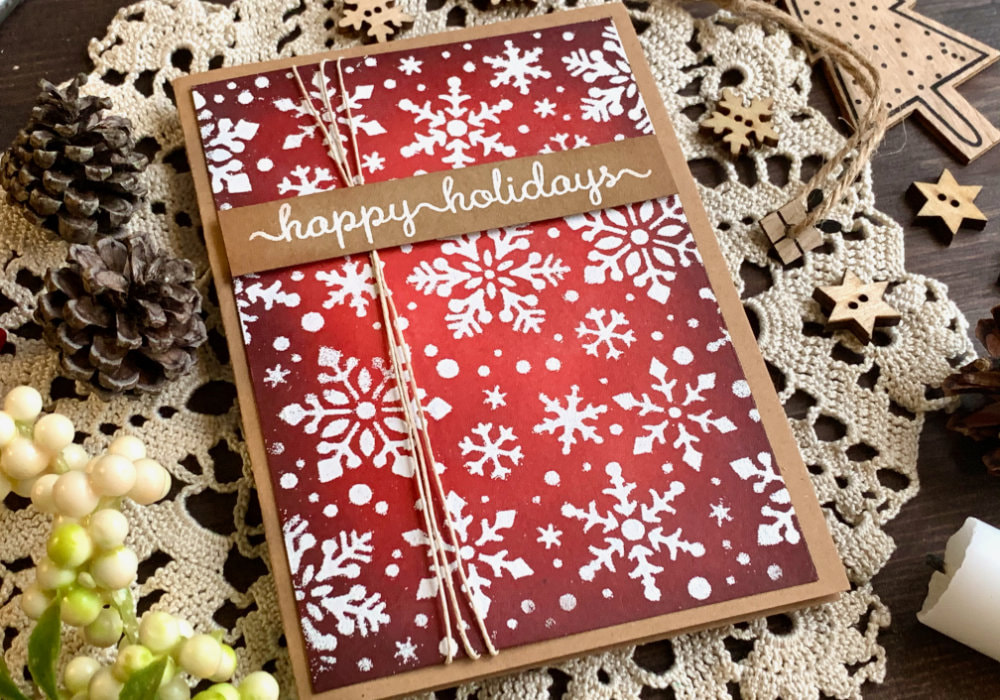 If you watch my video, you will see that I started with the lightest colour, the Candied Apple. You can skip this step, it was just to create a guide, as I originally planned to leave the middle very light. Actually, you can skip the Candied Apple altogether. I found that the best way to start is to go from the lightest to the darkest colour. Here I used the Ground Espresso for the darkest shade and I applied it on the edges of the card stock and then I blended it with the Aged Mahogany. I wanted to create a circle or oval around the middle, going from light to dark. Next I blended the Barn Door and lastly I used the Candied Apple that I blended across the middle. If needed you can come back with the other inks to try to blend the colours together. I let the piece dry, you can dry it with a heat tool, but unless I'm in a hurry, I dry it over night. 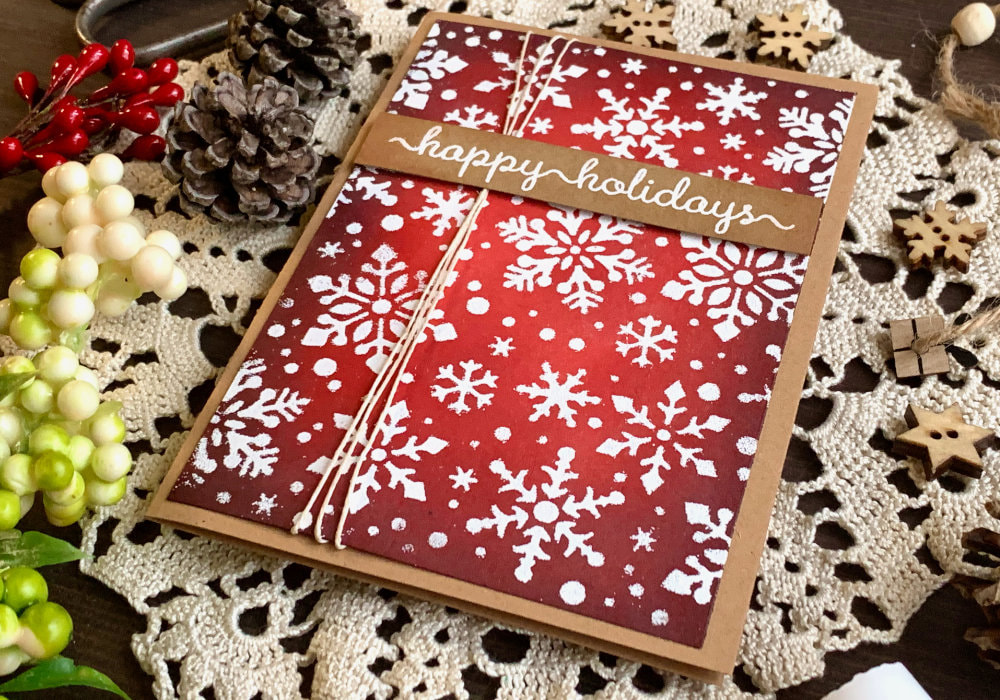 Once the piece was dry, I started with the stamping using a stencil. First I treated the panel with an antistatic powder and then I placed the stencil over it. The stencil is from Newton's Nook Designs and it's called Snowfall. I took the Versamark ink and and I dabbed the ink over the stencil, covering each snowflake with ink. Next I removed the stencil, sprinkled a white embossing powder over it and melted it with my heat tool. Initially I thought I will just add a banner with a sentiment, but then I finally remembered that I could use a backers twine. I usually forget that I have it. I wrapped the bakers twine three times lengthwise around the panel and attached it from the back using an adhesive. Lastly I adhered a banner saying Happy Holidays that I stamped and heat embossed on a craft card stock and then I adhered the panel on to of a craft card base. You can see a quick video of me making this card on my YouTube channel or Instagram and make sure you subscribe/follow. QUICK TUTORIALWatch the video below or directly on my YouTube channel or Instagram. YOU MIGHT ALSO LIKE  PIN MEDid you like the card? I would love, if you pinned it to your board on Pinterest! 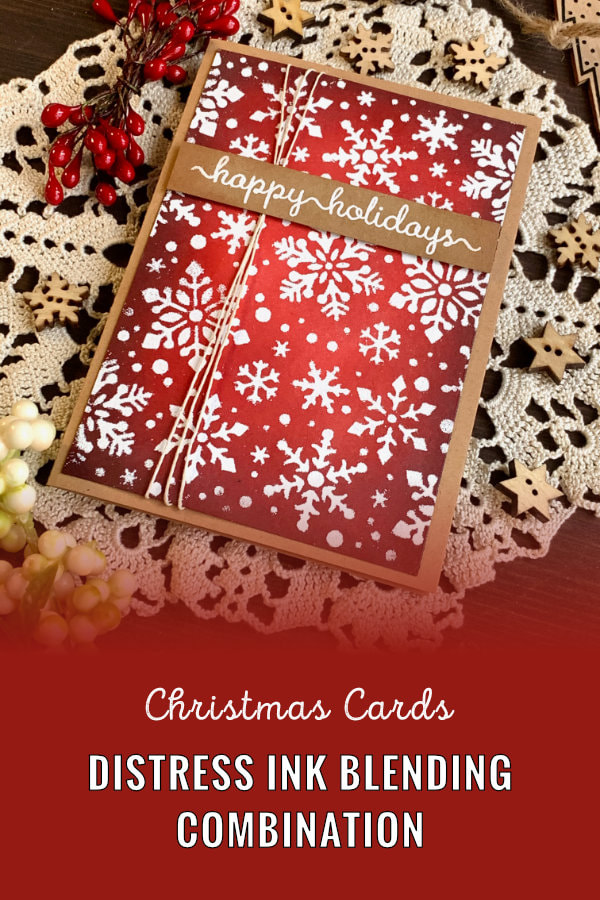
0 Comments
Leave a Reply. |
FOLLOW ME
SEE MORE


CATEGORIES
All
Stamping Die Cutting Using Stencil Heat Embossing Embossing or Texture Paste Distress Inks Nuvo Products Stamping & Colouring Stamping With Solid Stamps Watercolouring Watercolour Pencils Waterbased Markers Pencil Colouring Alcohol Markers Altenew Markers Zig Brush Markers Easy Backgrounds Stamped Backgrounds Small Stamp Ideas Simple Cards Complex Cards Cardmaking For Beginners All
Painting With Acrylics Painting With Gouache Painting With Watercolours Drawing With Fineliner Minimal Supplies Cards Christmas & Holiday
Love & Valentine Mother's Day Father's Day Halloween Spring Cards Summer Cards Autumn/Fall Cards Winter Cards Cards For Children Cards For Women Cards For Men Thank You Cards Sympathy Cards Get Well Soon Cards Floral & Leav Cards Rainbow Colours Messy Watercolouring Modern Art Inspirations Geometric Patterns Landscape Painting Acrylics
Gouache Watercolours Watercolour Pencils Waterbased Markers Distress Inks Alcohol Markers Colouring Pencils No Stamps No Dies Cards
Cardmaking On A Budget Let’s Colour Quick Cards Fun Masculine Cards Background Ideas Distress Ink Combinations |
 RSS Feed
