
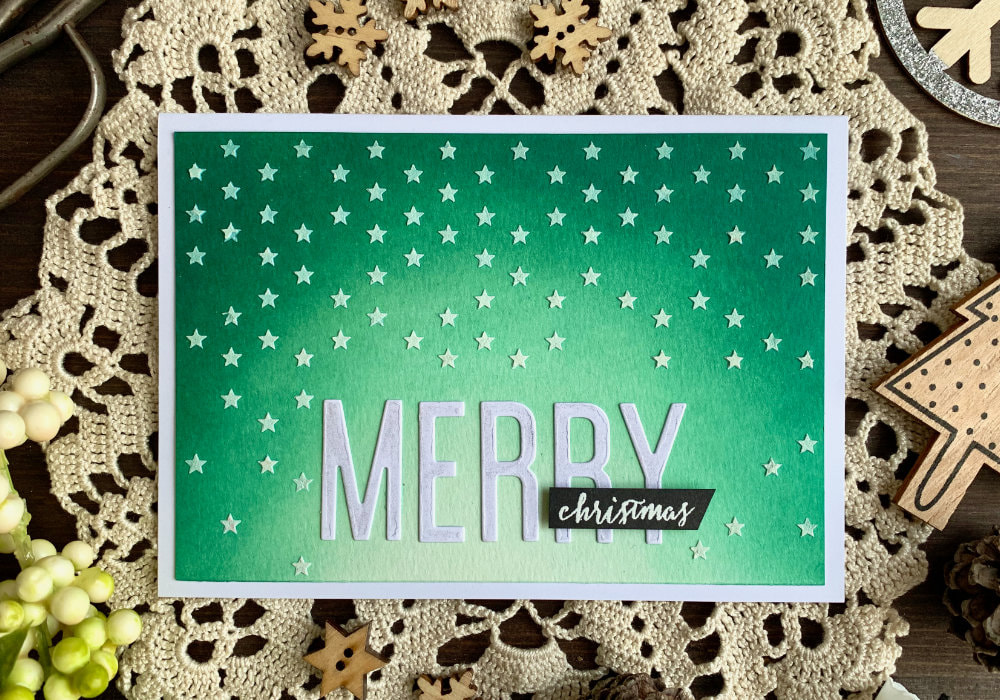
 For the eight card of my Christmas card series I decided to do yet another Distress ink blending combination together with a starry sky, for which I used a stencil and an embossing paste. This card was inspired by another card I made, with different colour combination and instead of a starry sky I created a snowy sky. You can see that card here. I started by blending the inks. The card stock I used is the Canson XL watercolour paper and the inks are: - Pine Needles - Lucky Clover - Cracked Pistachio Originally I started with the lightest ink (Cracked Pistachio), but as the colour was hardly visible, I moved on to the darkest colour, which is the Pine Needles, then Lucky Clover and the Cracked Pistachio. And as I was blending I was creating an arch. 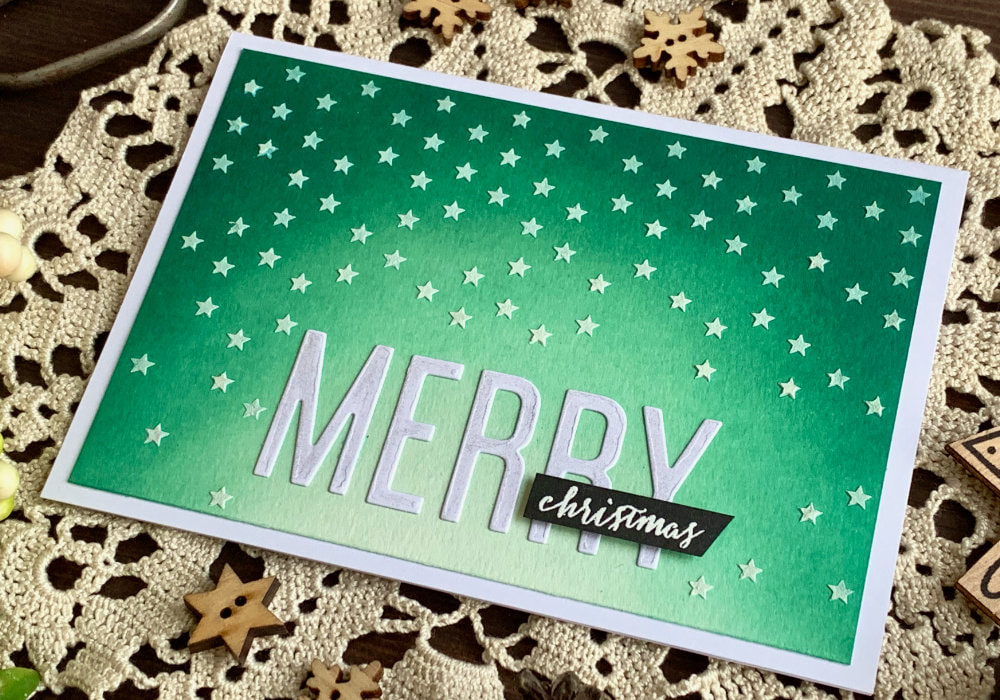 After the piece was dry I worked on the starry sky. I put the stencil over the panel and before I applied the embossing paste, I measured where the sentiment will be as I didn't want any stars in that area. To make sure that I don't apply any embossing paste over those stars, I covered them with a washi tape. I used the washi to secure the stencil, so it doesn't move and then I applied the embossing paste over it. The stencil is from Simon Says Stamp and the embossing paste is from Altenew. I let the texture paste dry and then I worked on the greeting. I still have a few die-cut letters that I die-cut in Germany, where my die-cutting machine currently is and I assembled the word Merry. Sadly I only had letters for one layer, these type of greetings are always greater when you stuck more die-cuts on top of each other, but then this card suppose to be very simple. So the letters are attached evenly and in a straight line I used the lines on my crafting mat and I attached a washi over the letters. This way they will not move around. Using a glue pen, I applied a glue over the back of the letters and as the letters are attached to the washi I flipped them over and adhered them onto the panel. The word Christmas I heat embossed in white on a black card stock and made it into a banner that I adhered over the last two letters, using a double-sided squares. 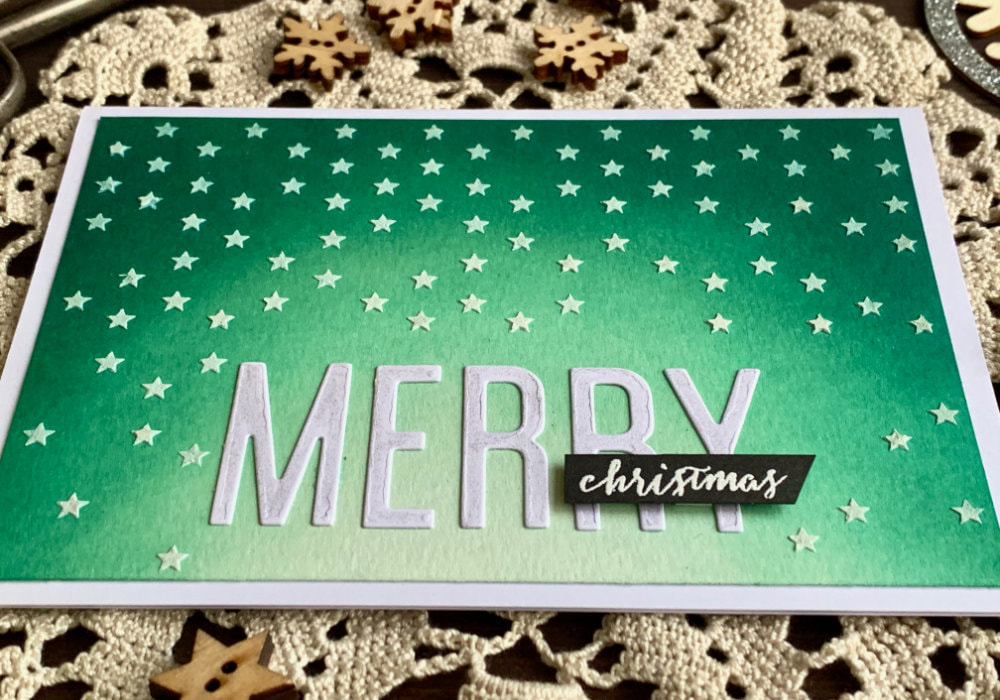 To add little bit of sparkle to the letters I used the Wink Of Stella glitter pen and lastly I adhered the panel on top of a white card base. You can see a quick video of me making this card on my YouTube channel or Instagram and make sure you subscribe/follow. QUICK TUTORIALWatch the video below or directly on my YouTube channel or Instagram. YOU MIGHT ALSO LIKE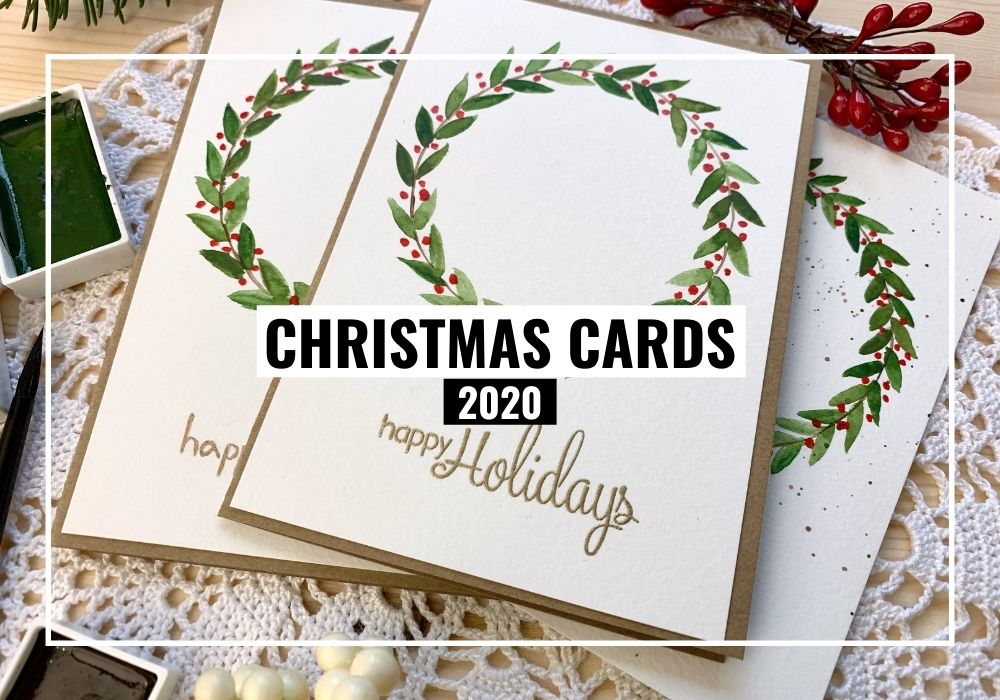 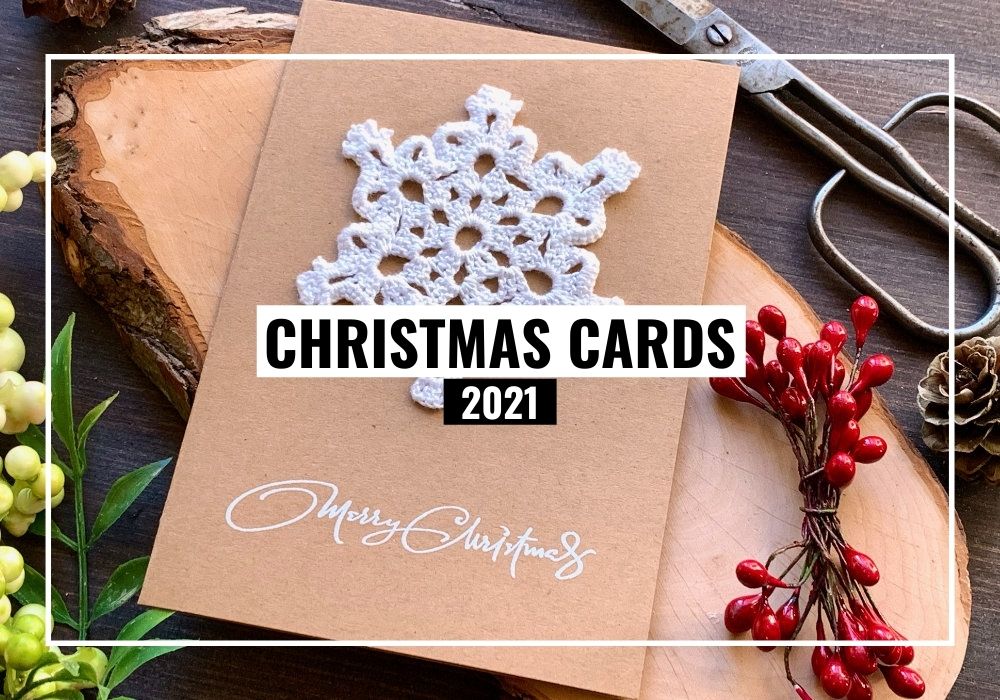 PIN MEDid you like the card? I would love, if you pinned it to your board on Pinterest! 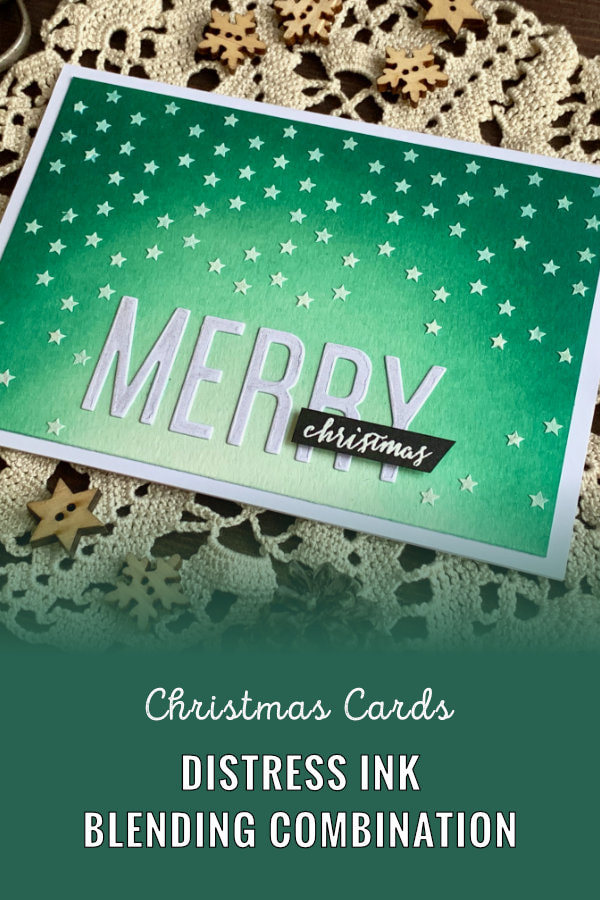
0 Comments
Leave a Reply. |
FOLLOW ME
SEE MORE


CATEGORIES
All
Stamping Die Cutting Using Stencil Heat Embossing Embossing or Texture Paste Distress Inks Nuvo Products Stamping & Colouring Stamping With Solid Stamps Watercolouring Watercolour Pencils Waterbased Markers Pencil Colouring Alcohol Markers Altenew Markers Zig Brush Markers Easy Backgrounds Stamped Backgrounds Small Stamp Ideas Simple Cards Complex Cards Cardmaking For Beginners All
Painting With Acrylics Painting With Gouache Painting With Watercolours Drawing With Fineliner Minimal Supplies Cards Christmas & Holiday
Love & Valentine Mother's Day Father's Day Halloween Spring Cards Summer Cards Autumn/Fall Cards Winter Cards Cards For Children Cards For Women Cards For Men Thank You Cards Sympathy Cards Get Well Soon Cards Floral & Leav Cards Rainbow Colours Messy Watercolouring Modern Art Inspirations Geometric Patterns Landscape Painting Acrylics
Gouache Watercolours Watercolour Pencils Waterbased Markers Distress Inks Alcohol Markers Colouring Pencils No Stamps No Dies Cards
Cardmaking On A Budget Let’s Colour Quick Cards Fun Masculine Cards Background Ideas Distress Ink Combinations |
 RSS Feed
