
Do you have stamps that you just like re-using over and over, with different type of colouring mediums, different colours etc. The poinsettia stamp that I used for this card definitely belongs to such stamps. I already used it few years ago on my old blog, I will include the video below. This poinsettia stamp is actually a background stamp, so it's really big. These stamps are expensive and trust me it took me a long time of deciding if I really need it, before I pressed the purchase button. Nevertheless it was well worth it, especially if you are like me and enjoy colouring, but don't like these overly detailed images.
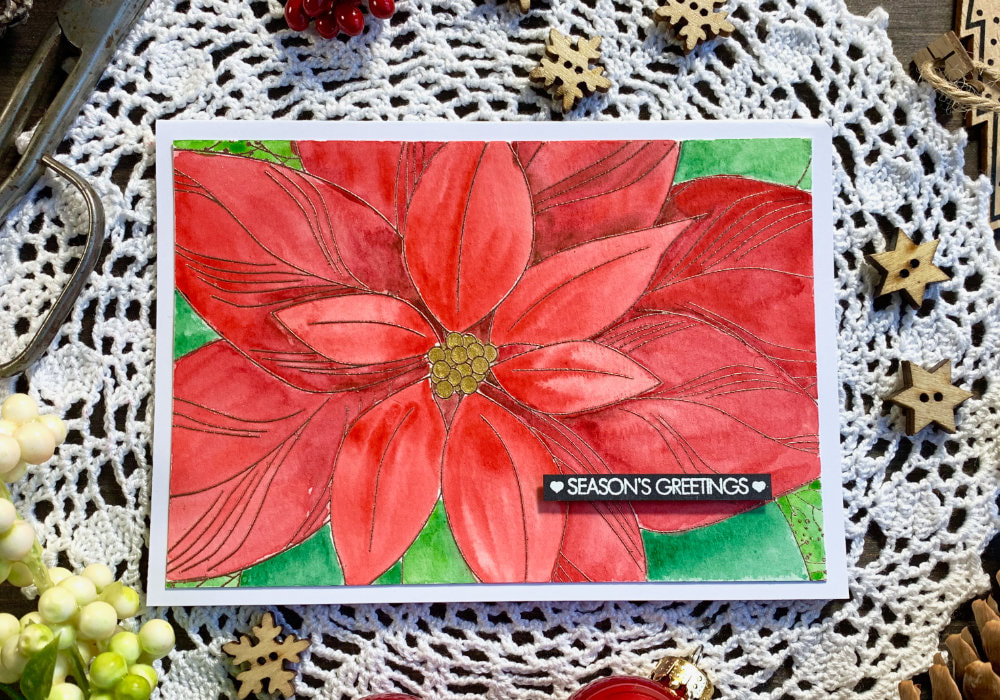
I stamped it using the Tim Holtz stamping platform as I needed to re-stamp a few times. I used the Versamark ink for the stamping and then I sprinkled the Metallic Brass embossing powder over it and I melted it with my heat tool. Of course before all the stamping, I used the antistatic powder tool, to make sure I don't have any powder sticking where it's not suppose to. 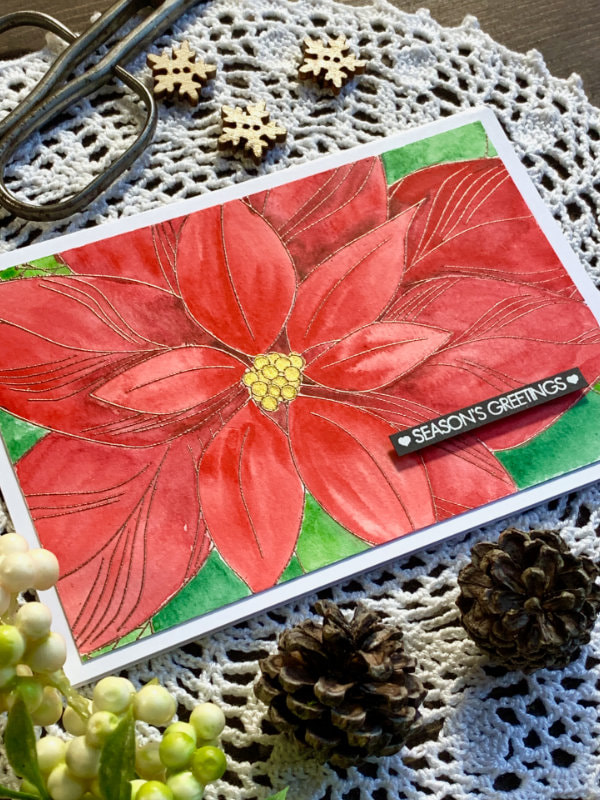
To colour the poinsettia I chose watercolours. Originally I was planing to stamp in black and colour with alcohol markers. I have the markers from Altenew, but sadly they dried out or run out of colour very quickly. I'm very disappointed with that! I managed to make one card in red and it looks really cool. However, I was thinking using watercolours as well, as the colouring takes less time.
The card stock is the Canson XL watercolour paper. It's not the best card stock, but I like it as it's cheap. What I don't like, is that sometimes the water just sits on it. If this is something that bothers you, just try different watercolour card stock. I used red for the colouring and some green. I started with a darker colour on the outer leaves and then I used a lighter or brighter red on the inner leaves. I also painted a few of the outer leaves green and for the inner part I used golden paint. By the way you do not need to use reds, poinsettia comes in many different colours. 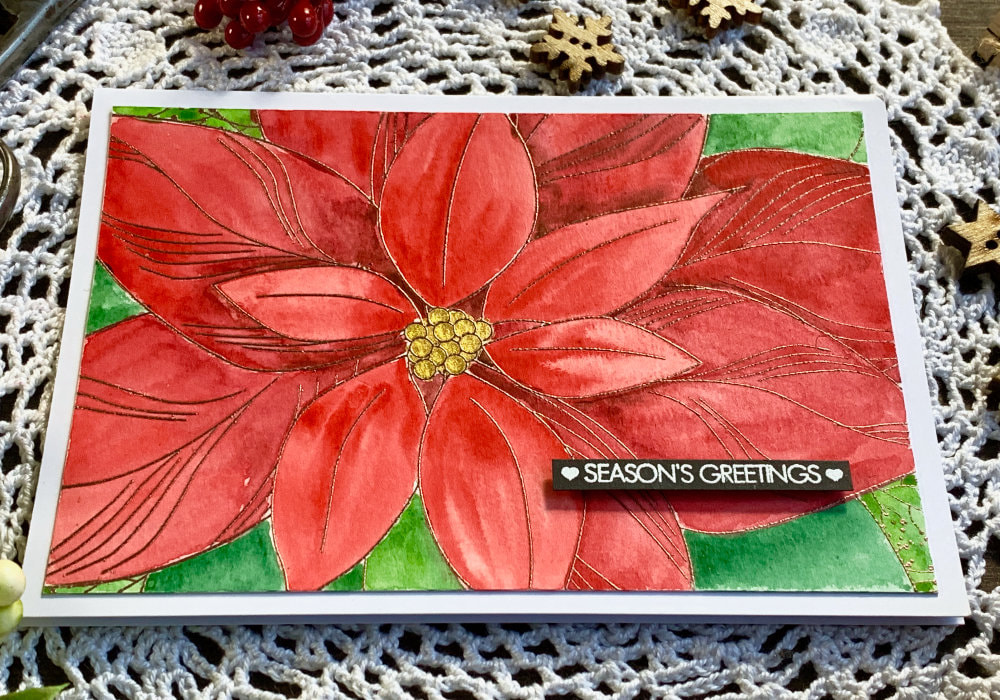
I let the panel dry and then I adhered it on top of a white card base.
Lastly I adhered a sentiment that says Season Greetings. It is a small stamp and I think it fits perfectly. I stamped and heat embossed it in white on a black card stock, cut it into a small banner and adhered it in a corner of the card, using double-sided foam adhesive. You can see a quick video of me making this card on my YouTube channel or Instagram and make sure you subscribe/follow. QUICK VIDEO
Watch the video below or directly on my YouTube channel or Instagram.
MORE CHRISTMAS CARD IDEASPIN ME
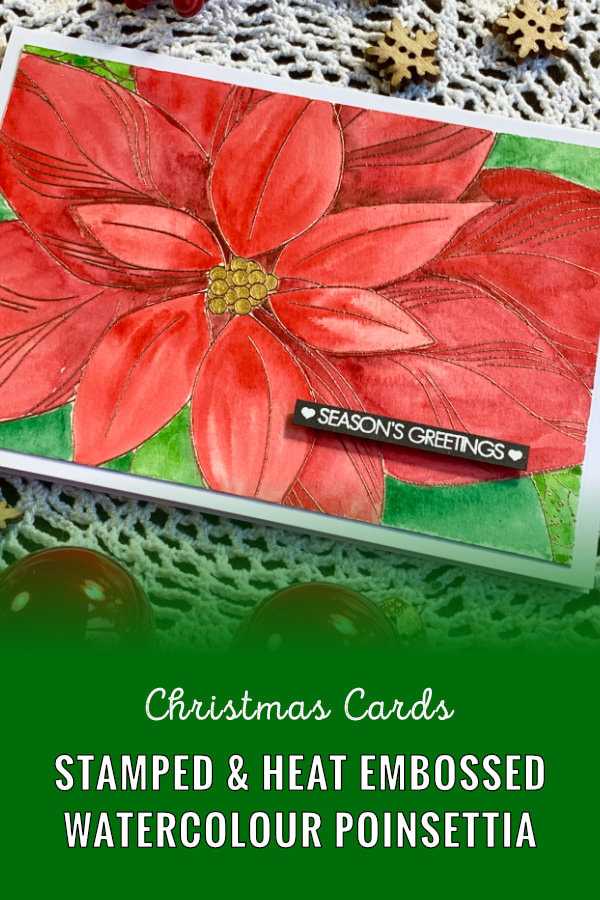
Did you like the card? I would love, if you pinned it to your board on Pinterest!
0 Comments
Leave a Reply. |
FOLLOW ME
SEE MORE


CATEGORIES
All
Stamping Die Cutting Using Stencil Heat Embossing Embossing or Texture Paste Distress Inks Nuvo Products Stamping & Colouring Stamping With Solid Stamps Watercolouring Watercolour Pencils Waterbased Markers Pencil Colouring Alcohol Markers Altenew Markers Zig Brush Markers Easy Backgrounds Stamped Backgrounds Small Stamp Ideas Simple Cards Complex Cards Cardmaking For Beginners All
Painting With Acrylics Painting With Gouache Painting With Watercolours Drawing With Fineliner Minimal Supplies Cards Christmas & Holiday
Love & Valentine Mother's Day Father's Day Halloween Spring Cards Summer Cards Autumn/Fall Cards Winter Cards Cards For Children Cards For Women Cards For Men Thank You Cards Sympathy Cards Get Well Soon Cards Floral & Leav Cards Rainbow Colours Messy Watercolouring Modern Art Inspirations Geometric Patterns Landscape Painting Acrylics
Gouache Watercolours Watercolour Pencils Waterbased Markers Distress Inks Alcohol Markers Colouring Pencils No Stamps No Dies Cards
Cardmaking On A Budget Let’s Colour Quick Cards Fun Masculine Cards Background Ideas Distress Ink Combinations |
 RSS Feed
