
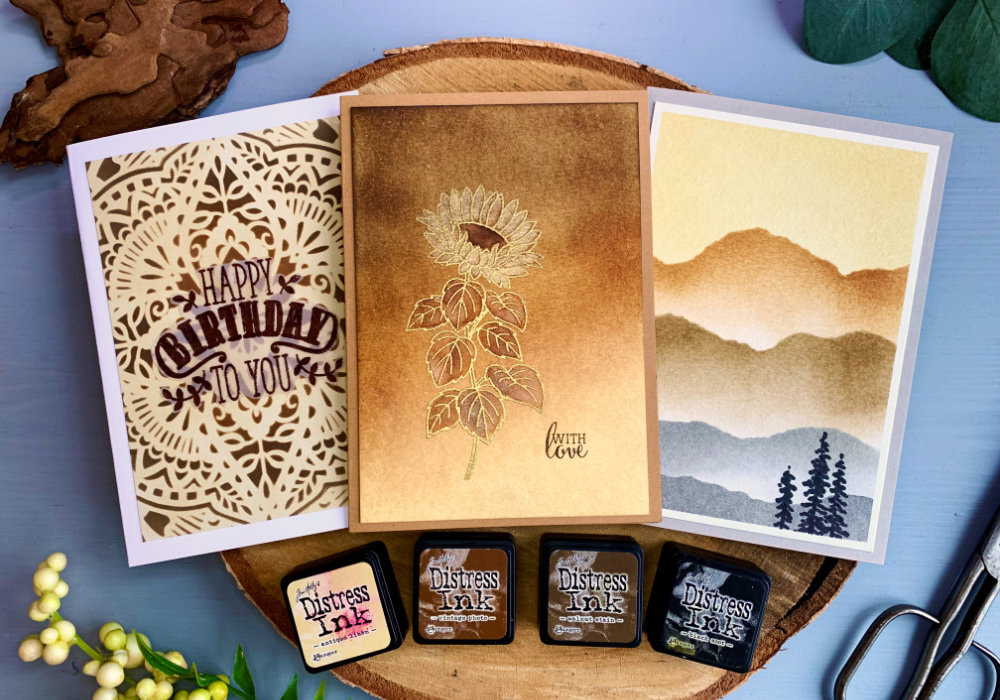
 The Mini Distress Ink Kit #3 is a rather underwhelming kit when it comes to the colours. Black, browns and beige. This is rather dull and boring, or is it? THE KIT #3 The colours in this kit are:
Black, browns and beige, really unexciting colours and you might think that I would be not too thrilled to use this kit, but I was looking forward to it, since my immediate thought when looking at the swatch was creating mountains and I really wanted to test it. 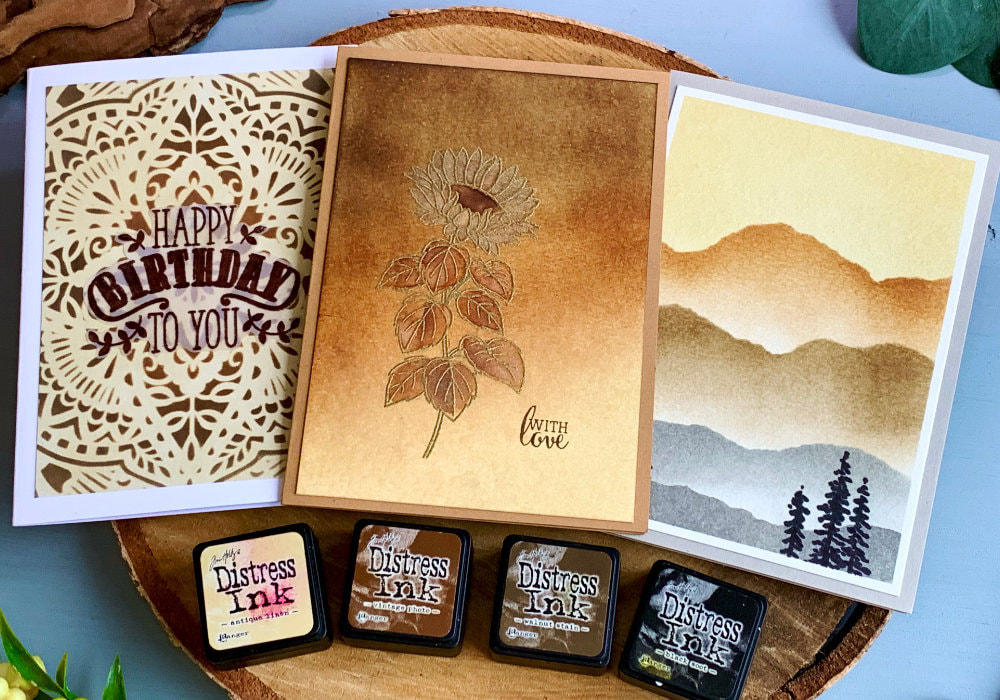 I was a bit annoyed because I already used brown colour combos on two different cards that would be great for this blog post. One of them was a really cool night sky for a Halloween card, which you can see here and then I created a simple background for a Birthday card and the card you can see here. While I used different brown inks for these cards, you can create something similar with this kit as well. This is a very easy going kit, because all the colours work with each other, especially the browns and the Antique Linen. There fore I only made one basic colour combo and then with two backgrounds I did something extra. COLOUR COMBO #1: Walnut Stain, Vintage Photo & Antique Linen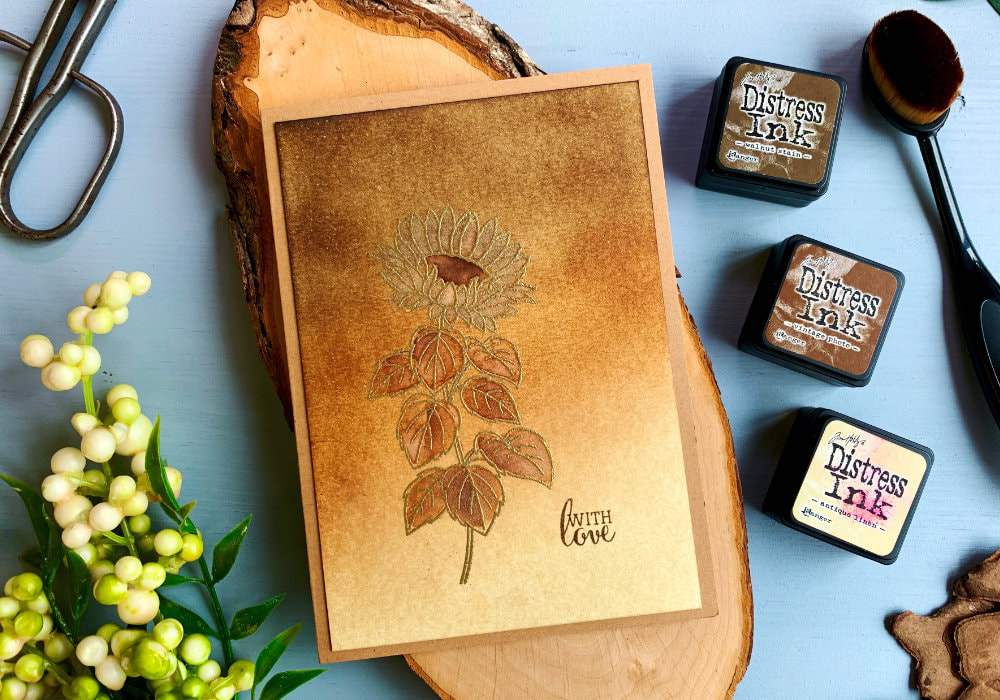 Here I did a basic or the typical background, meaning blending inks together creating a simple, solid background. I applied the colours diagonally from the darkest to the lightest. The direction you decide to apply the colours is up to you, you can apply them in a circle, vertically from left to right or horizontally from top to bottom. I applied multiple layers, building up the colours and blending the inks together. I didn't use the Black Soot, just because (in my head) it didn't work with the idea I had for the final card. To make this background into a card I used a stamp with a sunflower and heat embossed it with a golden embossing powder. 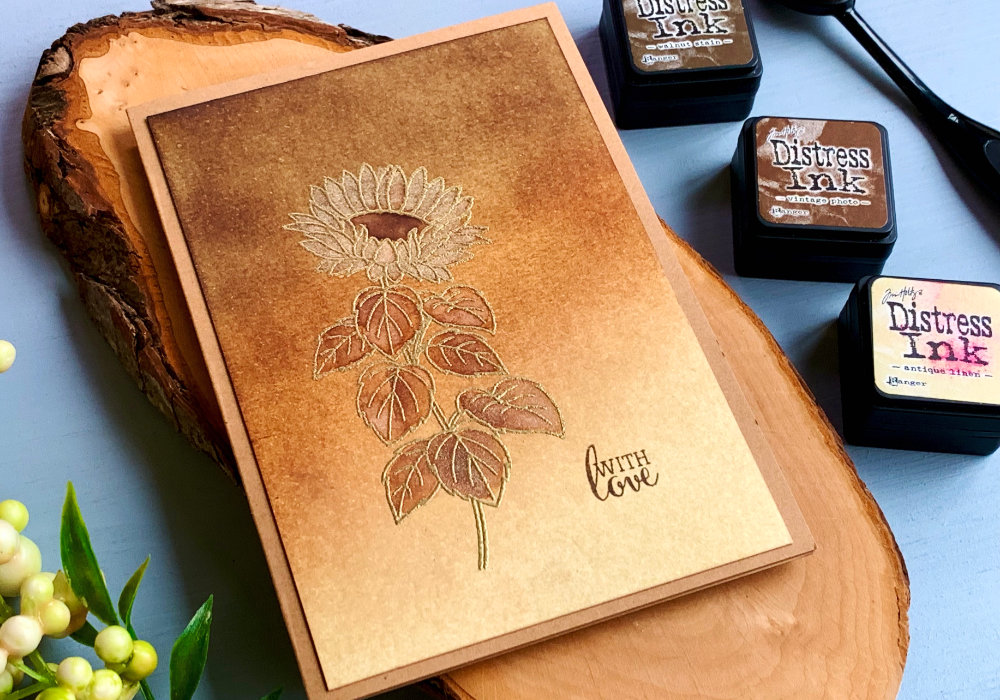 Then I coloured the flower using the inks. Vintage Photo I used for the leaves, the Walnut Stain for the middle of the flower and the Antique Linen for the petals. The Antique Linen is very light, but I wanted to see how it will look like. As expected it wasn't really visible, so I decided to use golden watercolours from Kuretake. This give a lot of shimmer to the card. For the greeting I picked a sentiment that says With Love and I stamped it with a brown dye-ink, to match the colours of the background. Lastly I adhered the background on top of a card that I made out of a craft card stock. COLOUR COMBO #2: All Inks & Stencil For the next combo I used all the inks. As I said it is very difficult to go wrong with this kit as all colours go together. Therefore to make it more interesting I decided to use a stencil. I started with the Antique Linen and covered the whole panel. It was a little bit blotchy, but since it will be mostly covered due to the stencil, it wasn't important to get a smooth application. Next I placed the stencil over the panel and secured it with a washi. You can use any stencil, I just picked what I had in my stash. I applied the inks creating a circle. First I used the brown inks - Walnut Stain on the outside and Vintage Photo on the inside. And I also added Black Soot around the edges of the panel to make the colour darker.  I had to cut the panel by quite a bit because I wasn't careful when removing it. The greeting says Happy Birthday To You, I stamped it and heat embossed it onto a vellum using the Primary Bark embossing powder from Wow. I fussy cut it and adhered it in the middle of the panel, making sure I only add the glue behind the letters. Lastly I adhered the panel on top of a white card base. COLOUR COMBO #3: All Inks & Stencil - Creating Mountains After I made a swatch for this kit I immediately thought of creating mountains. Usually I do that with watercolours. These are often monotone, meaning using the same colour in various shades. Most of the time ending in black. You probably can buy a stencil to create mountains, but you can also create it yourself. It's super easy! All you need is a paper - something that you can easy tear up. Tear it up in a way that you create a shape of mountains. So not a straight tear, but up and down, creating hills and valleys. Keep in mind, you will be applying the inks below the stencil. 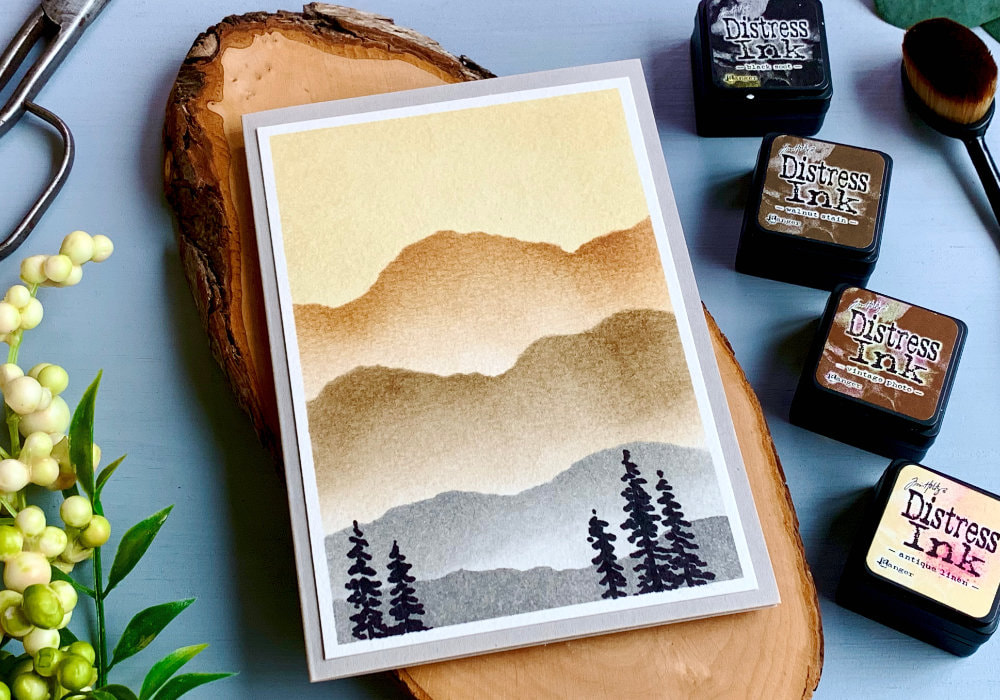 You can create a separate stencil for each mountain, which is something I did, but you can also create just one. I started with the sky for which I used the Antique Linen. For that you don't need the stencil, but what you can add is a circle stencil for the sun or moon. I was going to do that, but then I forgot. I applied the ink at the top of the panel and I stoped about a third way down. Next I used my first stencil and I placed it on the top of the panel. You need to place it in a way you can blend below it. I used the Vintage Photo ink and applied it below the stencil. 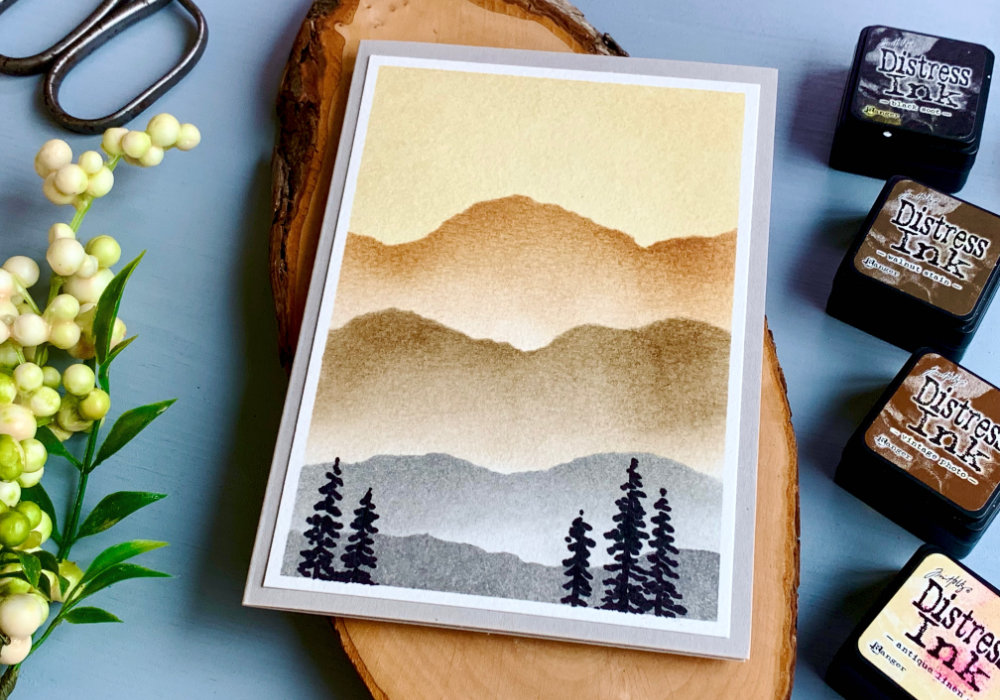 I repeated this process for the Walnut Stain and twice with the Black Soot. I didn't plan to add the second set of maintains with the Black Soot, but I thought there was too much empty space. Therefore I added one more set of mountains using the Black Soot again. Normally I create these landscapes with watercolours and most of time I paint in trees or to be more precise silhouettes of the trees. I could not resist and decided to paint trees here as well. However, I had two issues. The Black Soot is too light. The re-inker could work, but I don't have it. And I was also worried that even using normal watercolours, I would reactivate the ink. Since Distress inks react with water. My solution was to use a black marker, something like a Sharpie. And I drew a bunch of pine trees at the bottom of the panel. 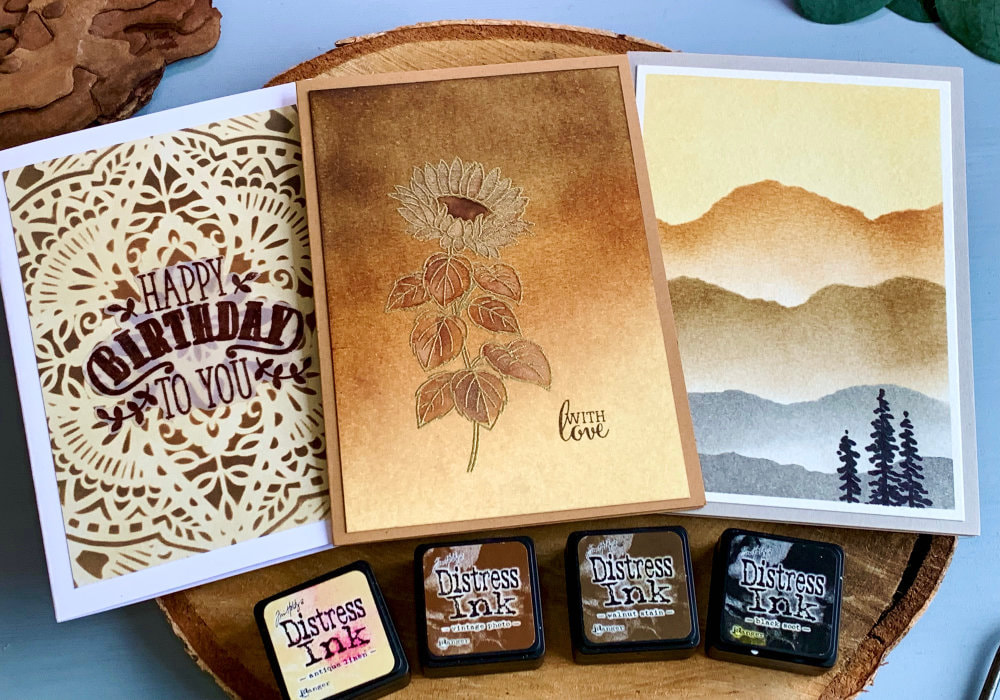 Lastly I adhered the panel on top of a grey card base. I didn't add any greeting as I don't think the card needs it. But if you have a sentiment that fits, you can definitely use it. I hope you liked the cards and will try making them yourself. Make sure you check out my video on YouTube and give it a Like as well. The list of product is down below, where you can also find a few blog posts that I think you might enjoy. And if you have any questions, just drop me a line. VIDEO TUTORIALWatch the video below or on my YouTube Channel. YOU MIGHT ALSO LIKE 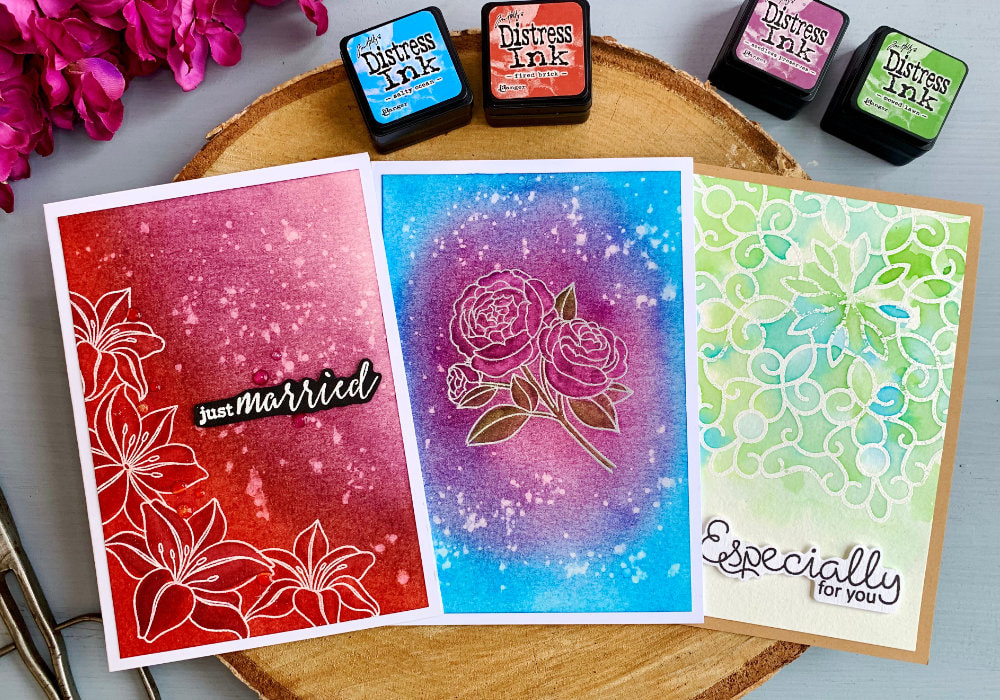 PIN MEDid you like the card? I would love, if you pinned it to your board on Pinterest! 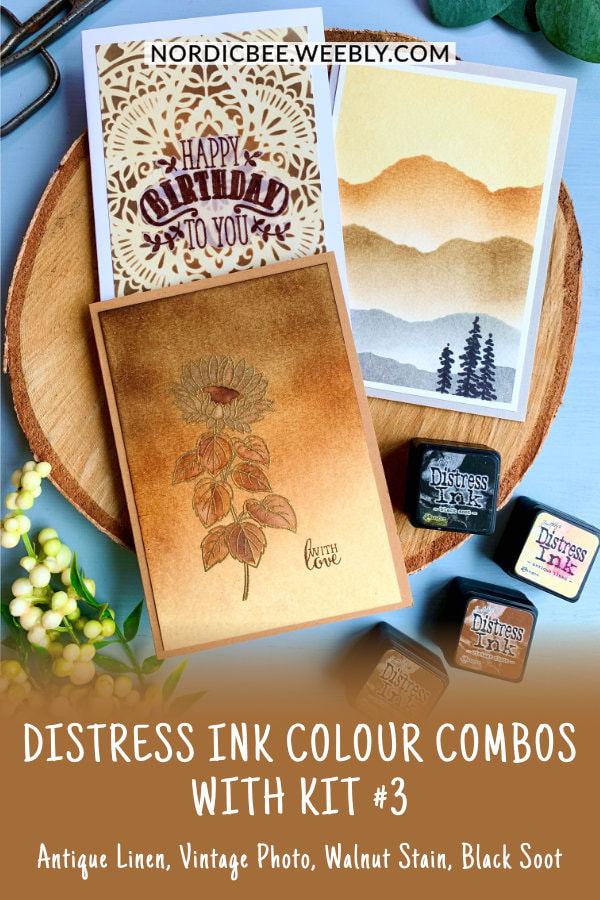
0 Comments
Leave a Reply. |
FOLLOW ME
SEE MORE


CATEGORIES
All
Stamping Die Cutting Using Stencil Heat Embossing Embossing or Texture Paste Distress Inks Nuvo Products Stamping & Colouring Stamping With Solid Stamps Watercolouring Watercolour Pencils Waterbased Markers Pencil Colouring Alcohol Markers Altenew Markers Zig Brush Markers Easy Backgrounds Stamped Backgrounds Small Stamp Ideas Simple Cards Complex Cards Cardmaking For Beginners All
Painting With Acrylics Painting With Gouache Painting With Watercolours Drawing With Fineliner Minimal Supplies Cards Christmas & Holiday
Love & Valentine Mother's Day Father's Day Halloween Spring Cards Summer Cards Autumn/Fall Cards Winter Cards Cards For Children Cards For Women Cards For Men Thank You Cards Sympathy Cards Get Well Soon Cards Floral & Leav Cards Rainbow Colours Messy Watercolouring Modern Art Inspirations Geometric Patterns Landscape Painting Acrylics
Gouache Watercolours Watercolour Pencils Waterbased Markers Distress Inks Alcohol Markers Colouring Pencils No Stamps No Dies Cards
Cardmaking On A Budget Let’s Colour Quick Cards Fun Masculine Cards Background Ideas Distress Ink Combinations |
 RSS Feed
