
Today I’m using a very old stamp set from Clearly Besotted, called Mr & Mrs, this was one of those purchases that I liked the look, but once it was time to use it, I had no idea what to do with it. However, when my friend asked if I could make her a card for a wedding, this was the only stamp set I had for that occasion.
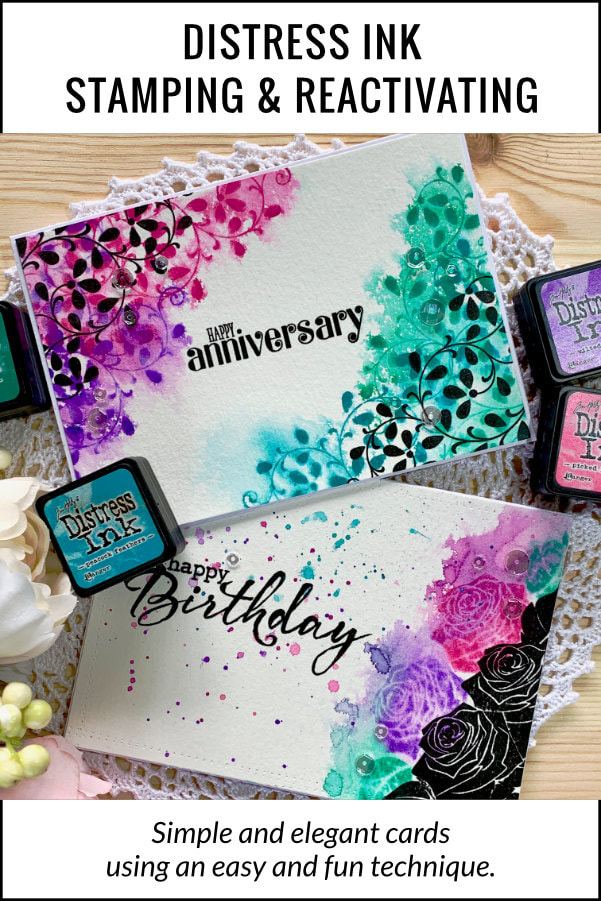
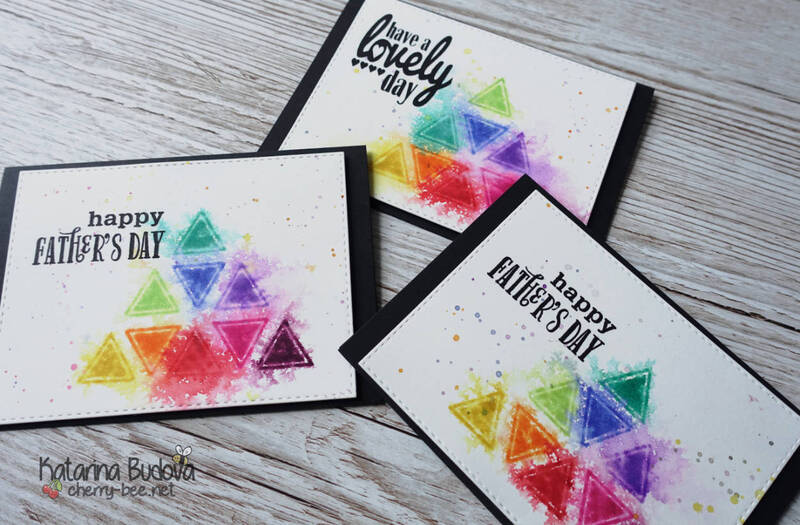
I really don’t know how I came up with the idea to do Distress ink stamping and reactivating it with water, because I made this card few years ago, but I created a quite modern and elegant card. And finally I managed to re-create it to share it with you. As I said the stamp set I’m using is very old, but all you need here is a stamp with solid images, like leafs or flowers. I actually created another card, using a stamp set from Alte New, with a rose and the card is very pretty as well. I also did this technique twice before, once for a Father’s day card and once for a Christmas card, using basic shapes. So there are many possibilities, you can create. 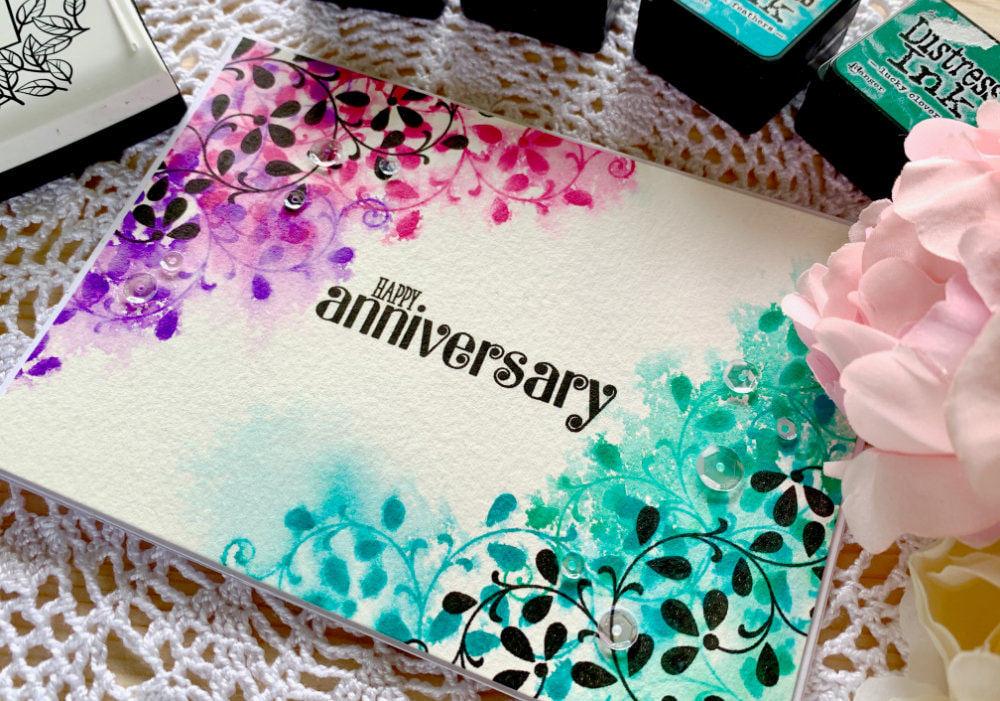
STAMPING WITH THE BLACK INK
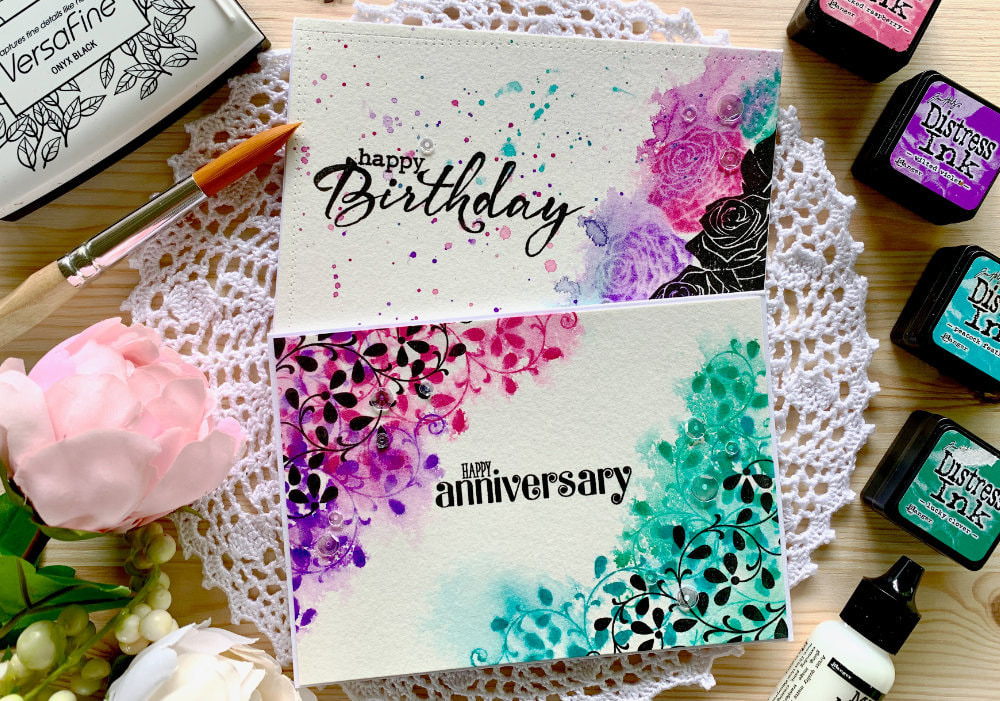
I picked one of the solid stamps from the stamp set and I started stamping with a black ink, using the Versafine ink in Onyx black. I used here the stamping platform from Tim Holtz, because I needed to stamp little bit off the paper and the Mini Misti is too small for that. Plus I needed to re-stamp few times as I was stamping on a cold press watercolour card stock. But after three tries and not getting an even coverage, I took out a black fine liner and filled out the gaps. I stamped the leafs in two corners of the panel.
To tell the truth, I’m not a fan of the Tim Holtz stamping platform. I only bought it because it was cheaper then the regular Misti. I just needed a stamping platform for background stamps and stamping like this, where I needed to place the stamp little bit off the paper. Using a watercolour card stock here is very important as I’m going to be re-activating the Distress inks with water and I needed a card stock that can handle a lot of water. After I was done with the black ink, I let it dry. Another important thing, when stamping with the black ink is to keep your fingers clean. On my trial card I got the ink on my fingers and got black smudges on the card stock. 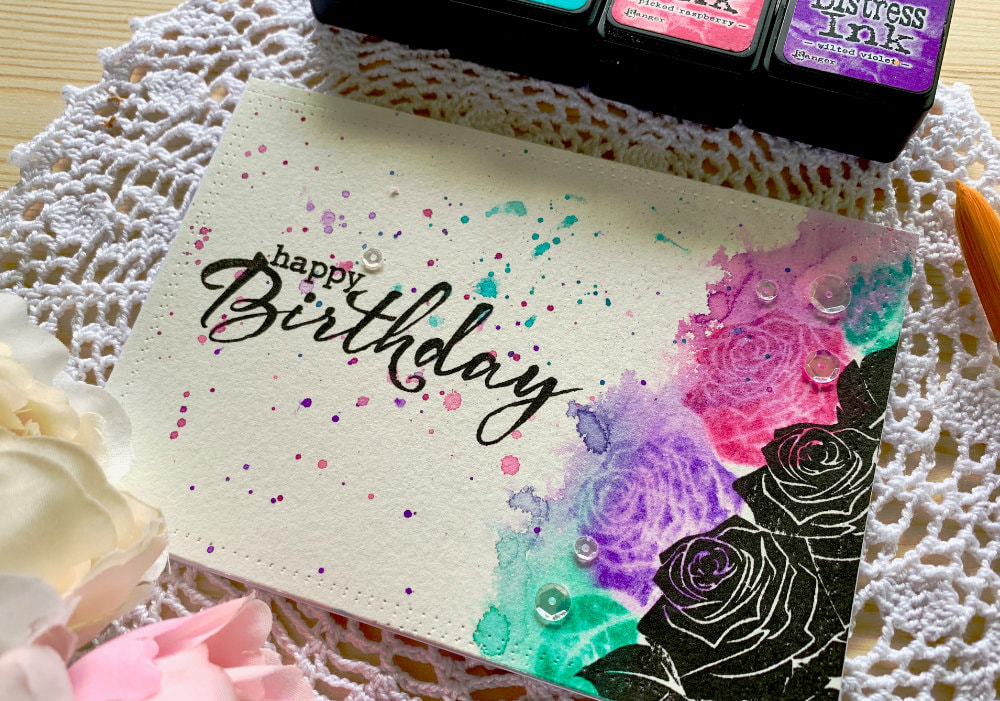
STAMPING WITH THE DISTRESS INKS
I picked up four colours of the distress inks: Picked Raspberry, Wilted Violet, Peacock Feathers and Lucky Clover. The colours and how many is completely up to you, on the card with the roses I only used three.
I placed the stamp little bit further away from where I stamped with the black ink, because I wanted the colours to be visible. I stamped twice if the image wasn’t crisp enough and then I repositioned the stamp. On the card whit the leafs I also stamped in the middle of the black image to have colour between the leafs, but on the card with the roses, I didn’t need to do that, because there weren’t any gaps. Next I stamped the sentiment, for the card with the leafs I used the “Happy Anniversary” stamp from the same sentiment as the leafs, but for the stamp with the roses I used a stamp from Clearly Besotted, called Brushed Greetings, but this stamp set is no longer available. I think Clearly Besotted should bring it back, it is a great stamp set. 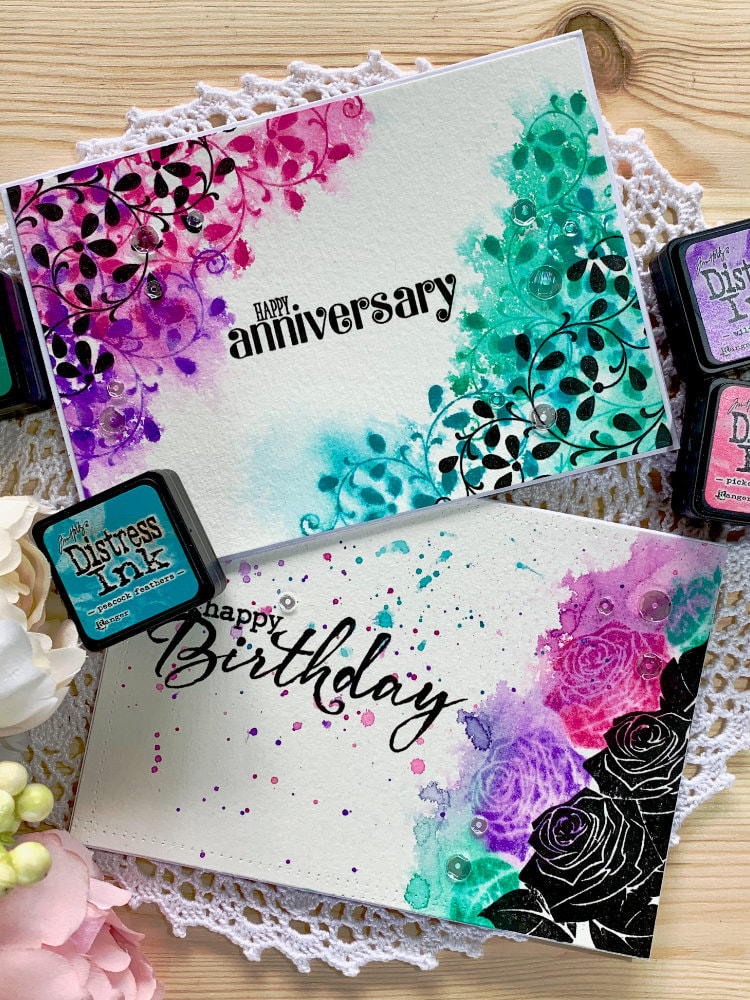
REACTIVATING THE DISTRESS INKS WITH WATER
Finally we arrived at the fun part of this card. I took my spray bottle with clear water and started spraying the panel. My panel warped a lot, but once it was dry it flatten out. If you want to avoid that you can try taping the panel onto a board using a washi or painters tape.
Once the water touched the images that I stamped with the Distress inks, the stamped image stayed visible, but the colours mixed with the water and spread out, creating this organic very soft and slightly messy watercolour effect. And because I was using waterproof black ink, the black colour didn’t mix with the water at all. You do not need too much water. After you spray one spot, wait a few seconds to see how the water is spreading and then spray another spot. I needed to spray one spot only once, but because I was using a spray bottle and precise aiming is rather difficult, I got more water at some places. It didn’t pool too much, but if you have unwanted pooling of water, just use a dry brush or paper towel to soak it up. I let the water to do its thing and then I let it air dry. 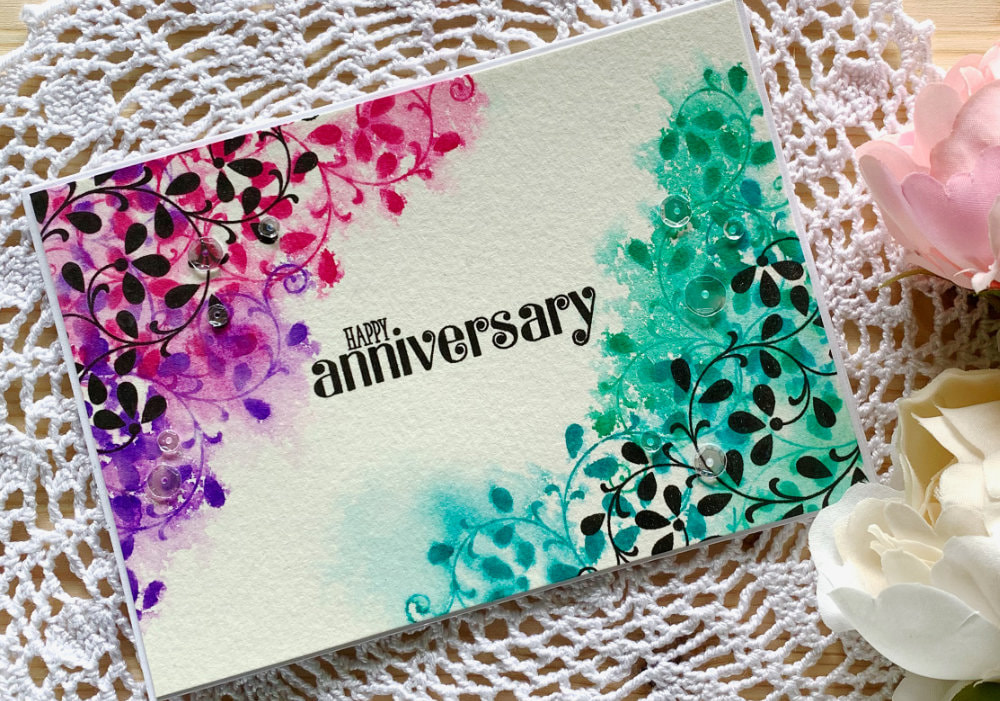
FINISHING THE CARD
After the piece was dry I adhered it onto a white card base that I pre-cut and pre-scored.
Before adhering the piece with the roses onto a card base I also added splatter onto the left side of the panel, using the Distress inks, as it looked little bit empty. I squeezed the Distress inks onto a laminated card, anything with slick surface will do. I mixed it with clear water and with a brush I flicked a few droplets onto the panel. And lastly I adhered few clear sequins in various sizes from Neat & Tangled to add little bit of sparkle to the card. 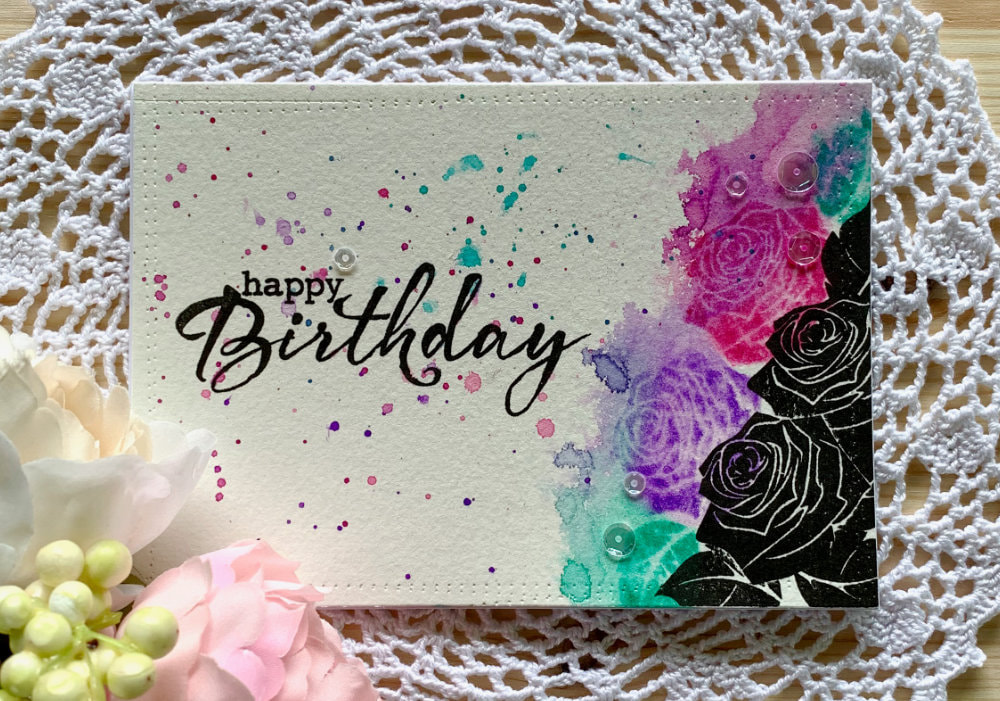
QUICK STEP-BY-STEP HOW TO
This finishes the card. I hope you enjoy my card and video! Thank you so much for stopping by! And if you have any questions, do not hesitate to drop me a line. VIDEO TUTORIAL
Watch the video below or on my YouTube Channel.
PRODUCTS USED
Disclaimer: I’m currently not using any affiliate links. These links are just to help you find the products.
Clearly Besotted, Mr & Mrs | N.A.
Alte New, Carved Rose | SevenHillsCraftsUK Clearly Besotted, Brushed Greetings (N.A.) Tsukineko, Versafine Ink pad, Onyx Black | AmazonDE | AmazonUK Tim Holtz Distress Mini Ink, Kit 1 (Picked Raspberry, Peacock Feathers) | AmazonDE | AmazonUK Tim Holtz Distress Mini Ink, Kit 15 (Wilted Violet, Lucky Clover) | AmazonDE | AmazonUK Spray Bottle Canson XL, Watercolour Cardstock , 300gsm/140lb | AmazonDE | AmazonUK Color Copy , White Paper, A4 300gsm/140lb (card base) | AmazonDE | AmazonUK Neat & Tangled, Clear Sequins | SevenHillsCrafts Tonic Studios, Tim Hotz Stamping Platform, Large | AmazonDE | AmazonUK My Sweet Petunia, Mini MISTI Stamping Tool | StempelmühleDE | BumbleberrysUK Crafting Mat, Black | AmazonDE | AmazonUK OTHER CARDS USING THESE TECHNIQUE
I posted these cards on my old blog.
PIN ME
Did you like the card? I would love, if you pinned it to your board on Pinterest!
0 Comments
Leave a Reply. |
FOLLOW ME
SEE MORE


CATEGORIES
All
Stamping Die Cutting Using Stencil Heat Embossing Embossing or Texture Paste Distress Inks Nuvo Products Stamping & Colouring Stamping With Solid Stamps Watercolouring Watercolour Pencils Waterbased Markers Pencil Colouring Alcohol Markers Altenew Markers Zig Brush Markers Easy Backgrounds Stamped Backgrounds Small Stamp Ideas Simple Cards Complex Cards Cardmaking For Beginners All
Painting With Acrylics Painting With Gouache Painting With Watercolours Drawing With Fineliner Minimal Supplies Cards Christmas & Holiday
Love & Valentine Mother's Day Father's Day Halloween Spring Cards Summer Cards Autumn/Fall Cards Winter Cards Cards For Children Cards For Women Cards For Men Thank You Cards Sympathy Cards Get Well Soon Cards Floral & Leav Cards Rainbow Colours Messy Watercolouring Modern Art Inspirations Geometric Patterns Landscape Painting Acrylics
Gouache Watercolours Watercolour Pencils Waterbased Markers Distress Inks Alcohol Markers Colouring Pencils No Stamps No Dies Cards
Cardmaking On A Budget Let’s Colour Quick Cards Fun Masculine Cards Background Ideas Distress Ink Combinations |
 RSS Feed
