
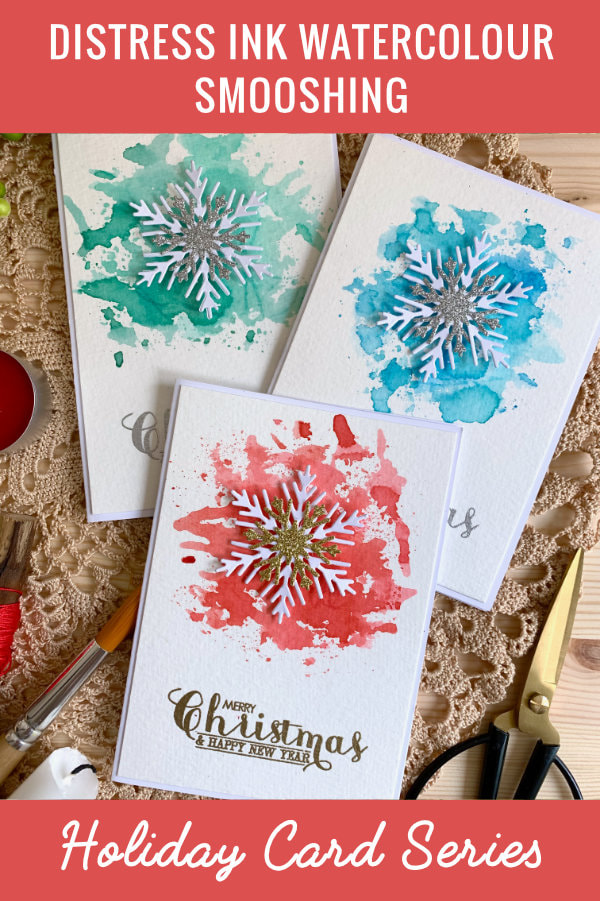
Distress Ink Watercolour Smooshing With Sparkly Snowflake Die Cut | Holiday Card Series 2020 + VIDEO23/10/2020 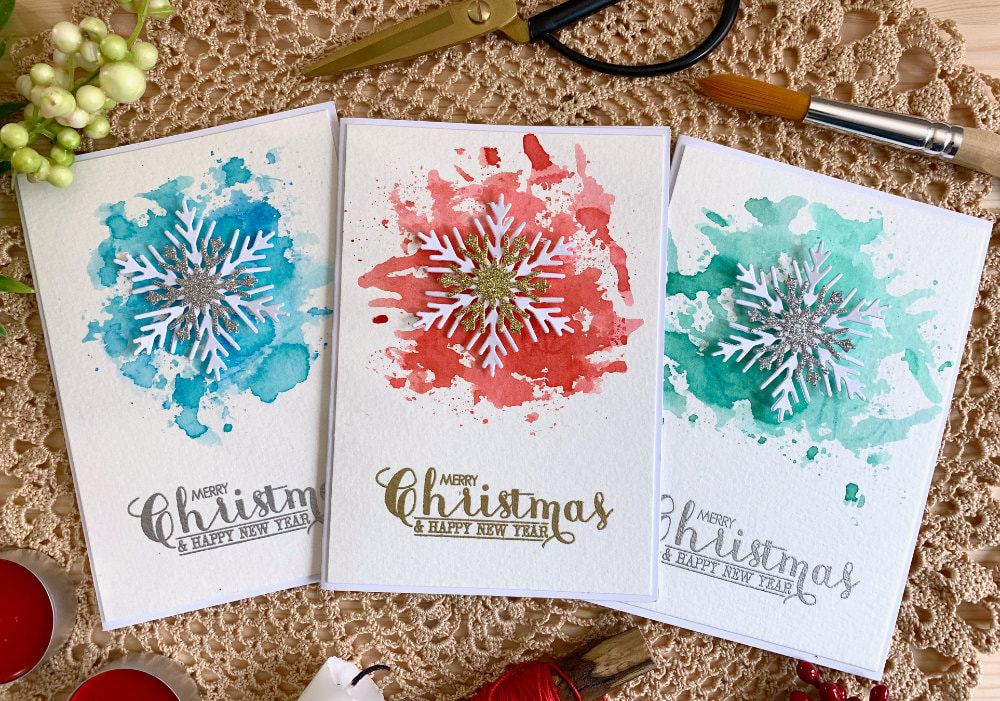
Continuing with my Holiday card series and I’m re-creating another card. This card I made last year for my friends and family, but because I didn’t manage to make any Christmas card videos last year, the card is part of this year’s series.
This is a very simple card, although I’m not sure if using the word simple is correct here. While making the card is not complicated, you need a die cutting machine, which is not something everyone has. And because not every one will be able to make this card, it is no longer a simple card. However, if you have a die-cutting machine and a snowflake die, you should not have any problems. I was inspired by a card that I saw on Pinterest. There are other cards like these, but this one just stuck in my head. I think the person did here a messy watercolour background, but I decided to do the Distress ink or watercolour smooshing technique. I learned this technique from Kristina Werner and I always wanted to try it. This technique allows you to have more control over the colour application. However at times it was little bit out of control, I had too much colour on the acetate, but after I wiped it off with a paper towel and reapplied the colour, it was OK. 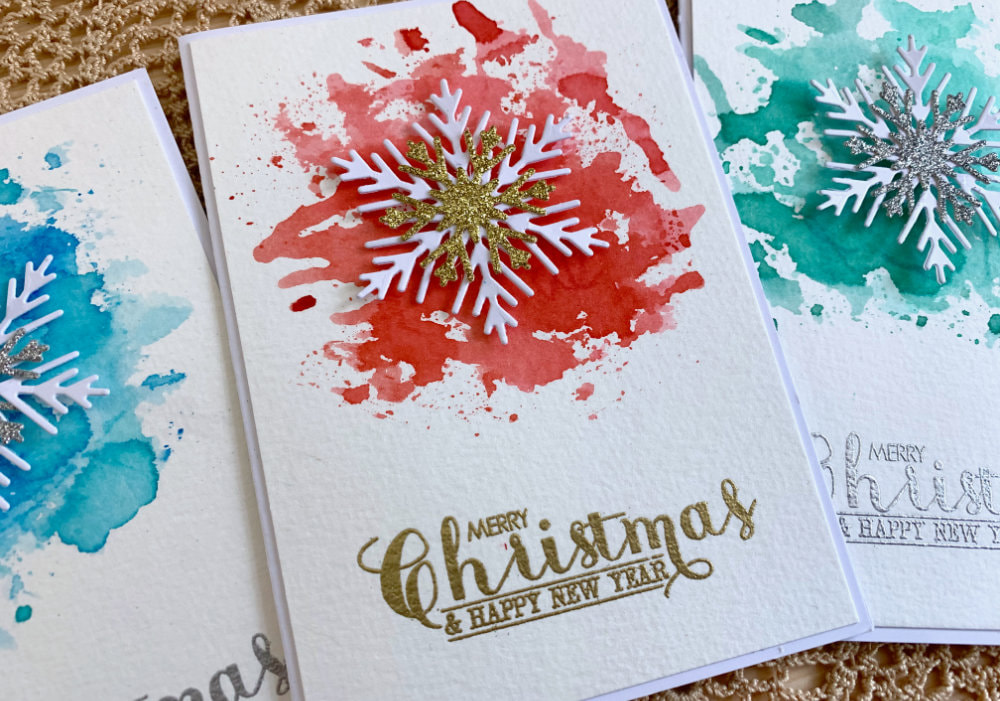
What I really like about the smooshing technique is that you are technically doing the wet on dry watercolour technique and if you were using a brush to do a normal watercolouring, you would not be able to achieve this kind of a look. This is because it needs to be organic and it needs to be random. You would need to do the wet on wet technique, which creates a completely different look.
To do this technique, you will need a watercolour card stock, a piece of an acetate and a waterbased colouring medium. I only saw others using the Distress inks and that's what I’m using, but you should be able to use normal watercolours or waterbased markers. I haven’t tried it myself, but I think it should work. I also used a piece of laminated card stock to squish the inks. If you don’t have something like that, you could squish the inks directly onto the acetate. I picked three different colours of the inks (red, green and blue) in two shades, but the difference in the shades is not really visible, because the shades were too close to each other. The colour choice is really up to you, you can use only one shade or mix different colours together. 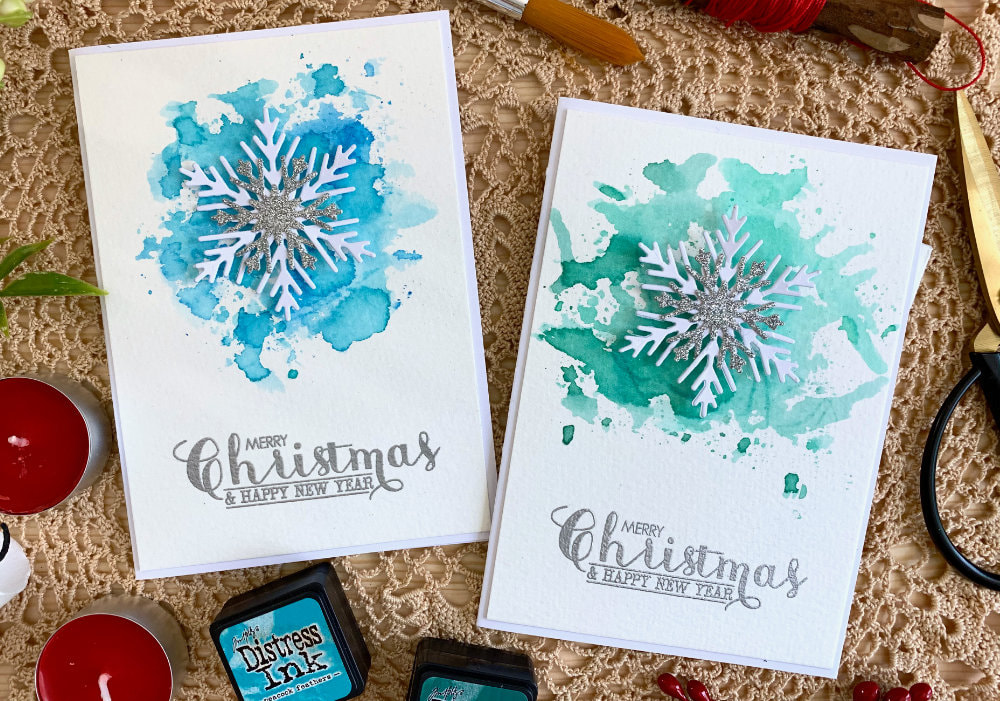
I squished the ink onto the laminated card stock and with my brush I applied a little bit of water. You don’t need much, otherwise it is difficult to control the application. You can also use a spray bottle, but be careful, you might end up with a big mess.
Then I took the acetate, I dipped it in the ink to pick up the colour and I brought it over to the project and I smooshed it down onto the watercolour card stock. I was switching between the shades until I was happy with the look and I repeated the process on each card. When I thought I applied too much water, I soaked it up with a paper towel. Once I was finished I let the pieces air dry. You could also use a heat gun, if you cannot wait, but it did not take too long to dry. If you watched my video where I showed all my crafty things that I took with me to Sweden, to our new house, you would know that I don’t have a die-cutting machine at the moment. Luckily, I had a few snowflake die cuts left over from the cards I made last year, so I did not need a die-cutting machine. The die-set used for the snowflakes is the Snowflake Trio Dies by WPlus9. I used the biggest and the smallest snowflake. For the bigger snowflake I used a white card stock and for the smaller snowflake I used a glitter card stock in gold and silver. 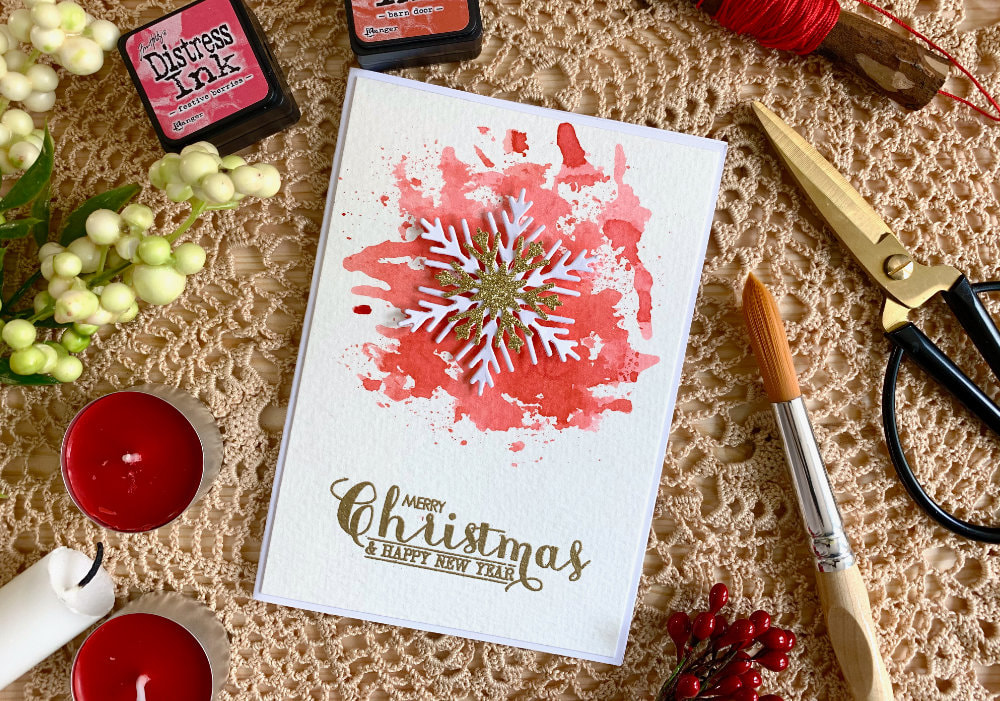
I adhered the smaller snowflake on top of the big one using a liquid glue. To adhered the snowflake on top of the panels I used a double sided foam tape that I doubled up for more dimension.
Before adhering the snowflake onto the card base, I first worked on the sentiment. On the card form last year I used different sentiment. I thought I took it with me, but the stamp is part of a different stamp set that I left in Germany. So after going through my stash I decided to use the same stamp set from Clearly Besotted, I used on my previous card. And thinking of it now, the stamp is much better than I originally used, as there is less white space. I was going to use a black ink, just like I did on the initial card, but I thought let’s step it up a notch and use an embossing powder. 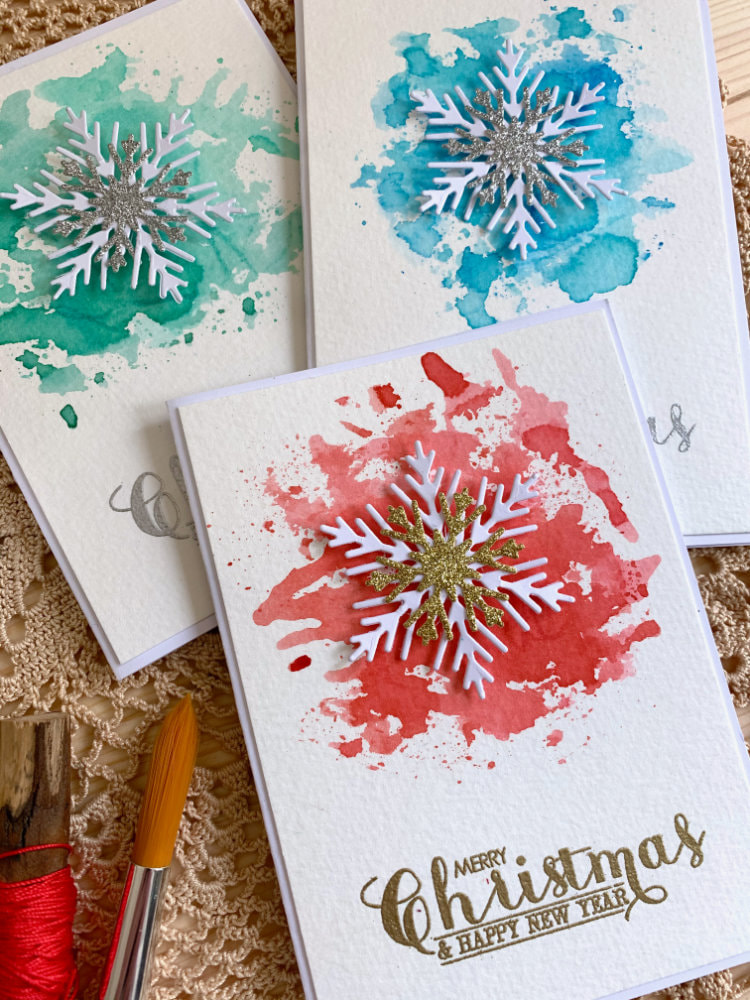
So I first treated the card stock with anti-static powder to remove the static. For the ink I used the Versamark ink, which is a sticky ink and then I applied the embossing powder. Silver to match the silver snowflake and gold to match the golden snowflake. To melt the powder I used my heat gun until it was smooth.
Next I adhered the snowflakes right over the painted background. And lastly I adhered the panel on top of a white card base using a double sided tape. You could also use a double sided foam tape to add a little bit more dimension. You could add splatter when making the background. You could also add some embellishments, like sequins if you want. I always forget about embellishments, but I don’t think the card needs them as the glitter snowflake and the sentiment add some sparkle. 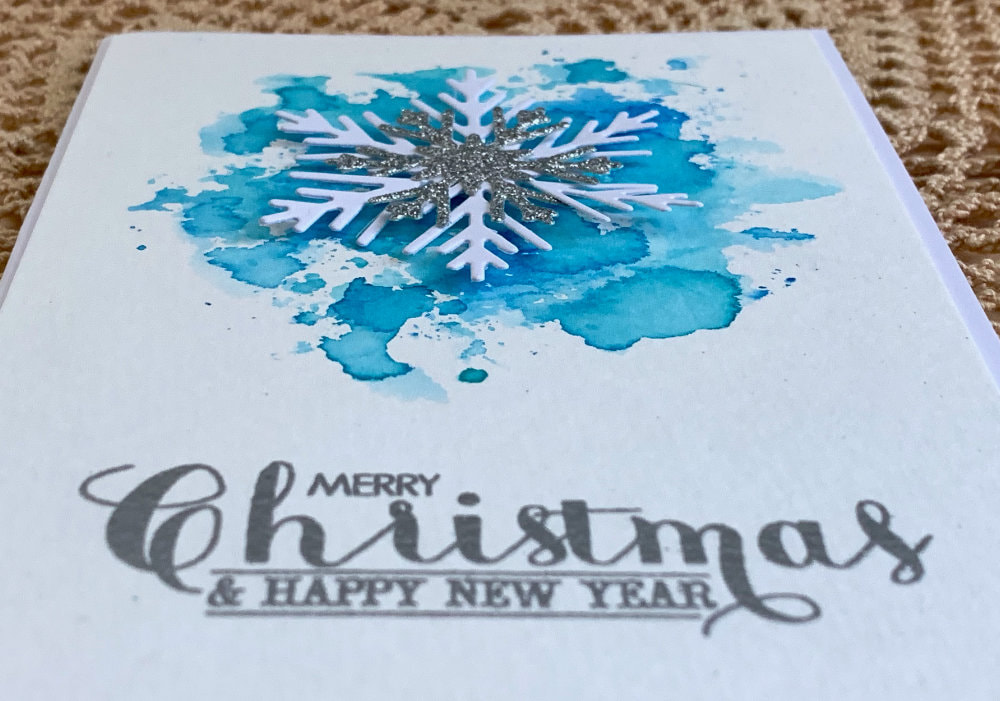
QUICK STEP-BY-STEP HOW TO
That’s all for my project today. Thanks so much for stopping by today, and have a great day! VIDEO TUTORIAL
Watch the video below or on my YouTube Channel.
PRODUCTS USED
Disclaimer: I’m currently not using any affiliate links. These links are just to help you find the products. The list includes alternatives to what I was using and while I haven't used some of them, I only recommend brands I trust.
Canson, Cold Pressed Watercolour Card Stock, 300gsm A5
AmazonDE | AmazonUK Glitter Card Stock, Gold & Silver AmazonDE | AmazonUK Color Copy , White Paper, A4 300gsm/140lb (card base) AmazonDE | AmazonUK Crafter's Companion, Heat Resistant Acetate AmazonDE | AmazonUK Tim Holtz Distress Mini Ink, Kit 1 (Peacock Feathers) AmazonDE | AmazonUK Tim Holtz Distress Mini Ink, Kit 2 (Salty Ocean) AmazonDE | AmazonUK Tim Holtz Distress Mini Ink, Kit 12 (Pine Needles) AmazonDE | AmazonUK Tim Holtz Distress Mini Ink, Kit 15 (Lucky Clover, Candied Apple) AmazonDE | AmazonUK Tim Holtz Distress Mini Ink, Kit 5 (Barn Door) DaniPeussDE | CraftingUK WPlus9, Snowflake Trio Dies SevenHillsCraftsUK Clearly Besotted, Most Wonderful Clear Sticky Back Plastic Book Cover (for laminating a card stock) AmazonDE | AmazonUK WOW! Embossing Powder, Metallic Silver AmazonDE | AmazonUK WOW! Embossing Powder, Metallic Gold AmazonDE | AmazonUK Dovecraft, Foam Squares AmazonDE | AmazonUK Sellotape Double Sided Tape AmazonDE | AmazonUK Tonic Studios, Guillotine A4 AmazonDE | AmazonUK Crafting Mat, Black AmazonDE | AmazonUK CHECK OUT MY OTHER CHRISTMAS CARD VIDEOSPIN ME
Did you like the card? I would love, if you pinned it to your board on Pinterest!
0 Comments
Leave a Reply. |
FOLLOW ME
SEE MORE


CATEGORIES
All
Stamping Die Cutting Using Stencil Heat Embossing Embossing or Texture Paste Distress Inks Nuvo Products Stamping & Colouring Stamping With Solid Stamps Watercolouring Watercolour Pencils Waterbased Markers Pencil Colouring Alcohol Markers Altenew Markers Zig Brush Markers Easy Backgrounds Stamped Backgrounds Small Stamp Ideas Simple Cards Complex Cards Cardmaking For Beginners All
Painting With Acrylics Painting With Gouache Painting With Watercolours Drawing With Fineliner Minimal Supplies Cards Christmas & Holiday
Love & Valentine Mother's Day Father's Day Halloween Spring Cards Summer Cards Autumn/Fall Cards Winter Cards Cards For Children Cards For Women Cards For Men Thank You Cards Sympathy Cards Get Well Soon Cards Floral & Leav Cards Rainbow Colours Messy Watercolouring Modern Art Inspirations Geometric Patterns Landscape Painting Acrylics
Gouache Watercolours Watercolour Pencils Waterbased Markers Distress Inks Alcohol Markers Colouring Pencils No Stamps No Dies Cards
Cardmaking On A Budget Let’s Colour Quick Cards Fun Masculine Cards Background Ideas Distress Ink Combinations |
 RSS Feed
