
Emboss Resist Technique & Distress Ink Background Combination | CHRISTMAS CARDS 2022 #6 + VIDEO30/11/2022  It would not be Christmas cards if I didn't make a card with another Distress ink blending combination and this time I decided to do the emboss-resist technique. Since almost every technique with embossing powders and other colouring mediums is a resist technique, more specifically, I wanted to use clear embossing powder with Distress inks. The clear embossing powder will hold the colour below it and you can have variety of colours without using coloured embossing powders. For this card I used an old stamp set with snowflakes, the stamp set is the Beautiful Blizzard by Newton's Nook Designs, but you can use any other stamp set you want. The card stock I'm using here is the Plain white from Paper Mill Direct, which is a UK company. You can use any card stock that you like to use with Distress inks.  This card has two layers of embossing and Distress inking. I started by stamping and heat embossing the snowflakes. This would mean the snowflakes will have the colour of the card stock, which is a little bit off-white. If you would like the first set of snowflakes to have another colour, you apply the Distress inks first. You want to start with a lighter ink and then apply darker shades. I spread the stamps across the card stock, leaving enough space for the second layer. I also used the Mini Misty stamping tool for the stamping. Next I treated the card stock with an antistatic powder and stamped the snowflakes using the Versamark ink. Then I sprinkled it with the clear embossing powder and heat set it with my heat tool. Fun fact, the clear embossing powder I used, I bought right at the beginning when I started card making, about seven years ago. I don't use it that often, so the bottle is completely full. And actually, I have never used up a single bottle of embossing powder. However, white and gold are very close to the finish line. 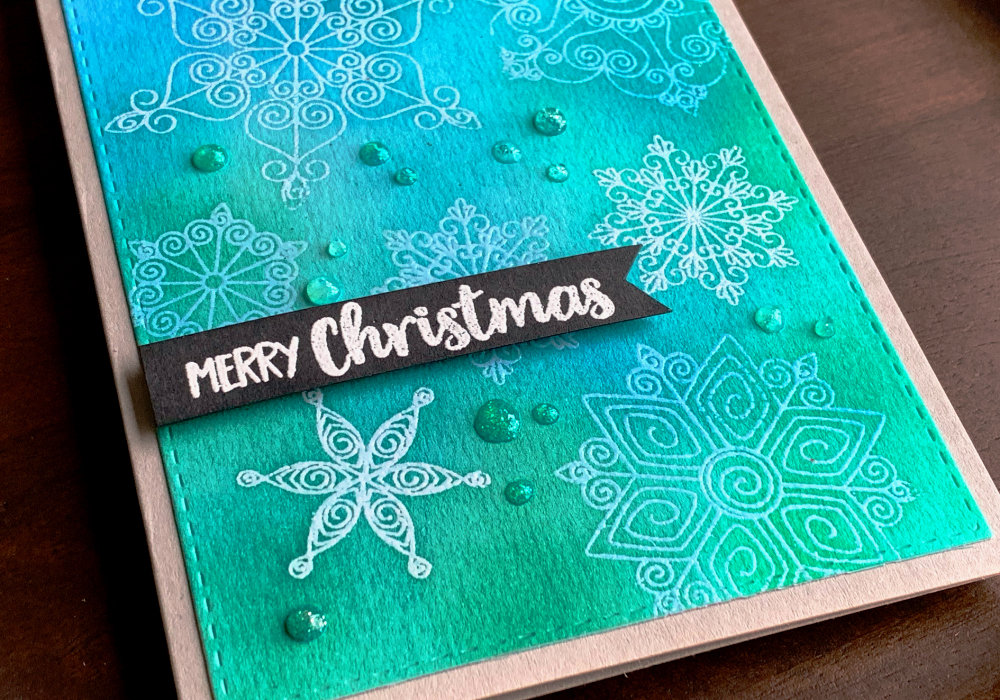 Next I applied one colour of Distress inks, more specifically Salty Ocean across the whole background. As I was applying the ink, the embossed snowflakes stayed white and were resisting the ink. After I was happy with the application, I let the panel fully dry and as I don't like using a heat tool - for me it never works getting the Distress inks dry (or I don't have the patience) - I let it dry over night. I was making the card in the evening, so that wasn't a problem. Also my application of the ink wasn't perfect, there were a few blotches, which didn't bother me. I don't know if it's because of the ink not being as juicy or it's the card stock. The thing is, every time I'm blending Distress inks, the first layer always takes me the most time. The layers afterwards, go on much smoother. Once the panel was dry I stamped the second layer of the snowflakes, making sure they are all evenly spaced up to fill up the rest of the background.  At first I was thinking that I will stamp a few snowflakes and for each I will apply different Distress inks. This would be however a little bit time consuming, so I decided to add one solid colour for the first layer and multiple for the second. I used the inks Peacock Feathers, Lucky Clover, Pine Needles and I also added the Salty Ocean once again. I applied the colours randomly, in this case I didn't have any specific look in mind. And again, as I was applying the ink the embossed snowflakes did not soak up the colour and stayed the colour of the layers below. Some of them were white as the card stock and some were blue as the Salty Ocean background. For the greeting I used a banner with a Merry Christmas sentiment, which I already had pre-made. It was a left over from last year's Christmas card making. The greeting is heat embossed in white on a black card stock and cut into a banner. 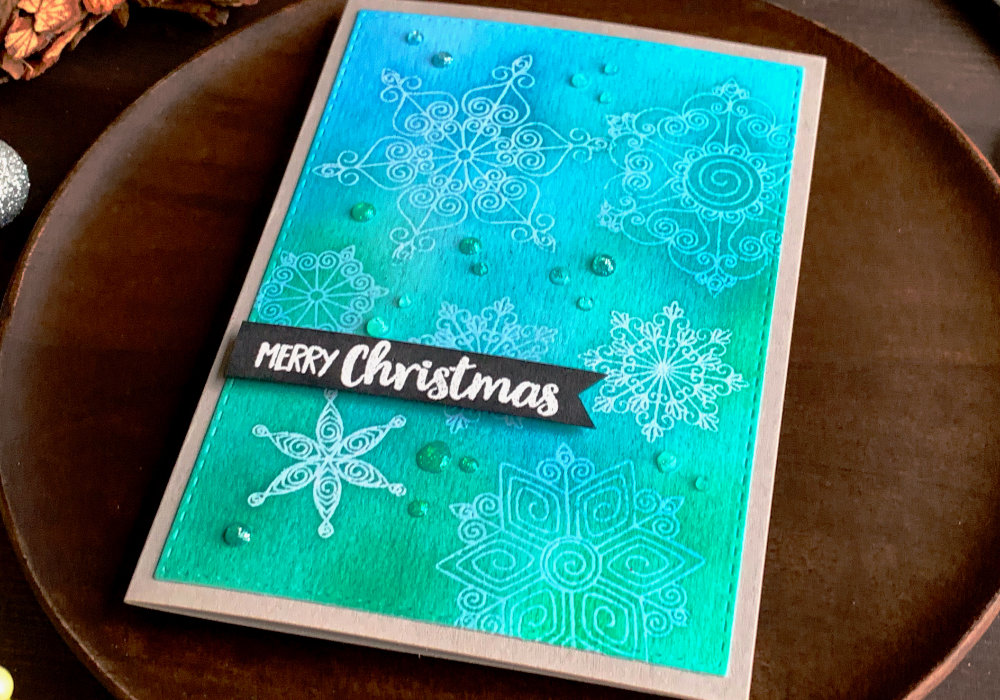 To finish up the card, I adhered the background with the snowflakes onto a grey card base using a simple double-sided tape and the banner I adhered using a foam tape. Lastly, to add a little bit sparkle to the card, I added the Nuvo Glitter Drops across the panel. I used three different colours, the Aquatic Mist, White Blizzard and Silver Moon Dust. You can see a quick video of me making this card on my YouTube channel or Instagram and make sure you subscribe/follow. QUICK VIDEO TUTORIALWatch the video below or on my YouTube Channel. YOU MIGHT ALSO LIKE   PIN MEDid you like the card? I would love, if you pinned it to your board on Pinterest! 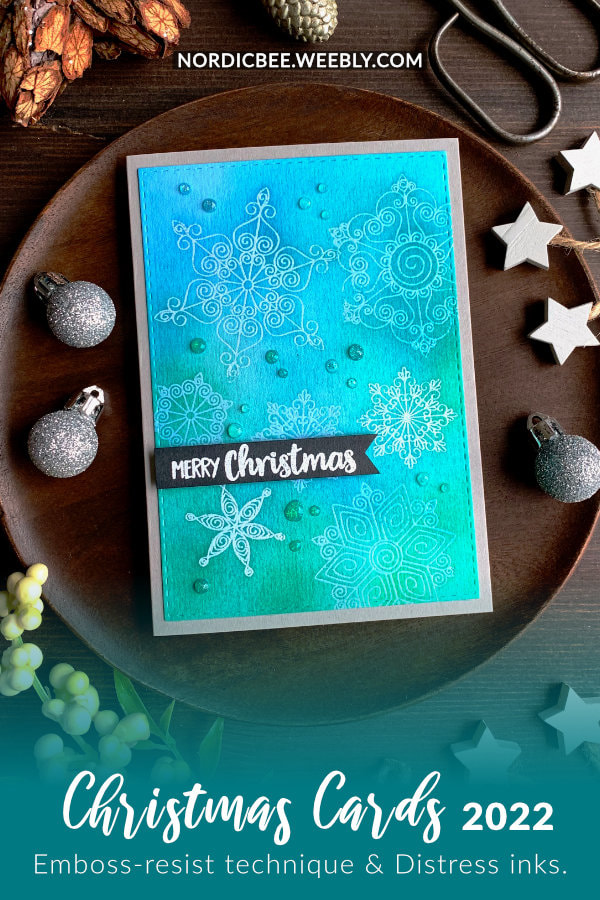
0 Comments
Leave a Reply. |
FOLLOW ME
SEE MORE


CATEGORIES
All
Stamping Die Cutting Using Stencil Heat Embossing Embossing or Texture Paste Distress Inks Nuvo Products Stamping & Colouring Stamping With Solid Stamps Watercolouring Watercolour Pencils Waterbased Markers Pencil Colouring Alcohol Markers Altenew Markers Zig Brush Markers Easy Backgrounds Stamped Backgrounds Small Stamp Ideas Simple Cards Complex Cards Cardmaking For Beginners All
Painting With Acrylics Painting With Gouache Painting With Watercolours Drawing With Fineliner Minimal Supplies Cards Christmas & Holiday
Love & Valentine Mother's Day Father's Day Halloween Spring Cards Summer Cards Autumn/Fall Cards Winter Cards Cards For Children Cards For Women Cards For Men Thank You Cards Sympathy Cards Get Well Soon Cards Floral & Leav Cards Rainbow Colours Messy Watercolouring Modern Art Inspirations Geometric Patterns Landscape Painting Acrylics
Gouache Watercolours Watercolour Pencils Waterbased Markers Distress Inks Alcohol Markers Colouring Pencils No Stamps No Dies Cards
Cardmaking On A Budget Let’s Colour Quick Cards Fun Masculine Cards Background Ideas Distress Ink Combinations |
 RSS Feed
