
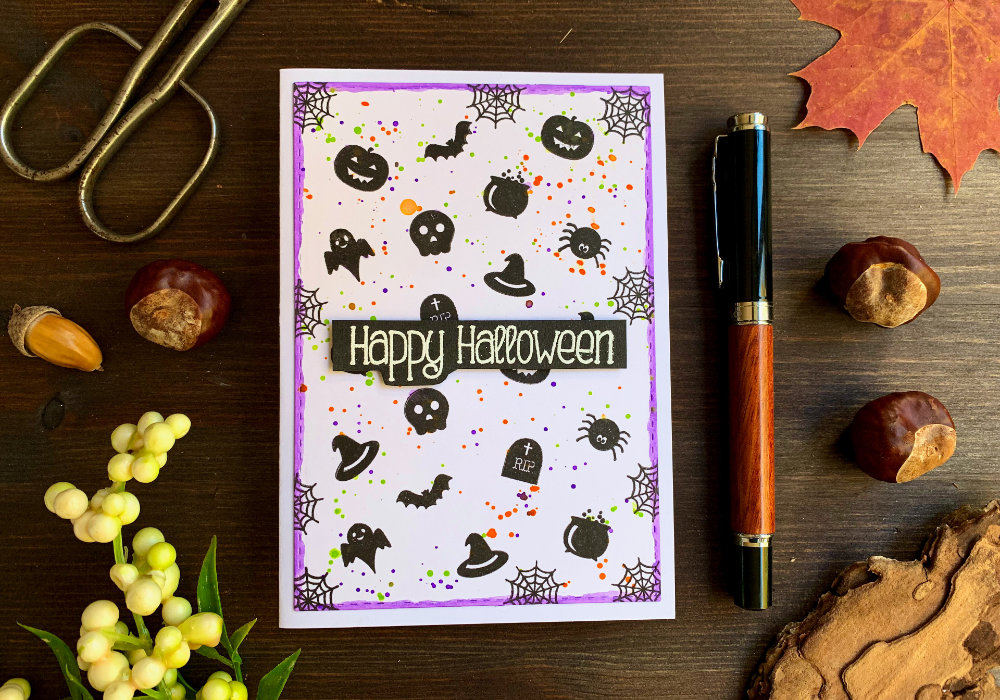
 Earlier this year I finally managed to pick up the rest of my crafting stash that I had stored at my parents house, which included my Halloween stamp sets. One of the stamp sets has these very tiny solid stamps and I thought I will use them to create a very simple background. I used the Bristol card stock from Canson as it's very smooth and is great for stamping. It also can handle some water, while this is mainly about stamping, I will be using a little bit of water later. 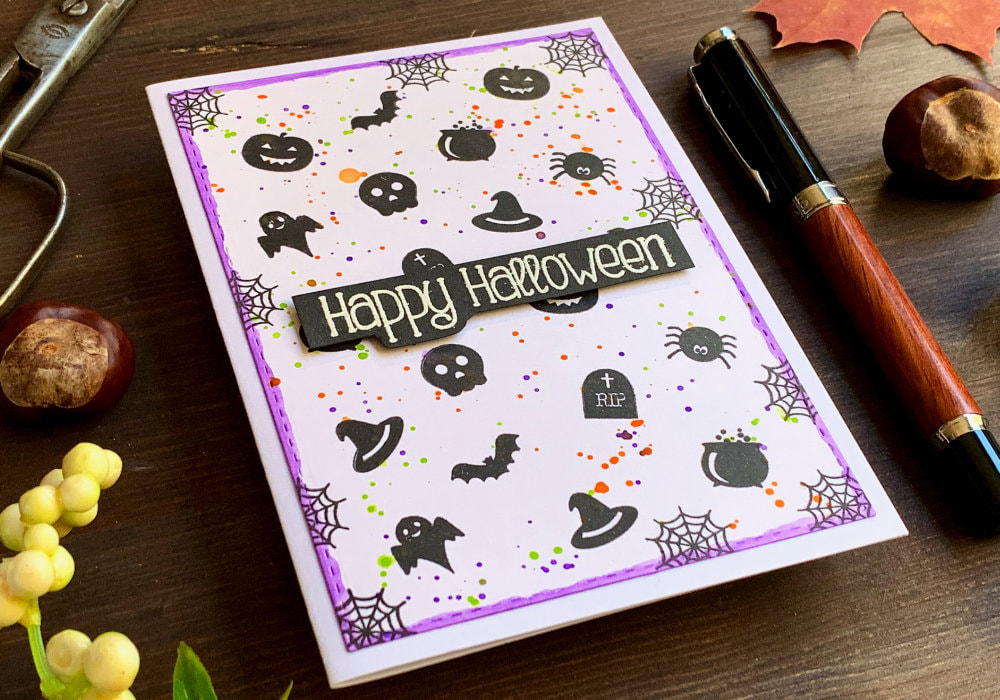 I taped the the card stock panel onto a board, to prevent it from moving, so I can stamp easily. I had all my tiny stamps attached to individual acrylic blocks and I stamped them using the Versafine ink in Onyx black. I was switching between the stamps to create a simple background pattern. Once I had the whole background covered, I waited a bit for the ink to dry and then I added some splatter. I used Distress inks that I squished onto an acrylic block and mixed them with water. You can also use watercolours if you want, but I like the colours of the Distress inks as they are perfect for Halloween: Wilted Violet, Carved Pumpkin and Twisted Citron. 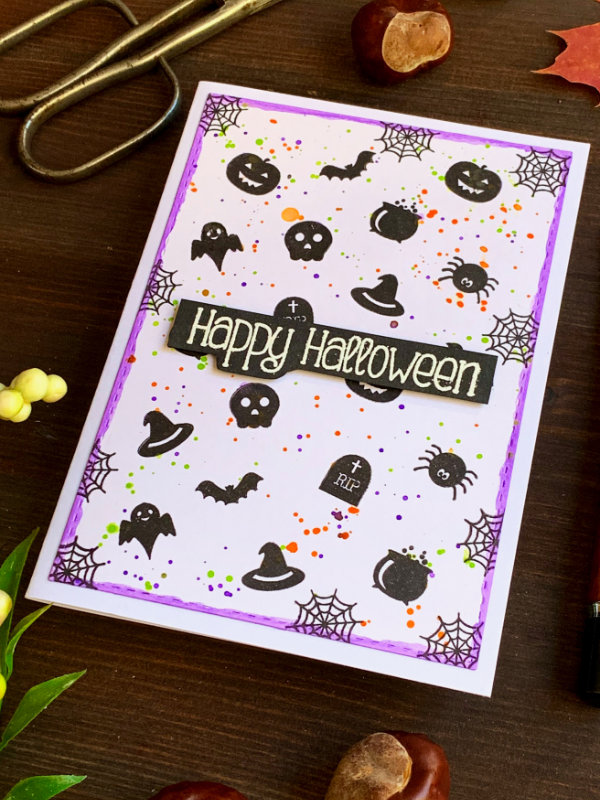 While the background was drying I stamped the greeting. I picked a stamp that says Happy Halloween from my stash and I heat embossed it in white onto a black card stock. I cut it into a banner and then I cut around the bottom to make it thinner. Often when the sentiment is written in lower case and it contains letters like p, y, g and so on, it makes the banner too wide. So sometimes I just take my scissors and cut around the letters and to make the banner with the greeting thinner. Next I die-cut the stamped panel using a stitched rectangular die and I stamped an image with a spider web in the corners of the panel as well as along the edges. 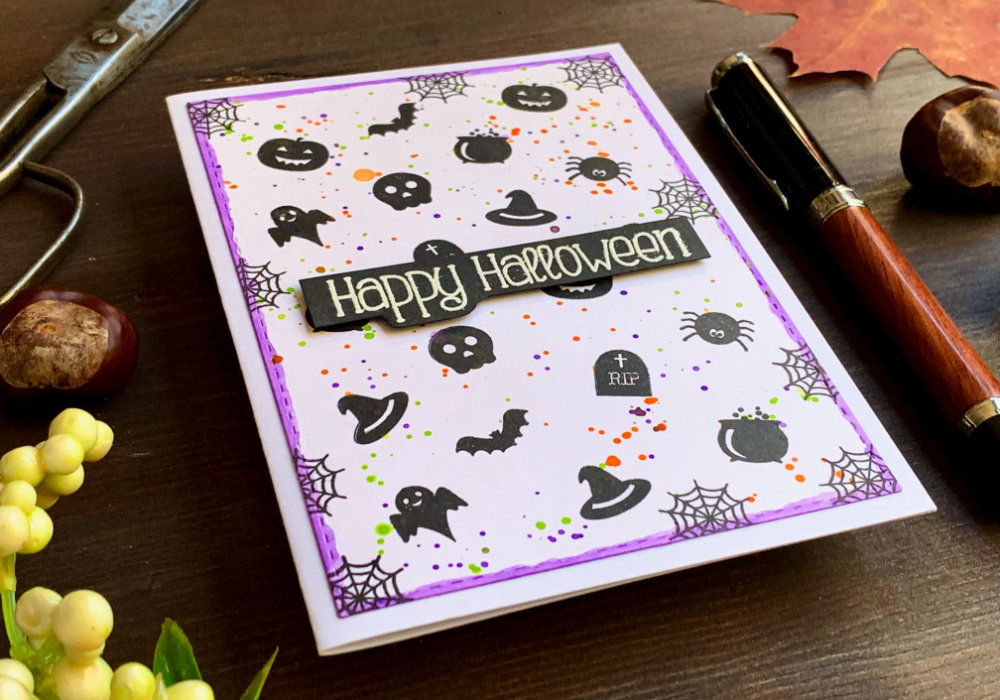 As I wanted to use a white card base, to create a visual separation, I painted the edges of the panel with the purple Distress ink (Wilted Violet), which also adds more colour to the background. And lastly I attached the panel on top of the card base using a simple double-sided tape and the banner I adhered using a foam tape. You can see a quick video of me making this card on my YouTube channel or Instagram and make sure you subscribe/follow. WATCH A SHORT VIDEOWatch the video below or directly on my YouTube channel or Instagram. YOU MIGHT ALSO LIKE  PIN MEDid you like the card? I would love, if you pinned it to your board on Pinterest! 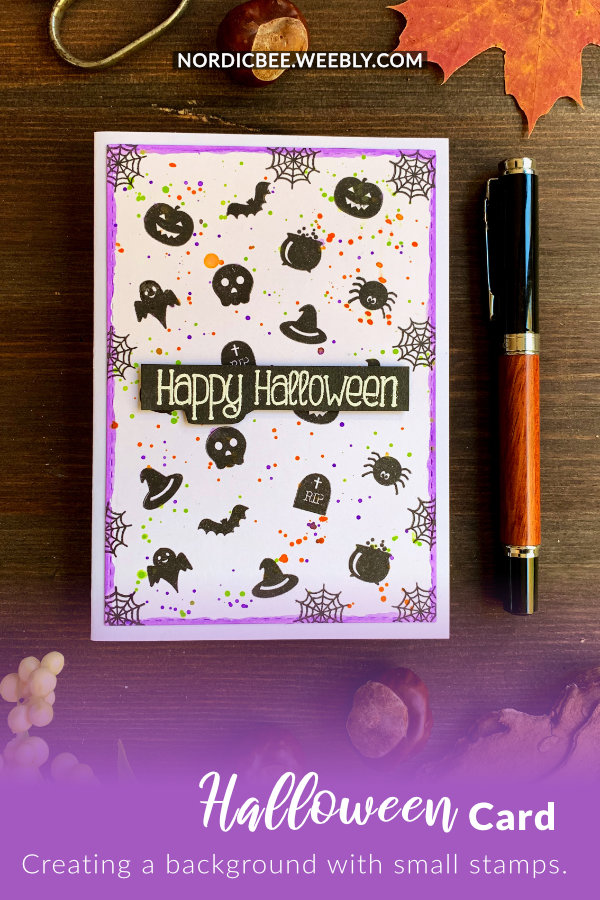
0 Comments
Leave a Reply. |
FOLLOW ME
SEE MORE


CATEGORIES
All
Stamping Die Cutting Using Stencil Heat Embossing Embossing or Texture Paste Distress Inks Nuvo Products Stamping & Colouring Stamping With Solid Stamps Watercolouring Watercolour Pencils Waterbased Markers Pencil Colouring Alcohol Markers Altenew Markers Zig Brush Markers Easy Backgrounds Stamped Backgrounds Small Stamp Ideas Simple Cards Complex Cards Cardmaking For Beginners All
Painting With Acrylics Painting With Gouache Painting With Watercolours Drawing With Fineliner Minimal Supplies Cards Christmas & Holiday
Love & Valentine Mother's Day Father's Day Halloween Spring Cards Summer Cards Autumn/Fall Cards Winter Cards Cards For Children Cards For Women Cards For Men Thank You Cards Sympathy Cards Get Well Soon Cards Floral & Leav Cards Rainbow Colours Messy Watercolouring Modern Art Inspirations Geometric Patterns Landscape Painting Acrylics
Gouache Watercolours Watercolour Pencils Waterbased Markers Distress Inks Alcohol Markers Colouring Pencils No Stamps No Dies Cards
Cardmaking On A Budget Let’s Colour Quick Cards Fun Masculine Cards Background Ideas Distress Ink Combinations |
 RSS Feed
