
 I have been card making for a few years now, but I have never made envelopes. This was mainly because I didn't have the We R Memory Keepers punch board, or dies, which all of the card makers I watch are using. I also thought you need a specific sized card stock. Well... I did some research and found out that you do not need any of this, especially if you are making cards for regular sized cards - A6 in metric A2 in the US. If you need bigger envelopes you might need a bigger card stock, but you can follow the steps below as the process is the same. PRODUCTS
 I used additional products, but these are optional. To make more precise measurements I used:
To have straight and smooth cuts, I used:
 PAPER If you are making an envelope for A6 card you need A4 paper and if you are making US A2 card you need the 8.5"x11" paper. You want a paper that is lighter so it's easier to fold. I used 120gsm paper, which in the US should be around 44lb. You can use plain paper, pattern paper, wrapping paper and so on. QUICK AND EASY WAY TO FOLD While I added a few more steps, with additional products, which most card makers would have, all you need to do is to use your card as a template and fold the sides of your paper. I wanted to be more precise and that's why I used additional products. BASICS FOR BOTH ENVELOPES
 HOW TO MAKE AN ENVELOPE WITH A SQUARE FLAP(Measurements for A4 paper)
Extra tips:
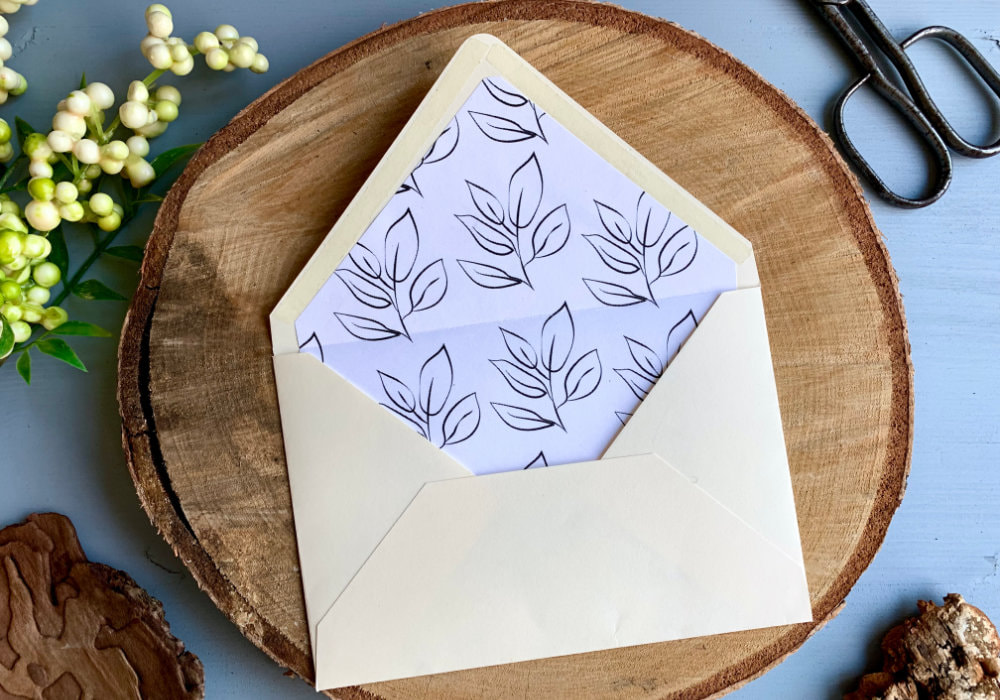 HOW TO MAKE AN ENVELOPE WITH A TRIANGLE FLAP(Measurements for A4 paper)
Extra tips:
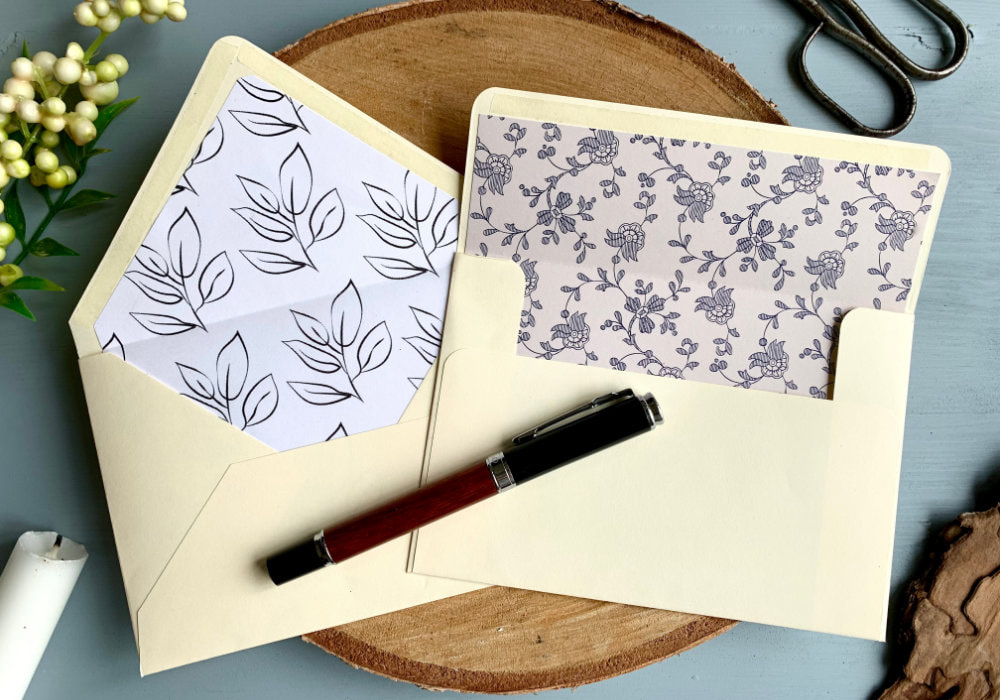
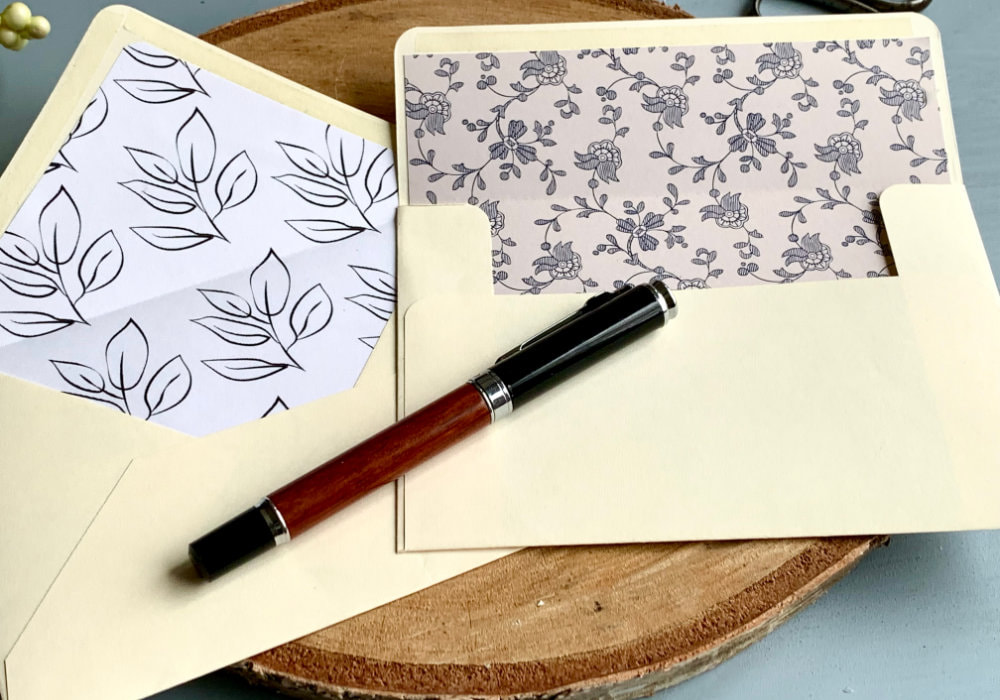
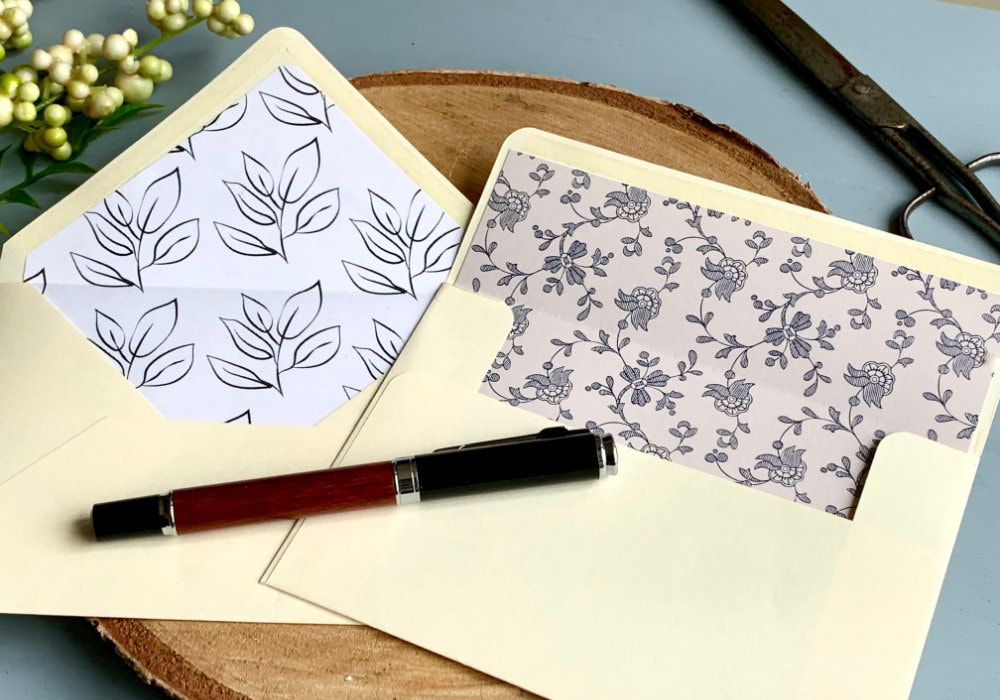
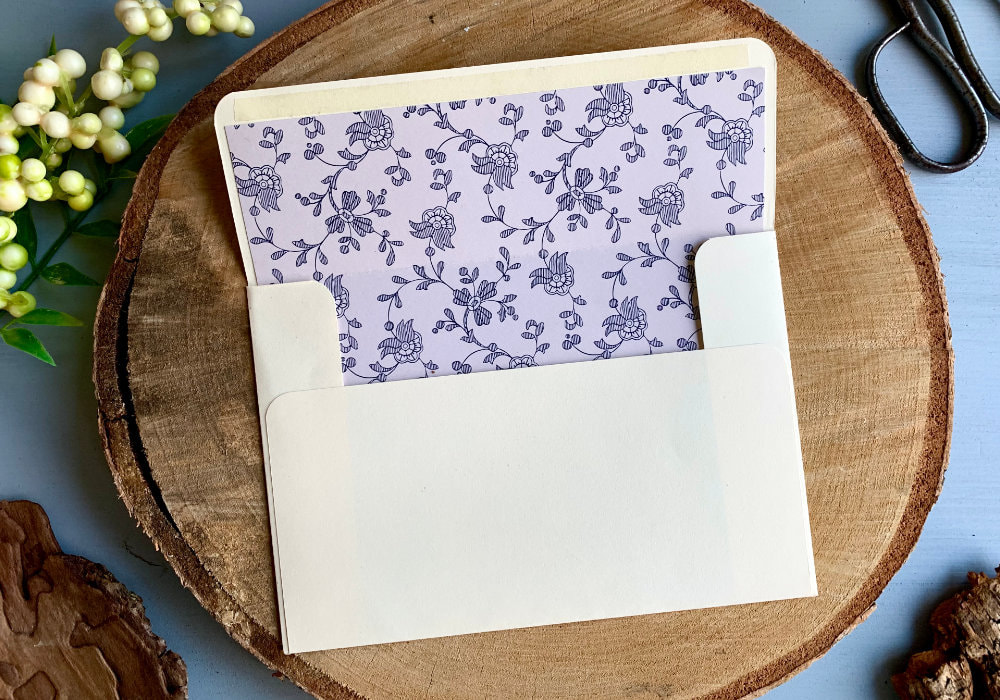
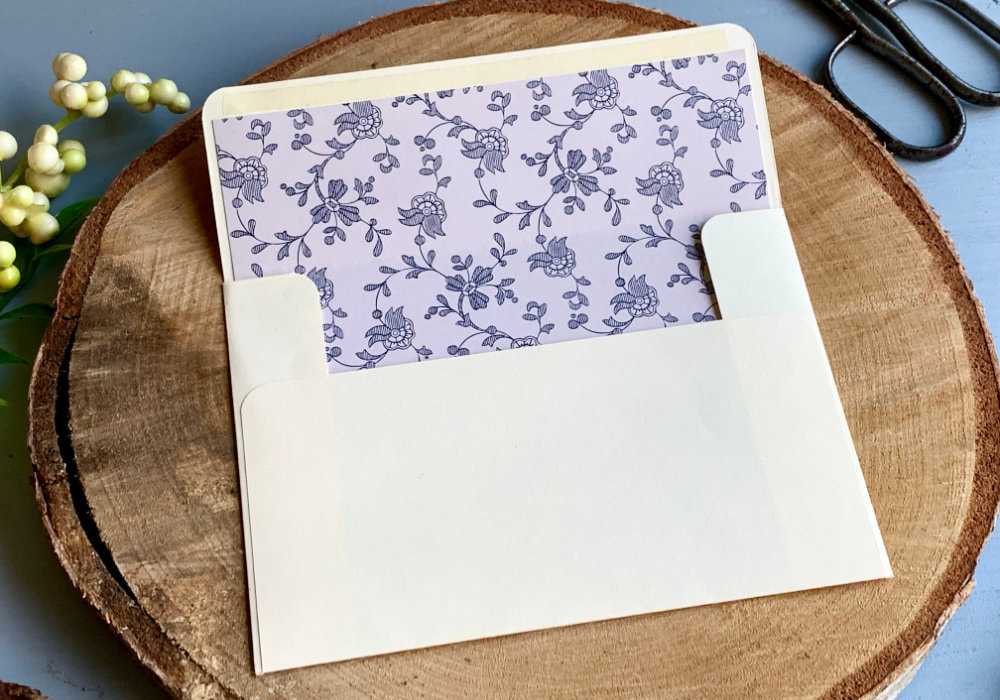 HOW TO MAKE ENVELOPE LINERSWhat are envelope liners? These are inserts made out of a decorative paper that go inside of your envelope. The paper tends to be lighter. You can use pattern paper, wrapping paper, you can print or stamp your design. There are many options. And while I'm decorating the envelopes I made myself, you can also decorate store-bought envelopes. IMPORTANT: Regardless of the type of the envelope, you only need to put the adhesive at the top flap of the liner. Do not put it at the bottom, as the liner needs to move when you open and close the envelope. Decorating The Square Flap Envelope The envelope with a square flap was easy to decorate. I used a 6x6 pattern paper which fitted the envelope perfectly, no cutting needed. I placed the paper inside of the envelope and used the ruler and the bone folder to create the flap. Then I applied an adhesive over the top flap, made sure the liner is centered and closed the the envelope adhering the flaps together. 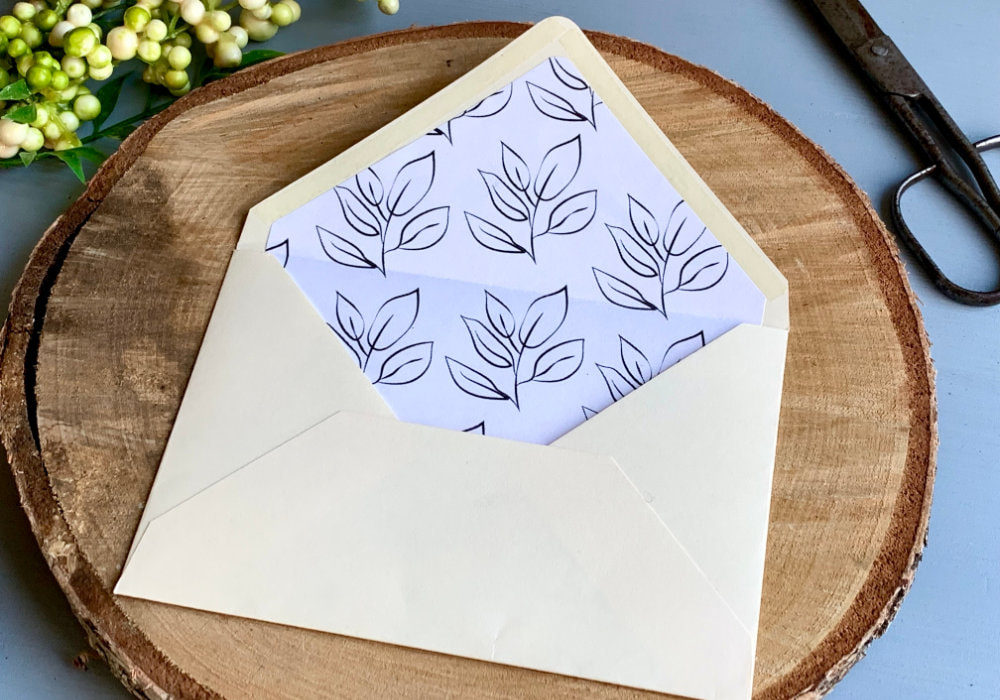 Decorating The Triangle Flap Envelope For the liner to decorate the envelope with the triangle flap I created my own pattern. I used canva.com to create a simple black and white pattern using a leaf image and I printed it out onto a regular printer paper. I cut the paper in half, this way I have a liner for two envelopes. Next I needed to create a triangle for the top flap, to do that, I measured the middle of the paper at the top and made a mark. Then I placed the paper inside of the envelope and made two marks on each side where I want the triangle to end. Using my paper trimmer I cut the triangle. If the paper is too long, cut a centimeter or two at the bottom as well. I placed the liner inside of the envelope and using the ruler and the bone folder I made the fold. Lastly I applied the adhesive over the top flap, making sure the liner is centered and closed the the envelope adhering the flaps together. I hope you found this blog post helpful, you can watch the tutorial video over on my YouTube channel and if you have any questions just ask in the comment section below. VIDEO TUTORIALWatch the video below or on my YouTube Channel. PRODUCTS USEDCLICK HERE TO SEE TO THE LIST OF PRODUCTS
Clairefontaine Trophée Paper, Creme, A4 120gsm
AmazonDE | AmazonUK EK Success, Scissors AmazonDE | AmazonUK Tesa, Permanent Adhesive Tape Runner AmazonDE | AmazonUK Sellotape Double Sided Tape AmazonDE | AmazonUK Faber Castell, HB Graphite Pencil AmazonDE | AmazonUK Ruler Crafter's Companion Bone Folder AmazonDE | AmazonUK Crafting Mat, Black AmazonDE | AmazonUK Fiscars, Guillotine A5 AmazonDE | AmazonUK Precision Craft Knife AmazonDE | AmazonUK Corner Rounder Punch AmazonDE | AmazonUK Disclaimer: Here you can find the products I used to make this card. Please note that the products are just a guide, you don't need the exact products or brands. For most of the products I include links to the shops where you can purchase these items if available. As I live in Europe, I provide links to UK and German stores. These are not affiliate links and every products I used for this card I purchased myself. PIN MEDid you like the card? I would love, if you pinned it to your board on Pinterest! 
0 Comments
Leave a Reply. |
FOLLOW ME
SEE MORE


CATEGORIES
All
Stamping Die Cutting Using Stencil Heat Embossing Embossing or Texture Paste Distress Inks Nuvo Products Stamping & Colouring Stamping With Solid Stamps Watercolouring Watercolour Pencils Waterbased Markers Pencil Colouring Alcohol Markers Altenew Markers Zig Brush Markers Easy Backgrounds Stamped Backgrounds Small Stamp Ideas Simple Cards Complex Cards Cardmaking For Beginners All
Painting With Acrylics Painting With Gouache Painting With Watercolours Drawing With Fineliner Minimal Supplies Cards Christmas & Holiday
Love & Valentine Mother's Day Father's Day Halloween Spring Cards Summer Cards Autumn/Fall Cards Winter Cards Cards For Children Cards For Women Cards For Men Thank You Cards Sympathy Cards Get Well Soon Cards Floral & Leav Cards Rainbow Colours Messy Watercolouring Modern Art Inspirations Geometric Patterns Landscape Painting Acrylics
Gouache Watercolours Watercolour Pencils Waterbased Markers Distress Inks Alcohol Markers Colouring Pencils No Stamps No Dies Cards
Cardmaking On A Budget Let’s Colour Quick Cards Fun Masculine Cards Background Ideas Distress Ink Combinations |
 RSS Feed
