
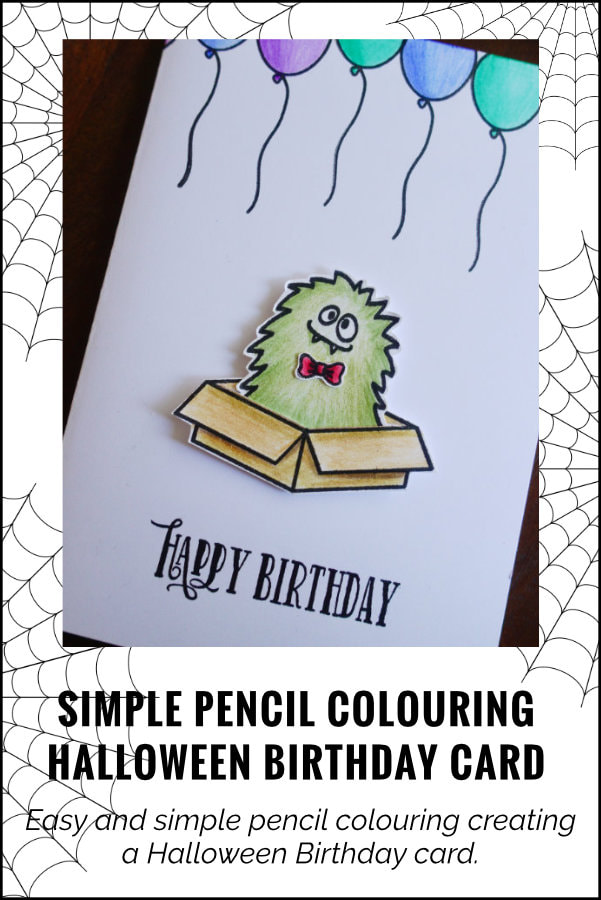
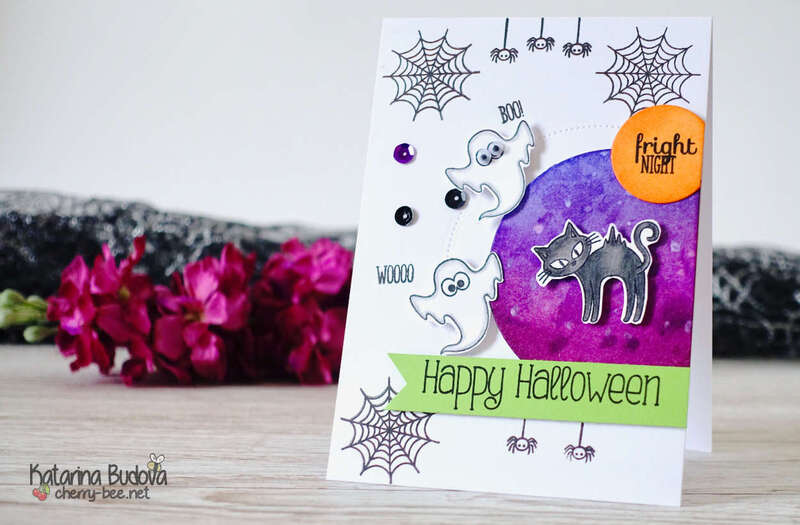
Halloween is around the corner, so it’s only fitting to make a Halloween card. Even though Halloween cards are always fun to make, the problem is that I don’t celebrate it or care for it. Also I don’t think Halloween is really a card giving occasions, maybe invitations or tags for gifts, if you are throwing a party.
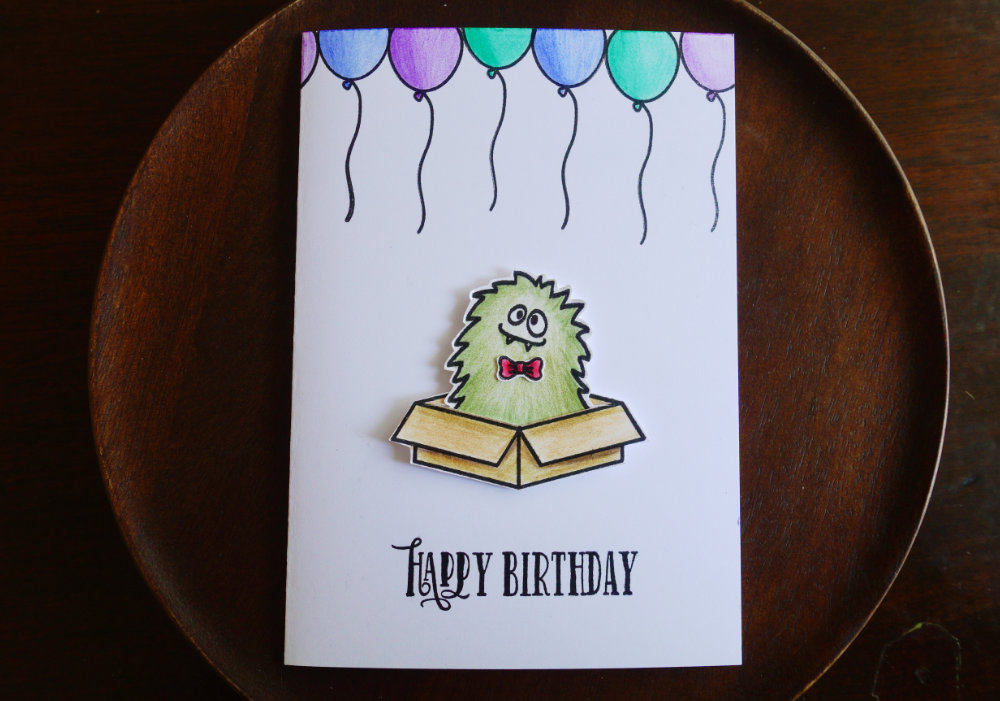
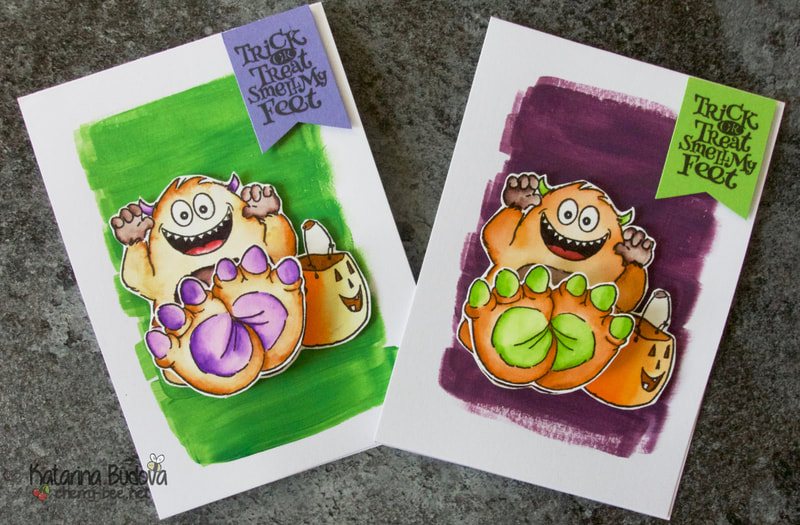
So the best solution for me is to make a sort of a Halloween card, simply by making a Birthday card. I’m using here the stamp set Monsters by Avery Elle, which contains multiple monsters and sentiments not only for Halloween. The stamp set also includes little images, a balloon and an image of a box. The idea is that the images are coming out of the box. I’m not sure if this stamp set is still available, but all you need is a stamp set with monsters and this is what I had in my stash. I stamped one of the monsters and the box on to a Bristol card stock, using the Versafine ink in Onyx black. Next I coloured the images using my Faber-Castell colouring pencils. You do not need any fancy colouring pencils for this colouring. It might have been a waste using these pencils on these images, as I didn’t do anything detailed. But again, I just used what I had in my stash. 
I picked two shades of green for the monster and three shades of beige and brown for the box. In the video I said two shades for the box, but then I realized it was actually three.
I used multiple shades of the colour just to create little bit of dimension. However, I wasn’t attempting to do anything overly detailed. You can do that, but time-wise, for me it’s not worth it. If I were colouring flowers, I might have taken more time for colouring, but on images like these, I don’t like spending too much time. And I think it’s still looks good. After I was finished colouring, I took my scissors and fussy-cut those images. Since I was making a Birthday card and the stamp set contains one balloon, I decided to stamp a few balloons directly on top of the card base, right at the top edge. Sort of like having helium filled balloons stuck on the sealing. To colour the balloons I took three different pencil colours, this time only one shade each and quickly coloured the balloons. While I didn’t want to spend too much time colouring the balloons, I was trying to create little bit of dimension by applying less colour on one side of the balloon. Then I stamped the sentiment directly on top of the card base. The stamp set with the monsters includes quite a few sentients for multiple occasions, but the Birthday stamp is meant to be stamped on the side of the box and I wanted the sentiment be bellow the monster. So I picked a Happy Birthday sentiment from another stamp set. 
I wanted the monster partially tacked in the box, like he is coming from the box. To do that, I took my crafting knife and cut an opening across the middle of the box, as well as along the front edges.
If you want to avoid using a crafting knife, you could do some masking, when stamping and cut the box and the monster together. Lastly I tacked the monster into the box, I adhered a foam tape on the back and I attached it on top of the card base. QUICK STEP-BY-STEP HOW TO
ALTERNATIVE: To make the card more fun, instead of the foam tape, you can use action wobblers on the back of the monster, which makes the image to wiggle. If you are creating a Halloween card, you might want to pick more Halloweeny colours. And if you don’t want the balloons, you can create sort of a frame using Distress inks. That’s all for my projects today. Thanks so much for stopping by today, and have a great day! VIDEO TUTORIAL
Watch the video below or on my YouTube Channel.
PRODUCTS USED
Disclaimer: I’m currently not using any affiliate links. These links are just to help you find the products. The list includes alternatives to what I was using and while I haven't used some of them, I only recommend brands I trust.
Avery Elle, Monsters (N.A.)
Clearly Besotted, All Occassion Sentiments (N.A.) Canson Bristol Card Stock 250gsm AmazonDE | AmazonUK Color Copy , White Paper, A4 300gsm/140lb (card base) AmazonDE | AmazonUK Tsukineko, Versafine Ink pad, Onyx Black AmazonDE | AmazonUK Faber-Castell, Polychromos Colour Pencils AmazonDE | AmazonUK EK Success, Scissors AmazonDE | AmazonUK My Sweet Petunia, Mini MISTI Stamping Tool StempelmühleDE | BumbleberrysUK Papermania, Stamp Block AmazonDE | AmazonUK Stick It!, Double Sided Foam Tape AmazonDE | AmazonUK Zig 2-Way Glue Pen AmazonDE | AmazonUK Tonic Studios, Guillotine A4 AmazonDE | AmazonUK Crafting Mat, Black AmazonDE | AmazonUK HALLOWEEN CARDS INSPIRATIONS FROM MY OLD BLOG
PIN ME
Did you like the card? I would love, if you pinned it to your board on Pinterest!
0 Comments
Leave a Reply. |
FOLLOW ME
SEE MORE


CATEGORIES
All
Stamping Die Cutting Using Stencil Heat Embossing Embossing or Texture Paste Distress Inks Nuvo Products Stamping & Colouring Stamping With Solid Stamps Watercolouring Watercolour Pencils Waterbased Markers Pencil Colouring Alcohol Markers Altenew Markers Zig Brush Markers Easy Backgrounds Stamped Backgrounds Small Stamp Ideas Simple Cards Complex Cards Cardmaking For Beginners All
Painting With Acrylics Painting With Gouache Painting With Watercolours Drawing With Fineliner Minimal Supplies Cards Christmas & Holiday
Love & Valentine Mother's Day Father's Day Halloween Spring Cards Summer Cards Autumn/Fall Cards Winter Cards Cards For Children Cards For Women Cards For Men Thank You Cards Sympathy Cards Get Well Soon Cards Floral & Leav Cards Rainbow Colours Messy Watercolouring Modern Art Inspirations Geometric Patterns Landscape Painting Acrylics
Gouache Watercolours Watercolour Pencils Waterbased Markers Distress Inks Alcohol Markers Colouring Pencils No Stamps No Dies Cards
Cardmaking On A Budget Let’s Colour Quick Cards Fun Masculine Cards Background Ideas Distress Ink Combinations |
 RSS Feed
