
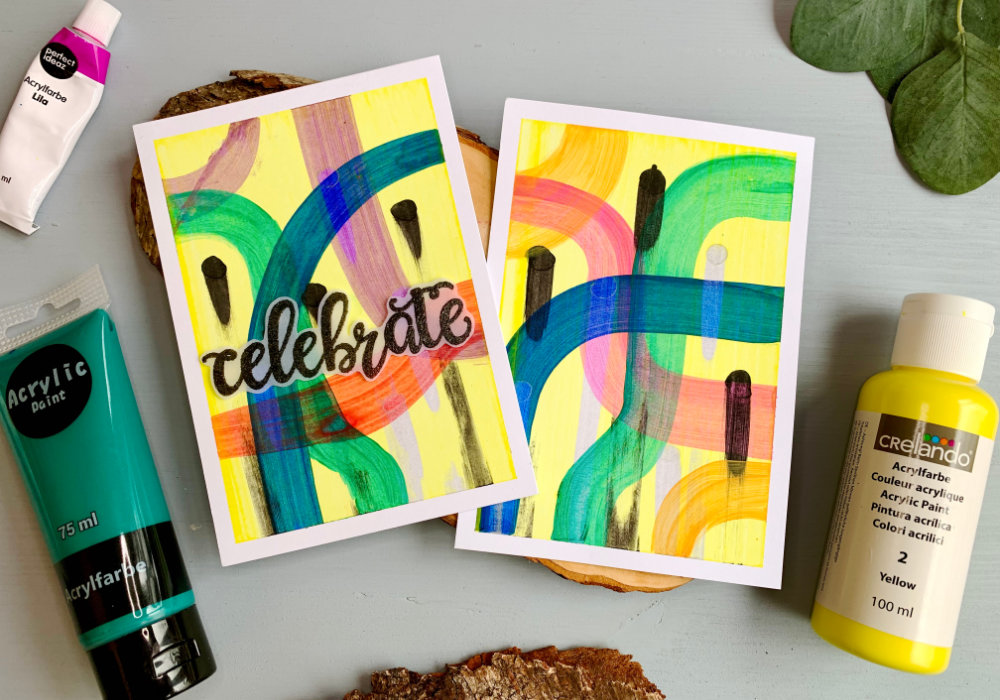
 A few weeks ago I've been scrolling through YouTube Shorts and videos from Andrea Nelson made it into my feed and in one of these videos she was showing something called squeegee art. I've seen this art before and even though I thought it was cool, it looked way too overwhelming. However what Andrea showed, was much simpler. If you want to check out her channel, just click here. If you don't know what squeegee art is, let me explain. It is an abstract art, where you use a squeegee (yes the one you use for cleaning) and acrylic paints and you create bold patterns. You can make the patterns as simple as you want or as complicated as you want. You can even place the paint in a way where after you go over it with the squeegee, it reveals an actual image. Since I am new to this art, acrylic paints are not a painting medium that I use often, this was a learning experience and therefore I would like to use this blog post and share with you what I learned. 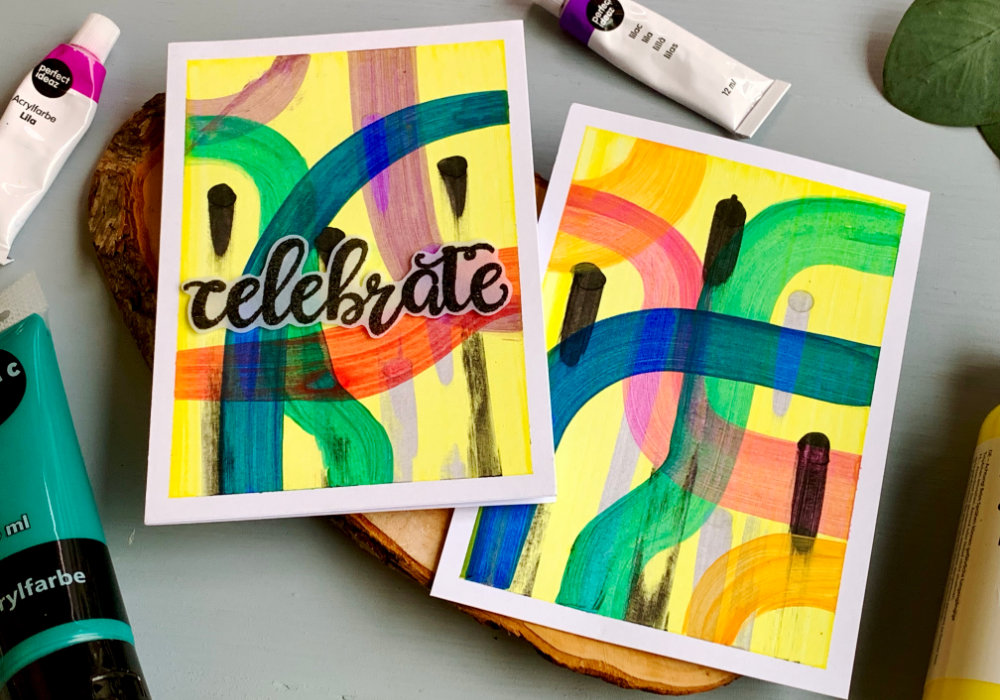 THE SUPPLIES You already might have guessed, you need acrylic paints and a squeegee. I used paints that I had at home, nothing special, just a craft paint. If you don't have any paints at home, I would recommend getting paints that are not too thick but at the same time not too runny. When it comes to squeegee, you can use an actual squeegee, but since I was using a smaller card stock (the size of my card), this squeegee was a little bit too big for me to handle. So I used a 3D printed squeegee, but credit or gift card, laminated card stock or even a piece of card board would be enough. You will also need a card stock. Something smooth. I used a card stock from House of Cards that I bough recently, but Bristol card stock or Neenah Solar white should work as well. You could use a textured card stock, if you wish to see that texture. Washi tape or painters tape is helpful. This keeps the card stock in place and you can put the paint over it if you are making lines from side to side. The squeegee will get dirty, therefore you will need something to clean it. I used both a baby wipe and a kitchen towel. And lastly I also used a palette for the paint, a brush and a jar of water. This is optional, it depends on what paints you use. 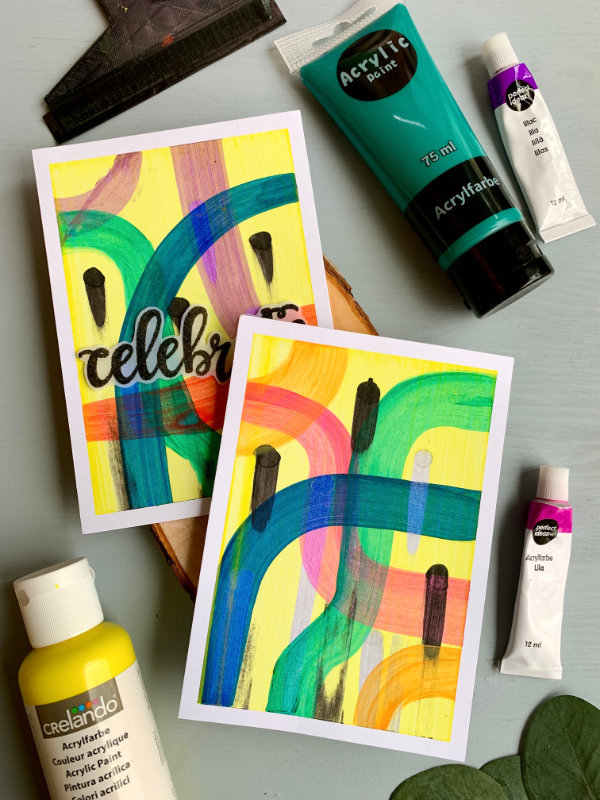 HOW TO PAINT The squeegee art consists mainly of lines in various shapes and sizes. Not everything will look like a line at the end. What I mean, if you scrape the paint over the whole background, like I did on my card with the yellow. You don’t see a line, but technically it is a line. I hope you know what I mean. You start by putting the paint where you want the line to to begin. You can place the paint directly onto the background, but if you want to go from side to side, which I mostly did, you place the paint at the edge of the card stock. In this case I would recommend using washi or painters tape, as you can place the paint over the tape. This makes the application much easier. Once you are happy whee you placed the paint, in both cases, you take the squeegee and you drag the paint to the other side. The shape of the line and the length is up to you. 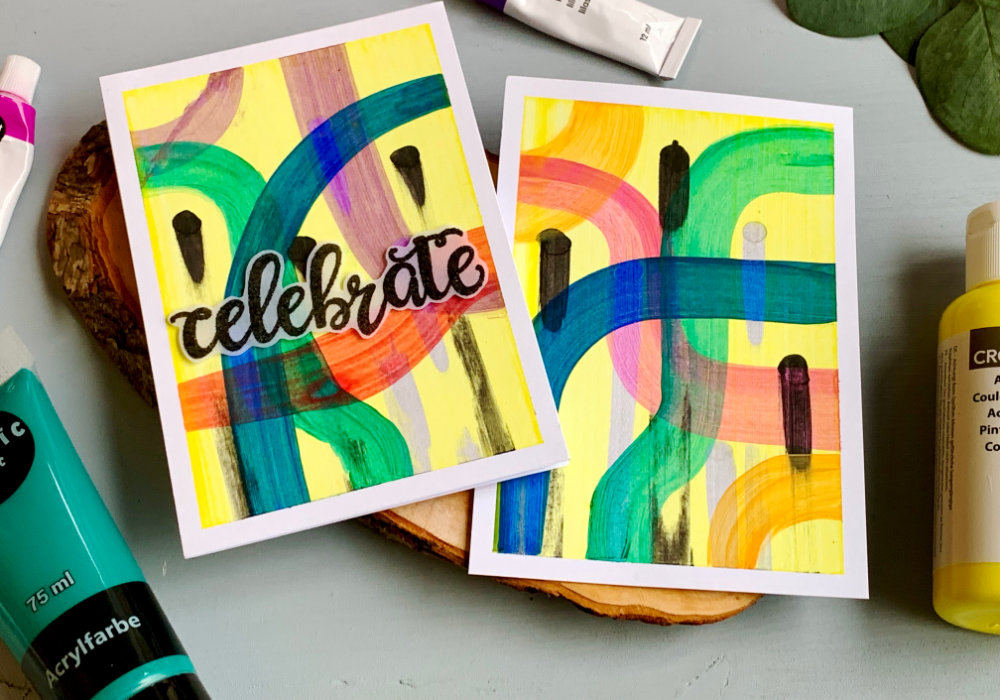 USING A PALETTE AND A BRUSH I had a little bit of trouble using some of the paints in the big bottles. It just was difficult to see where I'm placing the paint. And since I was using a smaller card stock I needed more precision, as I wanted to avoid using too much paint. Otherwise the lines would be too thick. Therefore I decided to squeeze the paint onto a palette, scoop it up with a brush and place it where I want onto the card stock. With a brush I had better control. There are paint bottles with nozzles. I think you can even buy nozzles. This would help with the application. Also I found paints in tubes are easier to handle. And using a brush was also great when I wanted to adjust the line and didn't want to go over it with the squeegee. You don't need to do this, when I was editing the video I realized that it looked good as it was. PAINT CONSISTANCY Each paint is different, not just between the brands but sometimes even between the paints in one set. You just will need to play with the consistency and test what suits you. I preferred something in between - not too thick but not too watery. If your paint is too thick, to make it thiner, I would recommend to start with a damp brush and mix it up a bit and if needed add a little bit more water, just drop by drop or by re-wetting the brush. This is especially if you are like me and do not have much experience using acrylic paints and do not want to make it too watery. 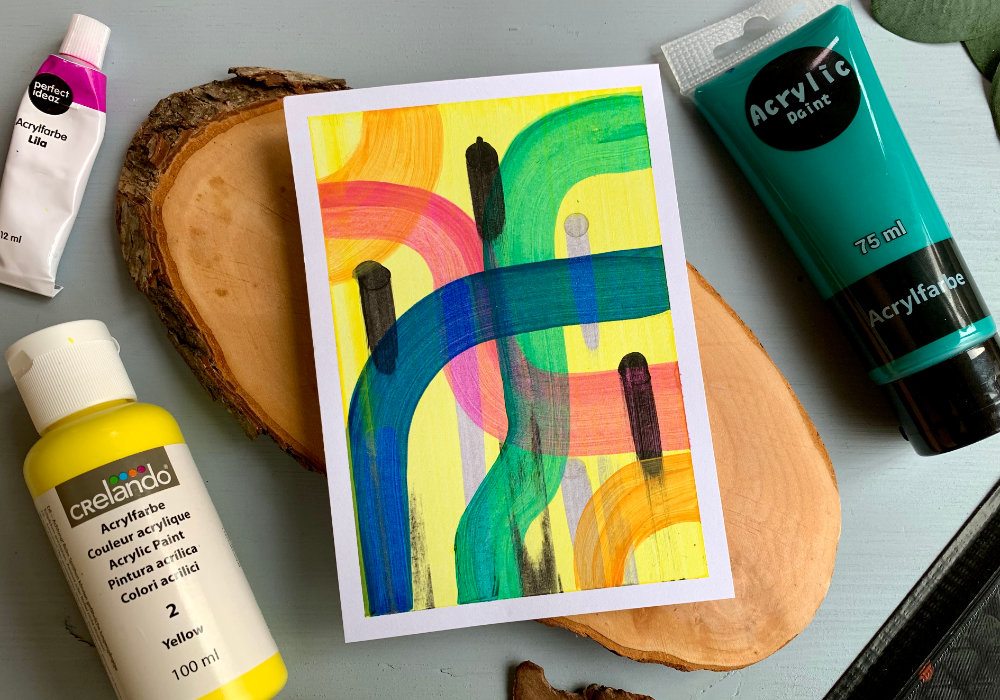 HOW MUCH PAINT TO USE Once I started placing the paint, my next question was - How much paint to use? This differ depending on the size of the card stock you are using. Just like with everything else, you will need to experiment. On a bigger card stock you might have more wiggle room as your lines can be thicker. So if you squeeze more paint then you wanted, you most likely will be fine. Maybe not what you wanted, but not a mistake. If you don't want your lines to be too wide, with a smaller card stock, this gets a bit tricky. This is a bit difficult for me to explain, because you create lines with the squeegee, but you also create either dots or lines whit the paint, when you are applying it to the card stock. But imagine a vertical card stock panel, taped with a washi and you want to make a line from the left side. That’s where you place the paint. If you add the paint and create a vertical line with the paint, the longer the paint-line the ticker the line will be after using the squeegee. To make the line thiner after using squeegee. When placing the paint, you want to add more paint on a smaller surface. Creating a domed blob, or you can also go outwards across the washi. In this case creating a horizontal line with when applying the paint. This is when the nozzle would be very helpful. 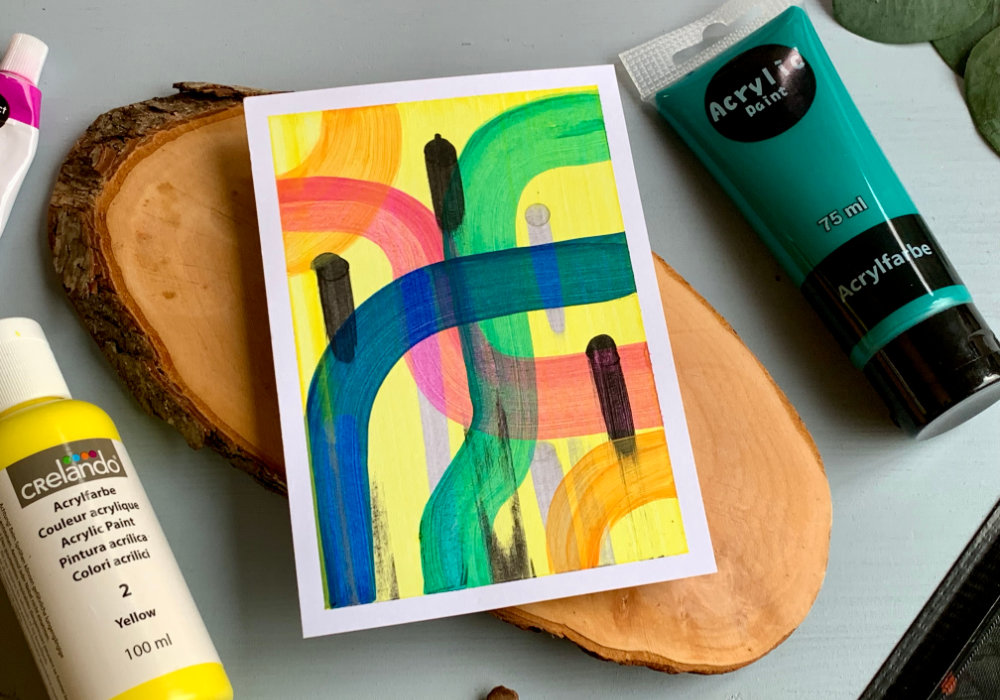 CLEANING It's pretty obvious that you will need to clean the squeegee after each line or each scoop. I first cleaned the squeegee with a baby wipe and to make sure I got all the paint, I wiped the squeegee on a paper towel. The paper towel was not because I needed to dry the squeegee, but because I didn't want any unwanted paint in any unwanted places. And going over with a paper towel, you could see if there is any paint left. However, I also discovered very quickly that I needed to clean the sides - the washi - as well. There was a background I messed up because of that. So before I moved on to a new line, I used the baby wipe and wiped the washi. This might not be needed for you. The paint might be already dry or you scooped it all. But for me this wasn’t the case. 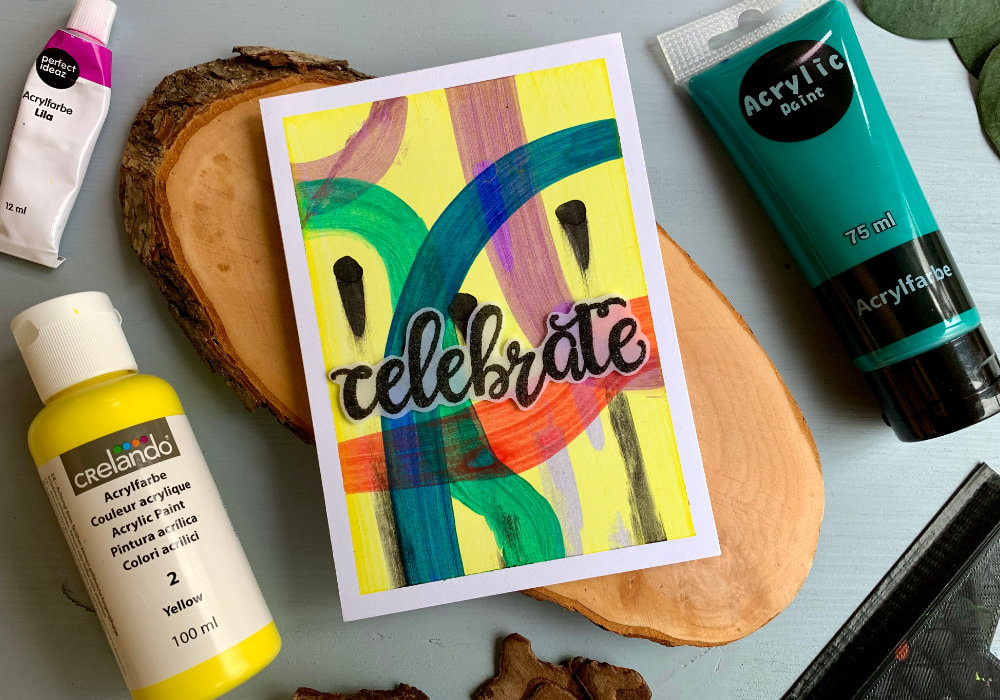 DIFFICULT TO MESS UP I really like this type of art as it's difficult to mess up. Even my trial backgrounds where I made a few mistakes - that I would consider a mistake - I was still able to use as a background. It wasn’t ruined. If you still think you made a mistake, put it to the side. Come back next day and maybe you might change you mind. MAKING THIS BACKGROUND AND CARD Let me quickly tell you how I made the background and the card you see in the photos for this blog post. I started with creating the curved lines. First I added the paint onto the side of the card stock and then I scooped it with the squeegee. I made three lines at first in three different colours - pink, green and blue. Next I added the paint directly onto the card stock, randomly across the panel. I pretty much created domed blobs of paint. I used black and then I also added silver. 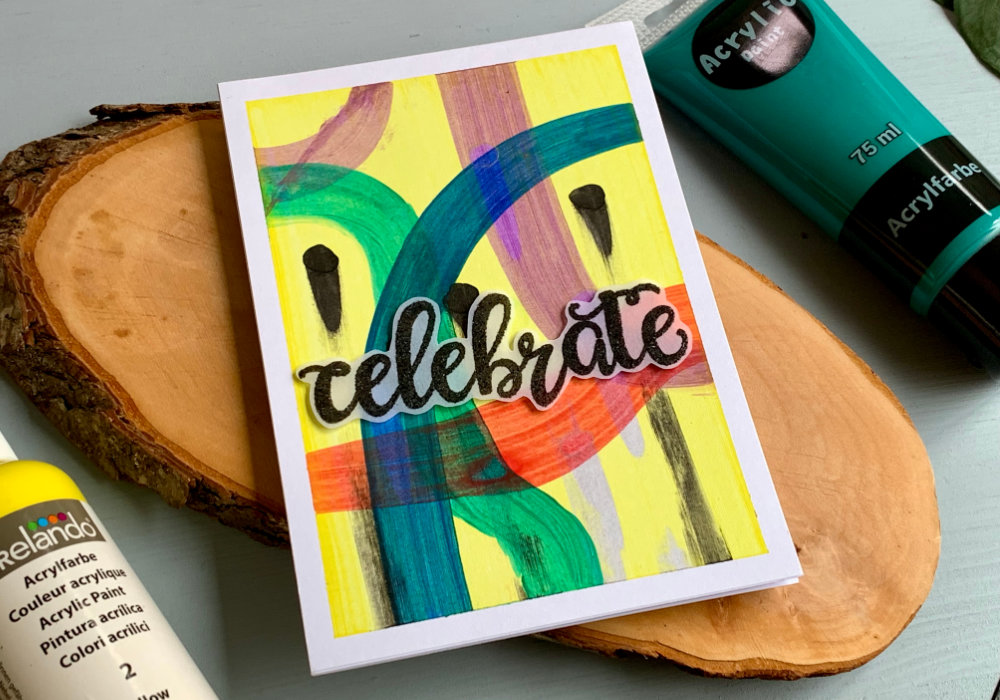 Before I used the squeegee I also used yellow paint and I applied it at the top of the panel, across the whole width of the card stock. And then I took the squeegee, scooping up the yellow, black and silver paint as I went from the top to the bottom. I felt that there were still some empty spaces at the corners. So I used orange and mixed it with white and created two U-shaped lines in two corners. To create the card, my idea for these backgrounds, is to use a big bold greeting either die-cut or stamped. Here I stamped the greeting on a vellum using a black ink. Since I stamped on a vellum, to prevent the ink from smudging, I also used a clear embossing powder over it. I fussy-cut the greeting with my scissors and adhered it on top of the background using a double-sided foam tape. 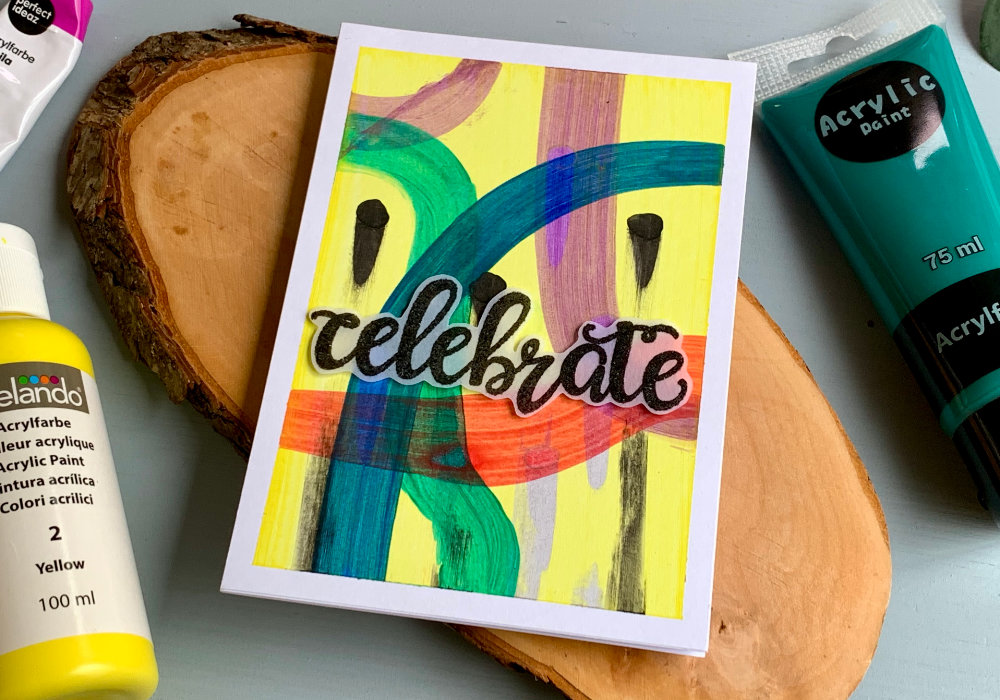 Lastly the whole panel I adhered onto a white card base. I hope you will try making backgrounds like these yourself. It is very addictive and a lot of fun, I had to restrict myself because right now I have way too many cards in my stash. Make sure you check out my video on YouTube and give it a Like. The list of product is down below, where you can also find a few blog posts that I think you might enjoy. And if you have any questions, just drop me a line. VIDEO TUTORIALWatch the video below or on my YouTube Channel. PRODUCTS USEDCLICK HERE TO SEE TO THE LIST OF PRODUCTS
Lidl, Crelando Acrylic Paints
LidlDE | LidlUK perfect ideaz, Acrylic Paints Set Of 24 AmazonDE | AmazonUK House of Card & Paper Cardstock, White, 250gsm AmazonDE | AmazonUK Mixing Palette AmazonDE | AmazonUK Brushes Color Copy , White Paper, A4 300gsm/140lb (card base) AmazonDE | AmazonUK Papermania, A6 Card Bases + Envelopes, White AmazonDE | AmazonUK UHU, Liquid Glue AmazonDE | AmazonUK Fiscars, Guillotine A5 AmazonDE | AmazonUK Tonic Studios, Guillotine A4 AmazonDE | AmazonUK Crafting Mat, Black AmazonDE | AmazonUK Disclaimer: I do not work with any company. All products in this blog post were purchased by me. While I use many products that help me to create my cards, my cards in this blog post are meant to be inspiration for you. I do not promote any company. You can use any other products that you have or can afford. YOU MIGHT ALSO LIKE  PIN MEDid you like the card? I would love, if you pinned it to your board on Pinterest! 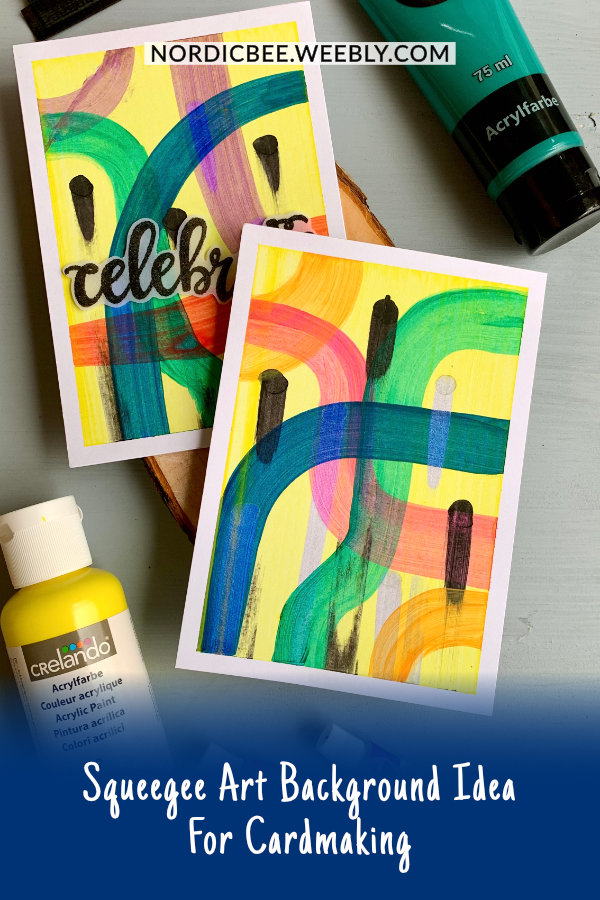
0 Comments
Leave a Reply. |
FOLLOW ME
SEE MORE


CATEGORIES
All
Stamping Die Cutting Using Stencil Heat Embossing Embossing or Texture Paste Distress Inks Nuvo Products Stamping & Colouring Stamping With Solid Stamps Watercolouring Watercolour Pencils Waterbased Markers Pencil Colouring Alcohol Markers Altenew Markers Zig Brush Markers Easy Backgrounds Stamped Backgrounds Small Stamp Ideas Simple Cards Complex Cards Cardmaking For Beginners All
Painting With Acrylics Painting With Gouache Painting With Watercolours Drawing With Fineliner Minimal Supplies Cards Christmas & Holiday
Love & Valentine Mother's Day Father's Day Halloween Spring Cards Summer Cards Autumn/Fall Cards Winter Cards Cards For Children Cards For Women Cards For Men Thank You Cards Sympathy Cards Get Well Soon Cards Floral & Leav Cards Rainbow Colours Messy Watercolouring Modern Art Inspirations Geometric Patterns Landscape Painting Acrylics
Gouache Watercolours Watercolour Pencils Waterbased Markers Distress Inks Alcohol Markers Colouring Pencils No Stamps No Dies Cards
Cardmaking On A Budget Let’s Colour Quick Cards Fun Masculine Cards Background Ideas Distress Ink Combinations |
 RSS Feed
