
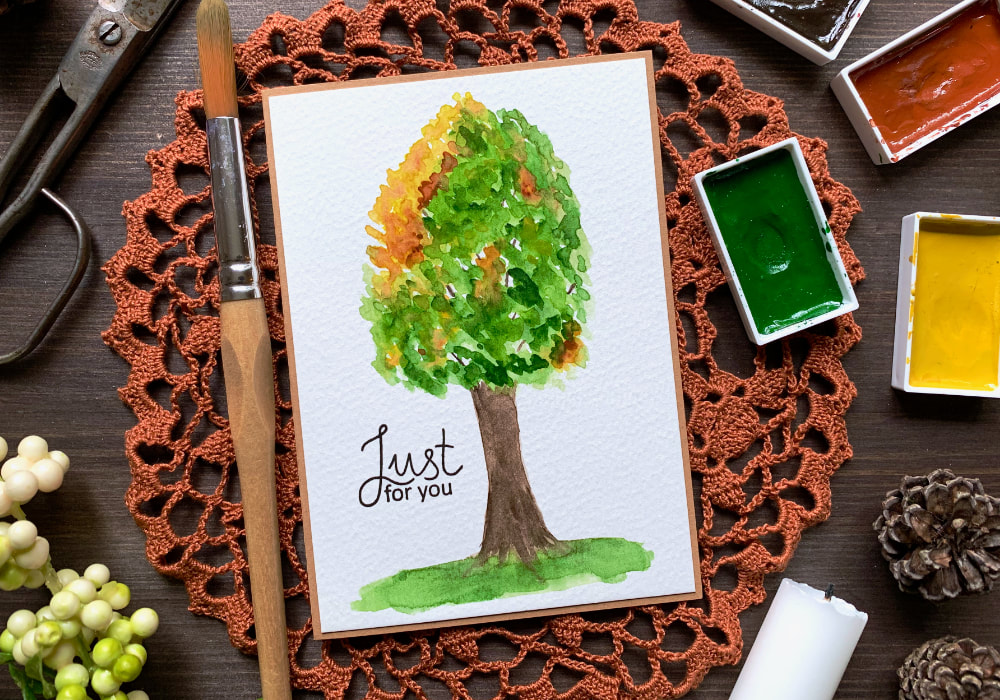
 I wanted to paint a tree for a while, however I found it really intimidating, because I have never painted a tree before. But then this happens with everything I paint. What really inspired me and pushed me to paint this tree, are all the autumnal trees in our neighbourhood. I saw a few trees that were still very bushy and green, except on the top there was a patch of yellow leaves forming. This was at the beginning of September, so still early autumn, but I thought it looked so beautiful and I had to make a card with an autumnal tree. This is a very budget friendly card, it doesn’t require too many products. To paint the tree you need watercolour paper, watercolours and a brush. And if you want to make a card - you don’t have to make a card if you don’t want to - you will need a card base, adhesive and maybe a sentiment and a black ink. I always list the products down below. I should also mention that while I was inspired by trees in my neighbourhood, I didn’t paint any particular tree. This is simply loosely based on those trees and the tree I painted is imaginary.  I started with a light wash of paint, I used light green for the most of the tree and light yellow mainly at the top. On the first layer, while the paint was wet, I added more saturated colour here and there, just to take an advantage of the wet on wet technique. I painted the tree a little bit thiner or slimmer at first, because you can always expand, but you cannot retract. And as I was painting additional layers I was expanding it. I was painting in a dabbing motion creating something like clusters of leafs. Also I left some spots white, without any colour, where I will at the end paint in few brunches. I managed to cover most of the white space, as I wasn't paining attention, but that’s ok. To be honest, the trees I was basing this on, they were really full, you did not see any branches. 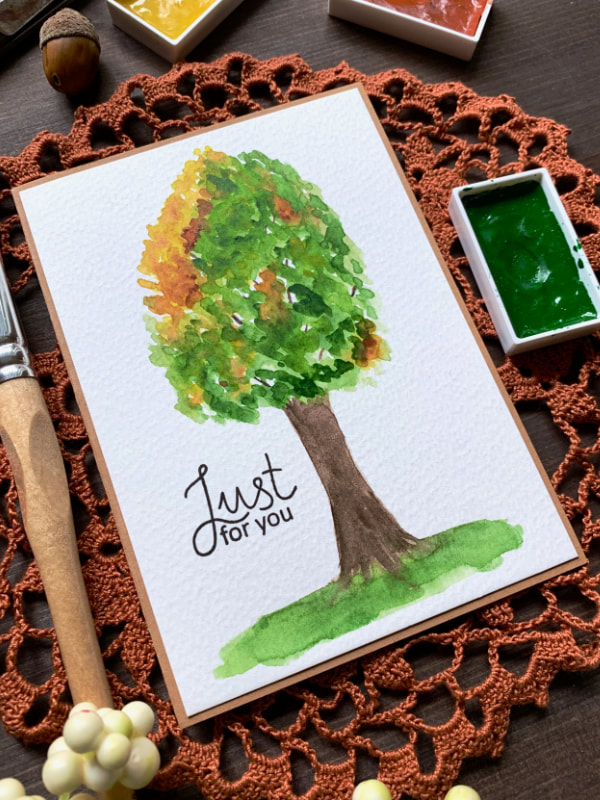 This painting is definitely for beginners, mainly because I’m beginner myself and I had to watch a few tutorials to see how to paint a tree. There were a few I really liked and I was trying to follow them, but my brush was just doing something else. However those tutorials were a good starting point and I put some of them into a playlist that you can see here. What worked for me and I found very helpful and that I did not see other’s doing (or I did not remember others doing) is not only working in layers but also letting each layer dry, before adding more darker colours. This also helped to create more depth. After I finished the leafy top of the tree, I painted the trunk as well as the ground. To paint the trunk I started with brown outline, then I filled it in with the paint and while the trunk was still wet, I added in more saturated paint to create more organic texture. I also painted the grass and because the trunk was still wet it seeped into the green paint, which is something I wanted. It created this effect where the trunk looks like it is connected to the ground. I really like that, but I wanted the roots to bo more visible, therefore after the paint was dry, I painted in few roots. Then I painted in the brunches between the spaces that were still white. 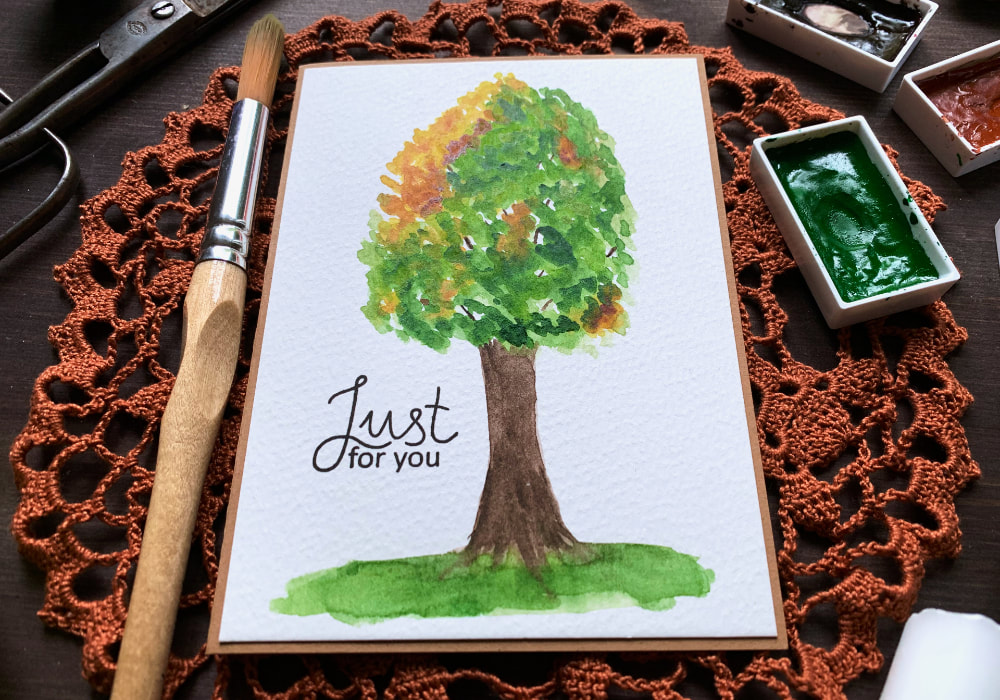 The painting of the tree is finished, to make it into a card I started by stamping the sentiment. You can skip this if you don’t have stamps, but since I do have stamps, I like to use them. I looked through my stash and found a stamp that fits perfectly. It says Just For You and I stamped it on the left side, using a black ink. Lastly I adhered the panel onto a card base that I made out of craft card stock. If you do not make your own card bases, you can always buy them pre-made. And that’s it, the card is done. Make sure you check out my video on YouTube and give it a Like, the list of product is down below, where you can also find a few blog posts that I think you might enjoy. And if you have any questions, just drop me a line. VIDEO TUTORIALWatch the video below or on my YouTube Channel. PRODUCTS USEDDisclaimer: I’m currently not using any affiliate links. These links are just to help you find the products. The list includes alternatives to what I was using and while I haven't used some of them, I only recommend brands I trust. Tritart, Watercolour Card Stock 300 gsm AmazonDE Kuretake, Gansai Tambi, Watercolour Paints 36 Set AmazonDE | AmazonUK Tsukineko, Versafine Ink pad, Onyx Black AmazonDE | AmazonUK Clearly Besotted, Scrumptious Script Joy Crafts, Kraft Paper,A4 300gsm/140lb (card base) KreativbuntDE | AmazonUK Papermania, A6 Card Bases + Envelopes, Craft AmazonDE | AmazonUK Sellotape Double Sided Tape AmazonDE | AmazonUK Fiscars, Guillotine A5 AmazonDE | AmazonUK Crafting Mat, Black AmazonDE | AmazonUK YOU MIGHT ALSO LIKE  PIN MEDid you like the card? I would love, if you pinned it to your board on Pinterest! 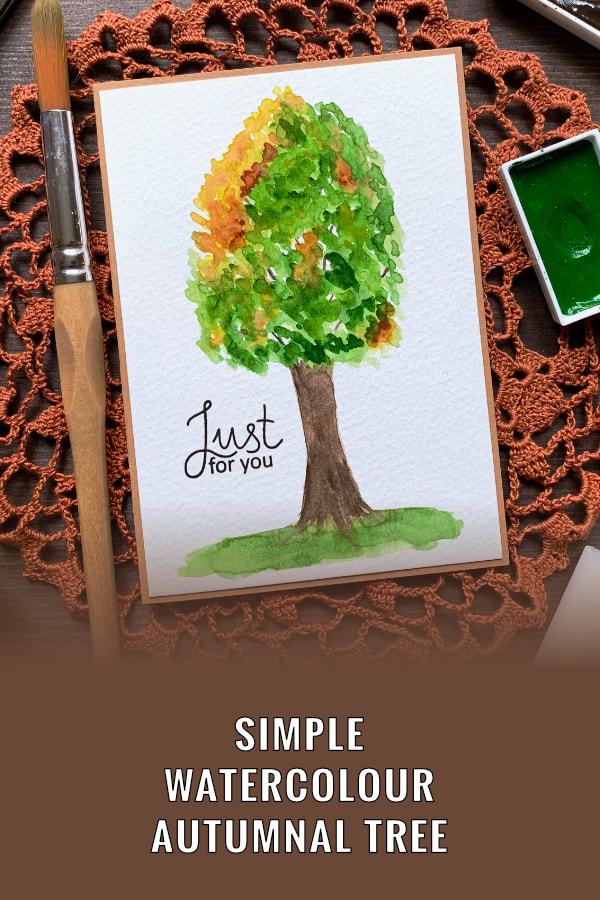
0 Comments
Leave a Reply. |
FOLLOW ME
SEE MORE


CATEGORIES
All
Stamping Die Cutting Using Stencil Heat Embossing Embossing or Texture Paste Distress Inks Nuvo Products Stamping & Colouring Stamping With Solid Stamps Watercolouring Watercolour Pencils Waterbased Markers Pencil Colouring Alcohol Markers Altenew Markers Zig Brush Markers Easy Backgrounds Stamped Backgrounds Small Stamp Ideas Simple Cards Complex Cards Cardmaking For Beginners All
Painting With Acrylics Painting With Gouache Painting With Watercolours Drawing With Fineliner Minimal Supplies Cards Christmas & Holiday
Love & Valentine Mother's Day Father's Day Halloween Spring Cards Summer Cards Autumn/Fall Cards Winter Cards Cards For Children Cards For Women Cards For Men Thank You Cards Sympathy Cards Get Well Soon Cards Floral & Leav Cards Rainbow Colours Messy Watercolouring Modern Art Inspirations Geometric Patterns Landscape Painting Acrylics
Gouache Watercolours Watercolour Pencils Waterbased Markers Distress Inks Alcohol Markers Colouring Pencils No Stamps No Dies Cards
Cardmaking On A Budget Let’s Colour Quick Cards Fun Masculine Cards Background Ideas Distress Ink Combinations |
 RSS Feed
