
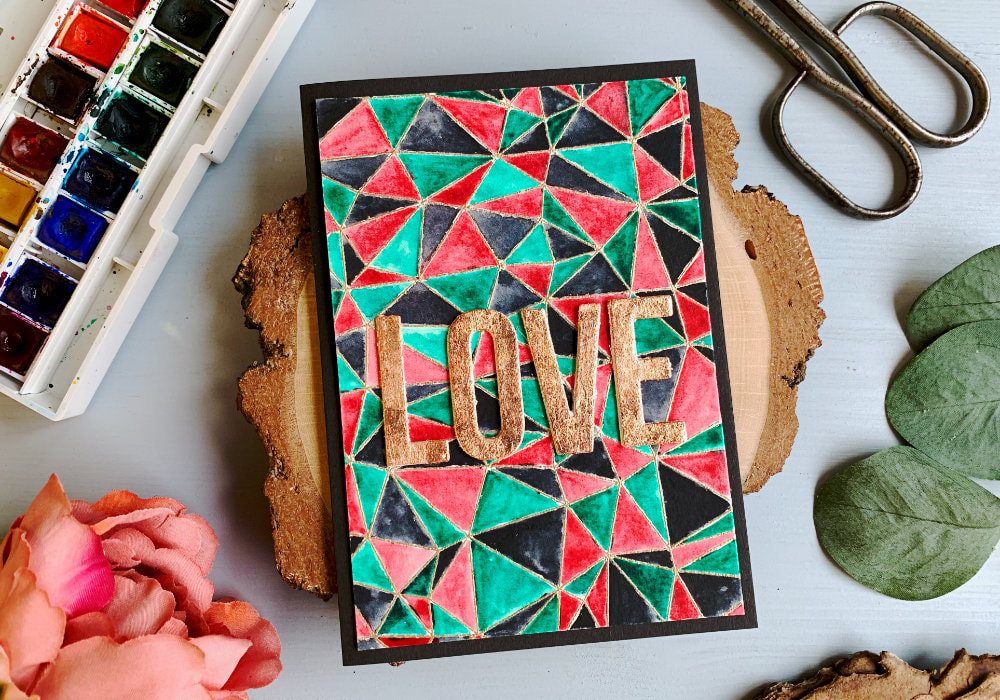
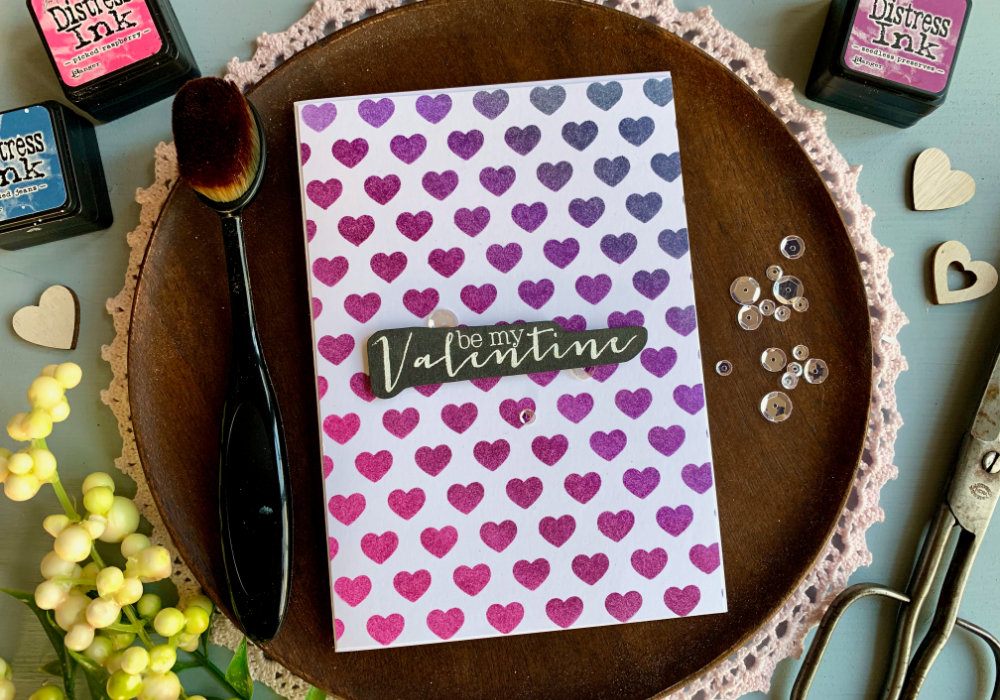
 For my last card for Valentine's Day I made a rather non-traditional card. I made it a few years ago for my old blog and you can see that card here, but I never made a video. And because I really like the look of this card I wanted to make it again with a video. This card is filled with card making products. Meaning, using stamps, dies, embossing supplies and in this case gilding flakes. If you've been on my blog before, you might have noticed, I don't make such cards that often. Recently I've been making cards completely from scratch, where you do not need any special card making products, like stamps or dies.  The reason I haven't been making cards with such products is not only I do not have much money to buy them, but even if I had I would have to shop abroad, especially if I want latest releases, which I find extremely annoying. And yes, in the card making world you need to use latest products to be relevant. At least that's my feeling, because how many YouTube channels or blogs you know, where the crafter uses old products? It's always about the latest releases. If I use older products, those videos and blog posts hardly get any views. Plus, many of the products are no longer available. However, I wanted to make this card, so let's get into it. I started by stamping the background. I used the a background stamp from MFT, the name of it is Abstract and it seems it was discontinued as I cannot find it anywhere. Annoying as it is, my cards are suppose to be inspirations, for which you can use different products. And there are plenty of background stamps where you can do something similar.  I was going to heat emboss the pattern, so I treated my watercolour card stock with an antistatic powder, inked it up with the Versamark ink, stamped the pattern, then I sprinkled an embossing powder over it and heat set it with my heat tool. I used the big stamping platform from Tonic Studios as I knew I will be re-stamping. I actually had to re-stamp seven times, I just could not get the middle of the stamp to stamp. I wanted the pattern to cover the whole card stock and I was using a pre-cut watercolour panel that was smaller than the card base. In order to be able to re-stamp, I needed the panel not to move. Since it was too small to use washi or magnets, I used a non-permanent adhesive tape on the back. The problem I always have here is that it doesn't stick to the plastic of the stamping tool. To fix this, I placed a scrap of paper onto the stamping platform, secured it with a washi and I placed that watercolour panel on top. Here the non-permanent adhesive was sticking and the panel wasn't moving.  Also I used the Metallic Brass embossing powder from Wow for the heat embossing. I wanted the embossing match the gilding flakes, which are in the "colour" of copper. While I do have the Metallic Copper embossing powder as well, the Brass matched the gilding flakes better. After I was done with the heat embossing I started colouring each section of the pattern using watercolours. For my original card I used the Gansai Tambi watercolour palette from Kuretake, but because I used these paints quite a lot recently, I decided to use paints from Winsor & Newton that have similar shades. I used the Viridian Hue, Alizarin Crimson and Payne's Gray. I was switching between the paints as I was painting. The painting took some time, but I found it quite relaxing and a lot of fun. 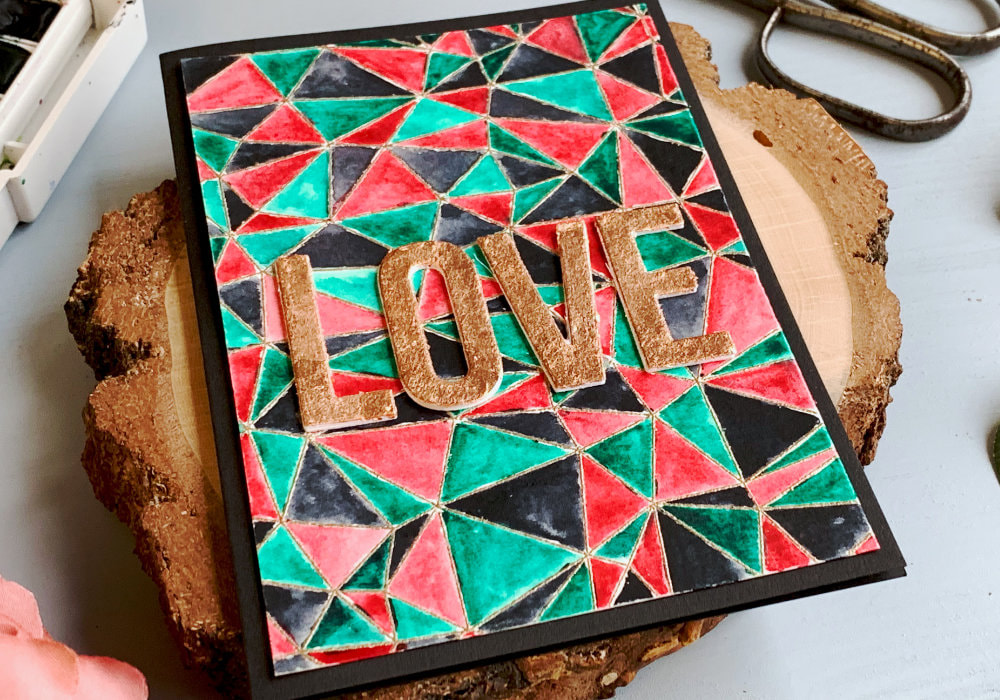 While the watercolour panel was drying, I worked on the greeting. I used a big love die also from MFT and guess what, this one is not available anymore as well. However, I actually would not buy it again, I would look for a full alphabet die set instead. I actually have one, the Fine Alphabet Die from Altenew, but as the name suggest, the letters are rather thin (about 0.5" wide and 1.2" tall). What I love about the love-die is that the letters are wide and I would prefer to have a full alphabet in this size. This is personal preference though. Using a white card stock, I die-cut the greeting four times to create a dimension. Before I die cut the fourth layer, I attached a big piece of double sided tape on top of the card stock. It fit the size of the die and then run it through my die-cutting machine. I had to run it a few times for it to cut through and still had to use an exacto knife to cut the letters out. The fourth layer is the part onto which I was going to adhere the gilding flakes. But first I adhered all the die-cut letters on top of each other using a liquid glue. The last piece with the double-sided tape facing up I adhered last.  Next I started attaching the gilding flakes. These are ultra thin, ultra light pieces of foil and can create a lot of mess, because they will fly around even if you breath. I didn't say this in the video, but I actually used a face mask, so I don't end up with a large mess. So close your windows, turn off your AC or ventilators before you start crafting. I was using the gilding flakes from Nuvo, but there are other brands that sell them. They are tightly packed, in that little pack is filled to the brim. So it will take quite a while until you run out. I was applying the gilding flakes on top of the letters one by one. I removed the backing paper from the letter, picked a few flakes and attached them onto the letter. Using my finger as well as my bone folder, but finger is enough, I smoothen the area. Using my bone folder I removed the excess foil around the letters and then I used a stencil brush and buffed and smoothen the area even more. 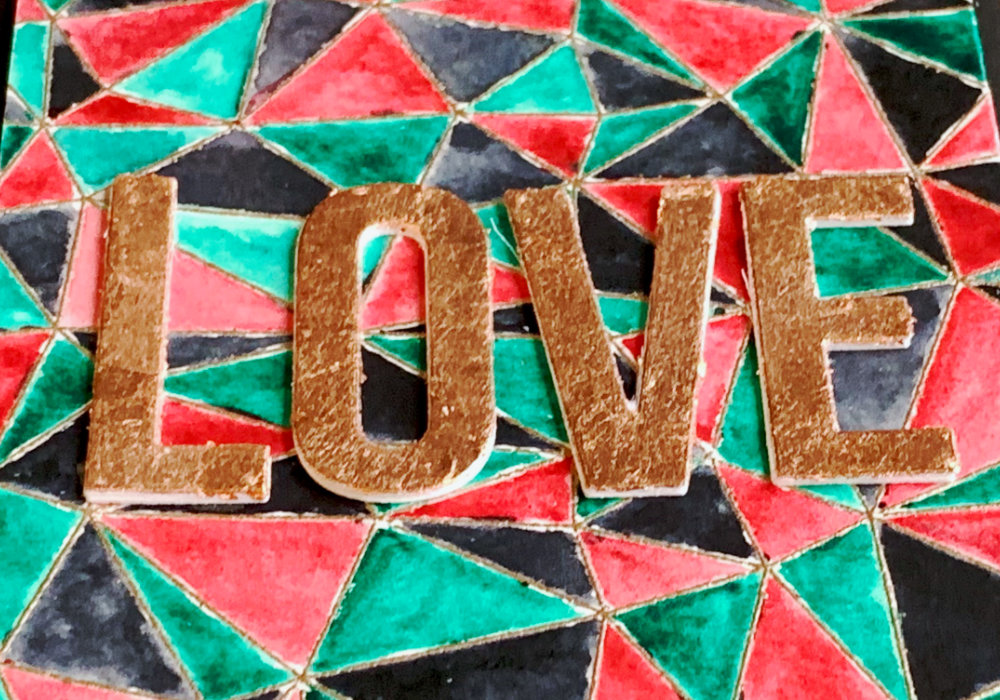 After I was done adhering the foil, I attached the watercolour panel onto a black card base using a simple double-sided tape and then I attached the letters. To adhere them evenly, I used the card stock where I die-cut the letters with the negative space, I placed it onto the watercolour panel and attached the letters using a liquid glue. I hope you will try making this card yourself. Make sure you check out my video on YouTube and give it a Like as well. The list of product is down below, where you can also find a few blog posts that I think you might enjoy. And if you have any questions, just drop me a line. VIDEO TUTORIALWatch the video below or on my YouTube Channel. PRODUCTS USEDCLICK HERE TO SEE TO THE LIST OF PRODUCTS
Canson XL, Watercolour Cardstock , 300gsm/140lb
AmazonDE | AmazonUK MFT, Abstract Background Stamp Tonic Studios, Tim Hotz Stamping Platform, Large AmazonDE | AmazonUK Tesa, Non-Permenent Adhesive Tape Runner AmazonDE | AmazonUK EK Susccess, Anti-Static Powder Tool AmazonDE | AmazonUK Tsukineko Versamark Watermark Ink Pad AmazonDE | AmazonUK WOW! Embossing Powder, Metallic Brass AmazonDE | AmazonUK Docrafts Papermania, Heat Tool AmazonDE | AmazonUK Winsor & Newton, Cotman Watercolor Palette AmazonDE | AmazonUK Blue Squid Brush Set AmazonDE | AmazonUK MFT, Huge Love Die | BumbelberryPapercrafts Color Copy , White Paper, A4 300gsm/140lb AmazonDE | AmazonUK Sizzix Big Shot Die Cutting and Embossing Machine AmazonDE | AmazonUK Scor-Pal, Double-Sided Adhesive Sheets AmazonDE | AmazonUK Tonic Studios, Gilding Flakes, Copper AmazonDE | AmazonUK UHU, Liquid Glue AmazonDE | AmazonUK Black Card Stock For Cardbase AmazonDE | AmazonUK Tesa, Permanent Adhesive Tape Runner AmazonDE | AmazonUK Fiscars, Guillotine A5 AmazonDE | AmazonUK Tonic Studios, Guillotine A4 AmazonDE | AmazonUK Crafting Mat, Black AmazonDE | AmazonUK Disclaimer: Here you can find the products I used to make this card. Please note that the products are just a guide, you don't need the exact products or brands. For most of the products I include links to the shops where you can purchase these items if available. As I live in Europe, I provide links to UK and German stores. These are not affiliate links and every products I used for this card I purchased myself. YOU MIGHT ALSO LIKEPIN MEDid you like the card? I would love, if you pinned it to your board on Pinterest! 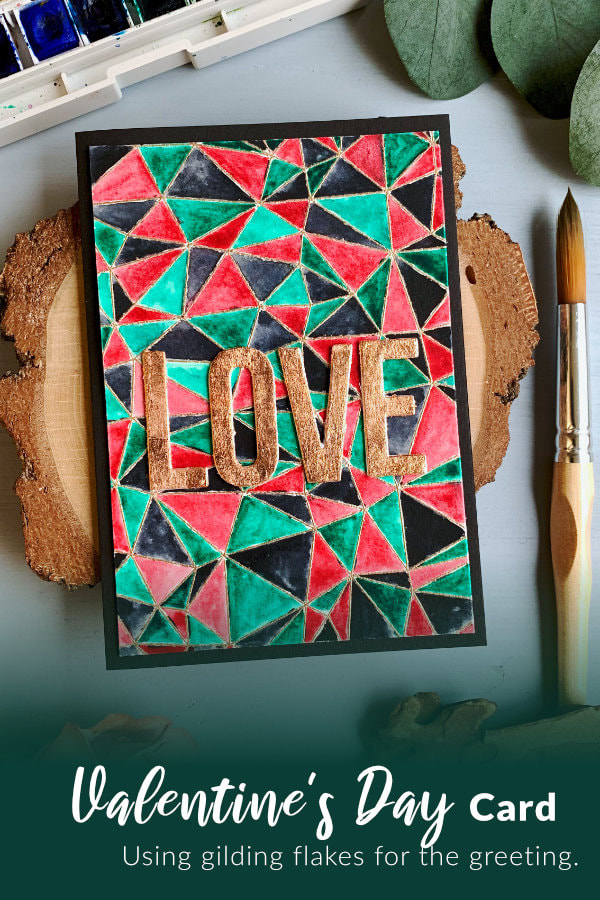
0 Comments
Leave a Reply. |
FOLLOW ME
SEE MORE


CATEGORIES
All
Stamping Die Cutting Using Stencil Heat Embossing Embossing or Texture Paste Distress Inks Nuvo Products Stamping & Colouring Stamping With Solid Stamps Watercolouring Watercolour Pencils Waterbased Markers Pencil Colouring Alcohol Markers Altenew Markers Zig Brush Markers Easy Backgrounds Stamped Backgrounds Small Stamp Ideas Simple Cards Complex Cards Cardmaking For Beginners All
Painting With Acrylics Painting With Gouache Painting With Watercolours Drawing With Fineliner Minimal Supplies Cards Christmas & Holiday
Love & Valentine Mother's Day Father's Day Halloween Spring Cards Summer Cards Autumn/Fall Cards Winter Cards Cards For Children Cards For Women Cards For Men Thank You Cards Sympathy Cards Get Well Soon Cards Floral & Leav Cards Rainbow Colours Messy Watercolouring Modern Art Inspirations Geometric Patterns Landscape Painting Acrylics
Gouache Watercolours Watercolour Pencils Waterbased Markers Distress Inks Alcohol Markers Colouring Pencils No Stamps No Dies Cards
Cardmaking On A Budget Let’s Colour Quick Cards Fun Masculine Cards Background Ideas Distress Ink Combinations |
 RSS Feed
