
I have so many flower stamps that I have never used and I always hesitate to use them, because they might not be available. Most bloggers and YouTubers use the latest releases and I guess subconsciously I think that’s what I need to do as well. Even though I have never been a blogger that uses the latest releases, this is always on my mind, when I share a new card. However, as a card maker who also looks for inspiration from other card makers, I seldom look for what people did with the same stamp set. I prefer look for an idea, be it a technique, a background or a colouring medium that I could use. Therefore I decided to take my stamps out and I’m on a mission to use them all and make some cards.
It might be that some of these stamp sets might not be available anymore, but I still hope I will inspire you in some way. It might be even better, as you can create something completely different, rather than copy what someone else made. Just to let you know, if you like any of my cards and you have the exact or similar stamp set, I have nothing against if you copy what I did. That’s why I created this blog - to inspire. 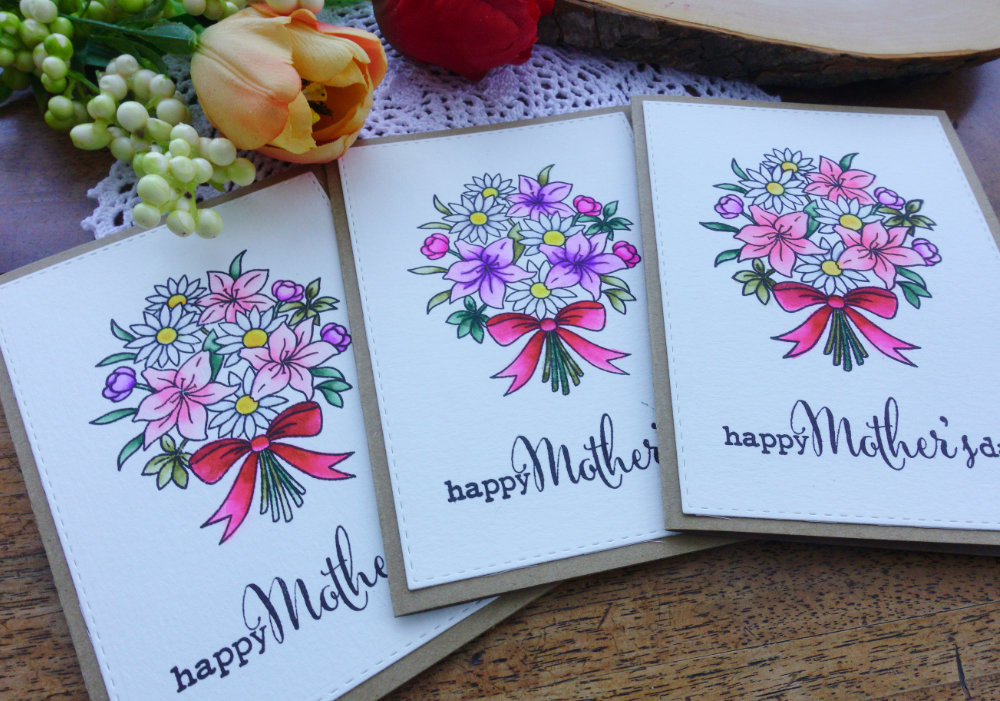
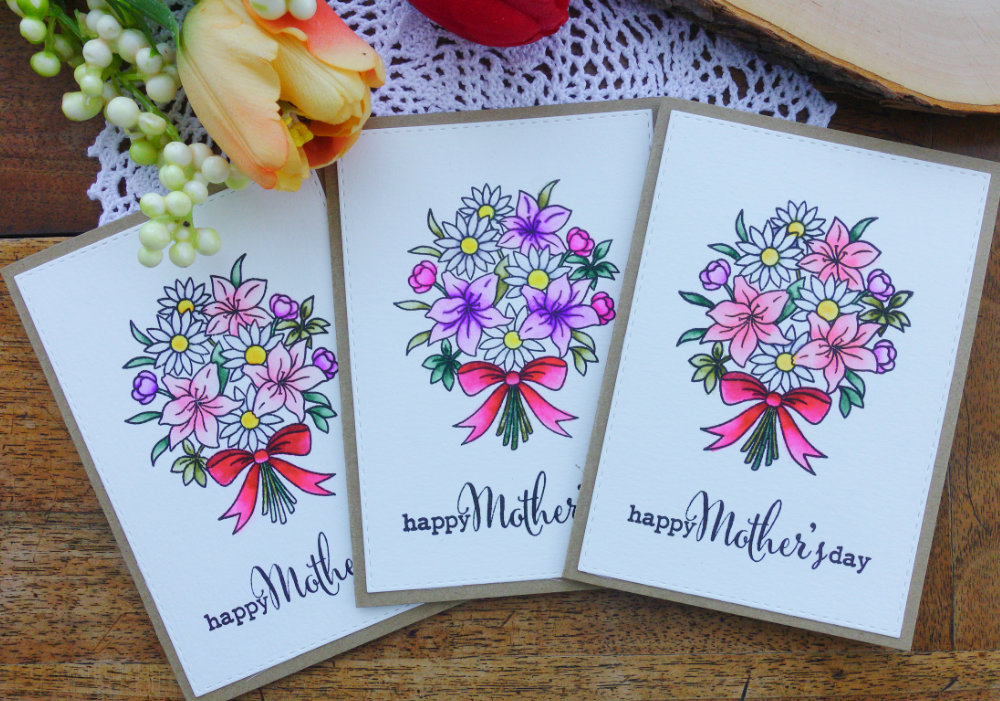
For this card I’m using a stamp set of a bouquet of flowers called “Say It With Flowers” by Clearly Besotted, there are two bouquet in the stamp set and I’m using only one of them. Clearly Besotted has this stamp set on their website for sale, however for some reason, they sell only one of the bouquets, the one I’m colouring here.
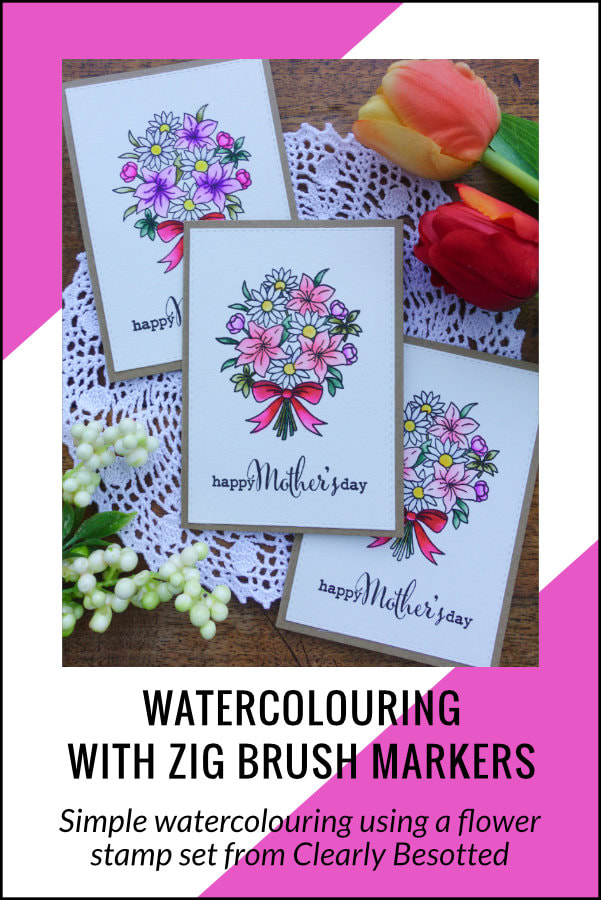
There are three types of flowers and two types of leafs. One of the flower types is very small and the other two are not too large either. So when I was deciding which colouring medium the size of the images played a big role. I didn’t want to use watercolours (the ones in pans) or alcohol markers as they always seep outside of the lines. I needed a colouring medium that is easy to control. Pencils (normal or watercolour) would be great here, but I decided to go with the Zig brush markers. They can be used on their own or with water and that’s what I wanted. This card I made for Mother’s Day card. Last year I sadly didn’t manage to make a mother’s day card, so this year I made my cards few months in advance. I made three cards and that they are not all exactly the same, I changed up the colours little bit. 
So, how I made the card?
I started with gathering all my main supplies. The list of the products I used for this card you can find below, but keep in mind you do not need the exact supplies. I’m just using what I have. Then I stamped the image with the bouquet as well as the sentiment. I used the Mini MISTI stamping tool to be able to stamp twice. The ink I used is the Versafine ink in Onyx black, which is a waterproof ink and the card stock I used here is the XL watercolour card stock from Canson. I let the ink to dry and then I started colouring. When I use the Zigs or any other brush markers with water, I always apply the colour at the bottom - in this case petal or a leaf - and then use a damp brush to bring the colour up. Then I let it dry and applied a second layer as I wanted the colours to be more vibrant. HELPFUL TIP: Sometimes when using the Zig Brush markers I find it difficult to move the colour. It all depends on the card stock you are using. For example, I tried using the watercolour card stock from Tim Holtz and could not get the colour moving. Many people like to use the Bristol card stock, but I’m not a big fan. I prefer to use a watercolour card stock and since the one from Tim Holtz wasn’t working, I tried the Canson XL and it worked. So if you have troubles with not only Zigs, any colouring medium and you think you are not getting the best results, try to find different card stock. 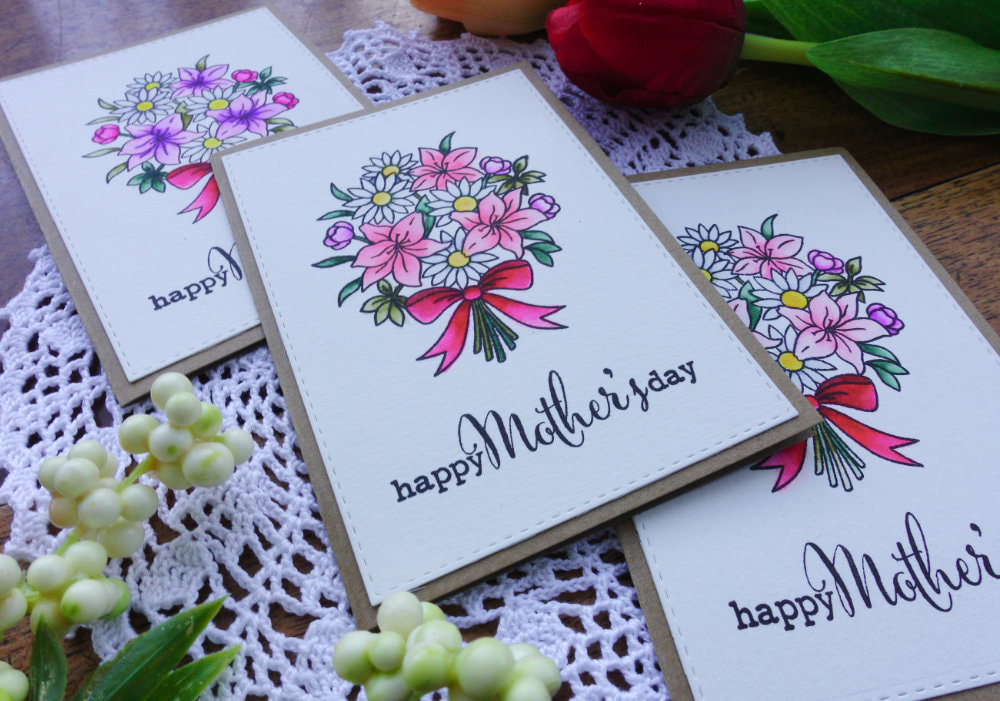
After the panel was completely dry I used the stitched rectangular die form Create A Smile and run it through my die-cutting machine. And then I adhered the panel on top of a card base using a double-sided tape. You can use a foam tape, but recently I’ve been doing that less and less, because I don’t want to pay extra for postage. And for the card base I used a craft card stock.
This finishes the card, I decided not to add any embellishments and leave it as it is, but if you want to add some sparkle, you can of course do so. QUICK STEP-BY-STEP HOW TO
Thank you for stopping by today, I hope you enjoyed this card and that you will give your Zig brush markers a try. SUPPLIES
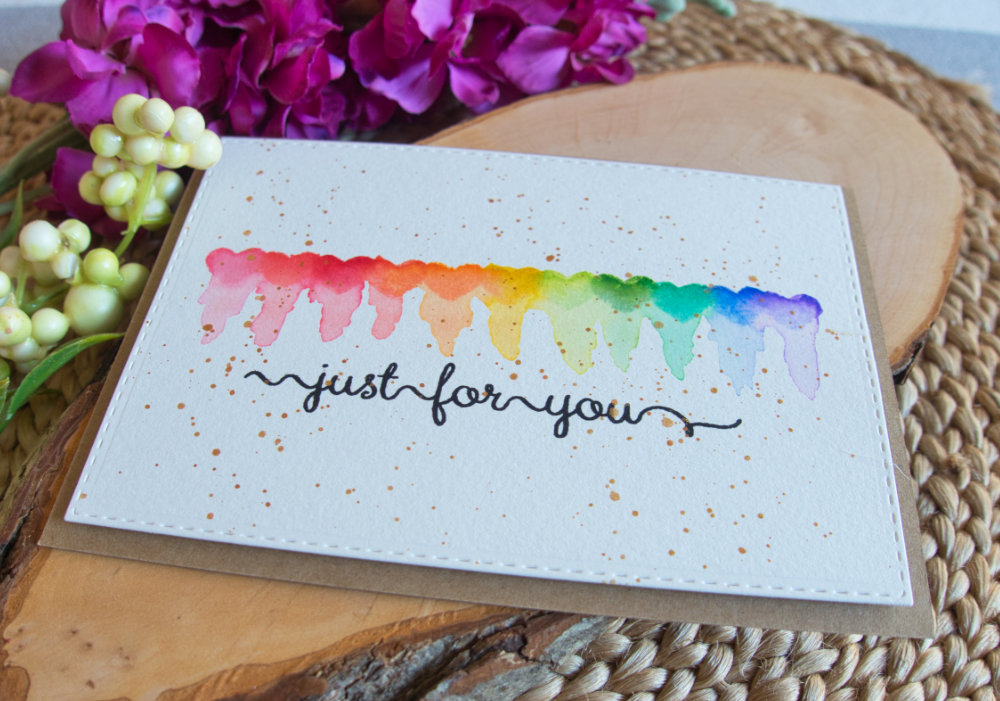
Joy Crafts, Kraft Paper,A4 300gsm/140lb (card base) Canson XL, Watercolour Cardstock , 300gsm/140lb Clearly Besotted, Say It With Flowers Create A Smile, Double Stitched Rectangles Tsukineko, Versafine Ink pad, Onyx Black Kuretake, ZIG Clean Color Real Brush Markers My Sweet Petunia, Mini MISTI Stamping Tool Silver, Black Velvet brush, Size 4 | JacksonsArtUK Faber Castell, Click & Go Water Cup Fiscars, Guillotine A5 Tonic Studios, Guillotine A4 Crafting mat, black OTHER CARD INSPIRATIONS
PIN ME
Did you like the card? I would love, if you pinned it to your board on Pinterest!
0 Comments
Leave a Reply. |
FOLLOW ME
SEE MORE


CATEGORIES
All
Stamping Die Cutting Using Stencil Heat Embossing Embossing or Texture Paste Distress Inks Nuvo Products Stamping & Colouring Stamping With Solid Stamps Watercolouring Watercolour Pencils Waterbased Markers Pencil Colouring Alcohol Markers Altenew Markers Zig Brush Markers Easy Backgrounds Stamped Backgrounds Small Stamp Ideas Simple Cards Complex Cards Cardmaking For Beginners All
Painting With Acrylics Painting With Gouache Painting With Watercolours Drawing With Fineliner Minimal Supplies Cards Christmas & Holiday
Love & Valentine Mother's Day Father's Day Halloween Spring Cards Summer Cards Autumn/Fall Cards Winter Cards Cards For Children Cards For Women Cards For Men Thank You Cards Sympathy Cards Get Well Soon Cards Floral & Leav Cards Rainbow Colours Messy Watercolouring Modern Art Inspirations Geometric Patterns Landscape Painting Acrylics
Gouache Watercolours Watercolour Pencils Waterbased Markers Distress Inks Alcohol Markers Colouring Pencils No Stamps No Dies Cards
Cardmaking On A Budget Let’s Colour Quick Cards Fun Masculine Cards Background Ideas Distress Ink Combinations |
 RSS Feed
