
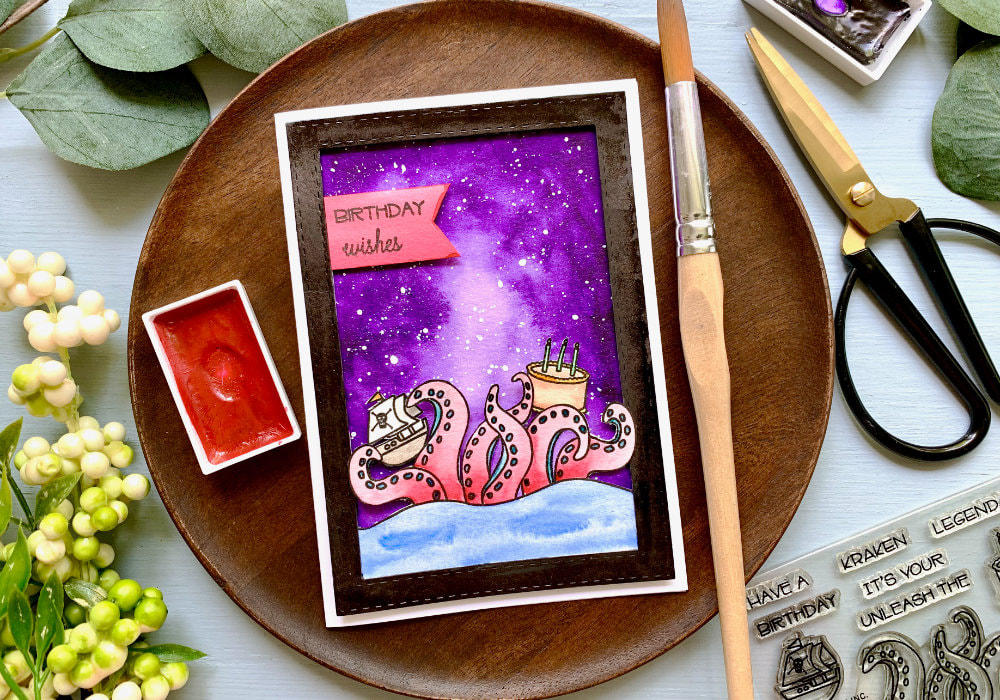
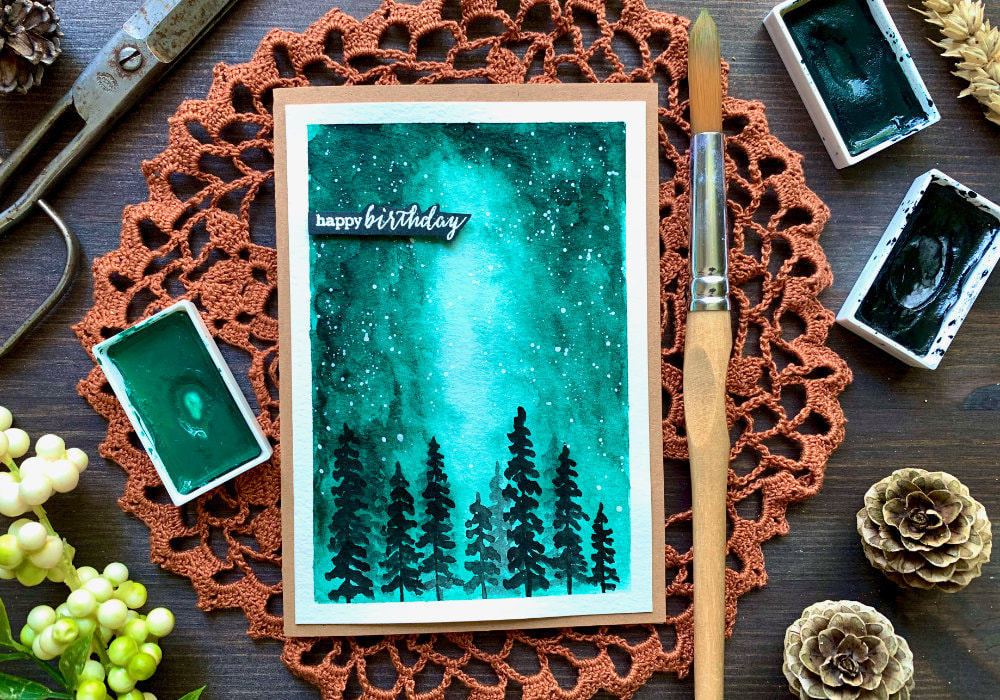
 In my previous blog post I made two cards with Zodiac signs, which is something I wanted to do for a while and in this blog post I'm making a card with another thing that I wanted to do for a long time. And that is a colourful galaxy background. I made cards with galaxy backgrounds before, but these are very simple, I used only one paint on those using watercolours. Galaxies with multiple colours I find intimidating. When I try adding more colours, it ended up looking disappointing. The problem is that watercolours can be unpredictable and the background should be random, which I find rather difficult. Therefore, to get some control I decided to make this background with Distress inks. I picked a few bright colours - Ripe Persimmon, Mustard Seed, Picked Raspberry, Peacock Feathers, Wilted Violet and Seedless Preserves and I also used the Black Soot. 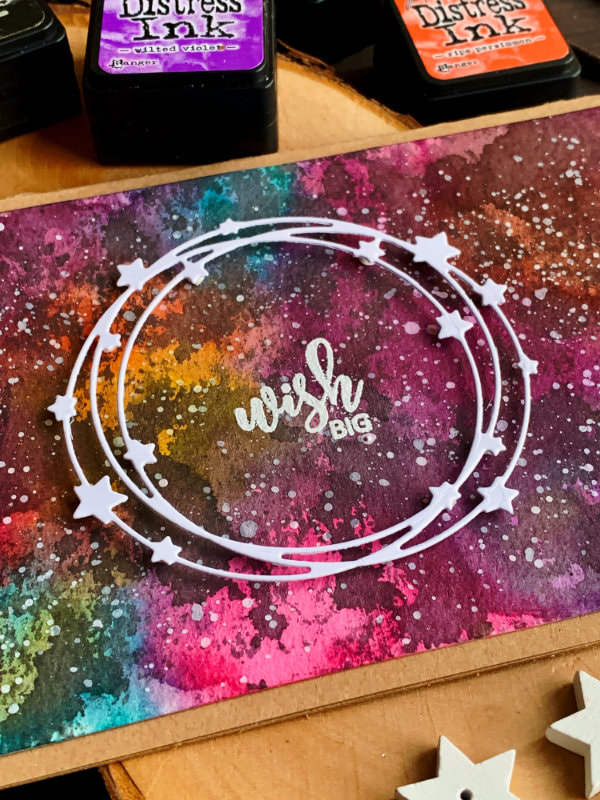 While I find Distress inks more manageable, I still didn't like the end result. I watched quite a few tutorials on YouTube, most of them applied the colourful inks first and then they blended the black ink. When I tried this, it didn't look good at all. However, I found one video that helped me to get the look I wanted. The video is from Jennifer McGuire and you can see it here. After applying the colourful inks she sprayed water over the background and because the Distress inks react with water, it re-activated the colours and the inks started blending together. So after applying the inks. I applied them randomly, in blotches across a watercolour panel with a blending tool. I covered the whole panel and then I sprayed water over the panel. Not only that, I also used a damp brush and helped the colours to move a bit. This created more natural look and I was really happy with it. 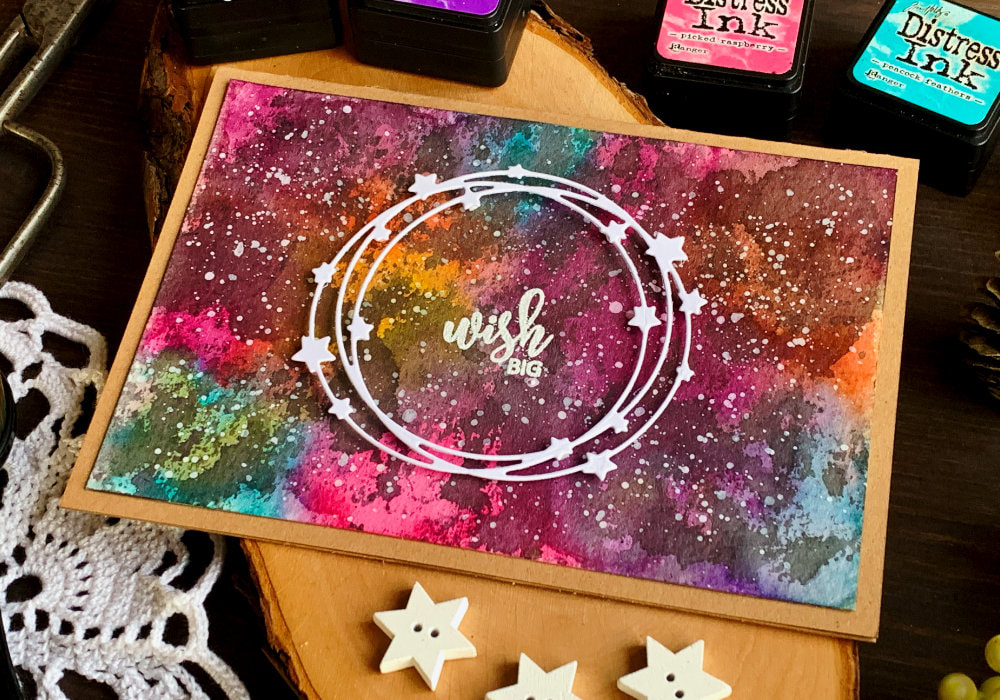 I also had a few finished galaxy backgrounds, where I blended the black ink over. It already had the stars, but I was thinking, what would happen if I sprayed water on those backgrounds? So I tried that and I must say it looked much better. The inks re-activated and after they dried, they looked softer and much natural. After the colourful background was dry, I was stuck a bit and didn't know what to do. I didn't want to apply the black ink over it, like I did on the other backgrounds. I didn't want it to be as dark. Jennifer McGuire applied the black ink on top of an acrylic block, sprayed it with water and applied it onto the background and this I didn't want to do either. I wanted to create a softer cloud-like texture. As I was looking into what I could do, I had my last weeks blog post open, where I did the ink smooshing technique and that gave me the idea to try it on this card as well.  I took a piece of acetate, squished the Black Soot ink few times, I mixed it with clean water using my brush and then I smooshed it over the colourful panel. I repeated this process until I was happy with the look. I also used the brush to move the ink around in a dabbing motion, just like I did on the other galaxy cards I made. I was really happy with the results, the lighter application of the black ink created the galaxy background I was looking for. I let the piece dry and using a white gouache I created the stars, by creating a splatter over the background. I squeezed the gouache onto an acrylic block and added a little bit of water. The mixture should not be too thick or too runny. I dabbed a damp brush into this mixture and I tapped my finger on the brush to get the spatter onto the background. I also tried flicking the paint from the acrylic block that's an another option how you can create a splatter. You could also use a toothbrush, but all the toothbrushes I have have a weird shape, you know those modern toothbrushes. I really cannot find just simple ones, it's weird. 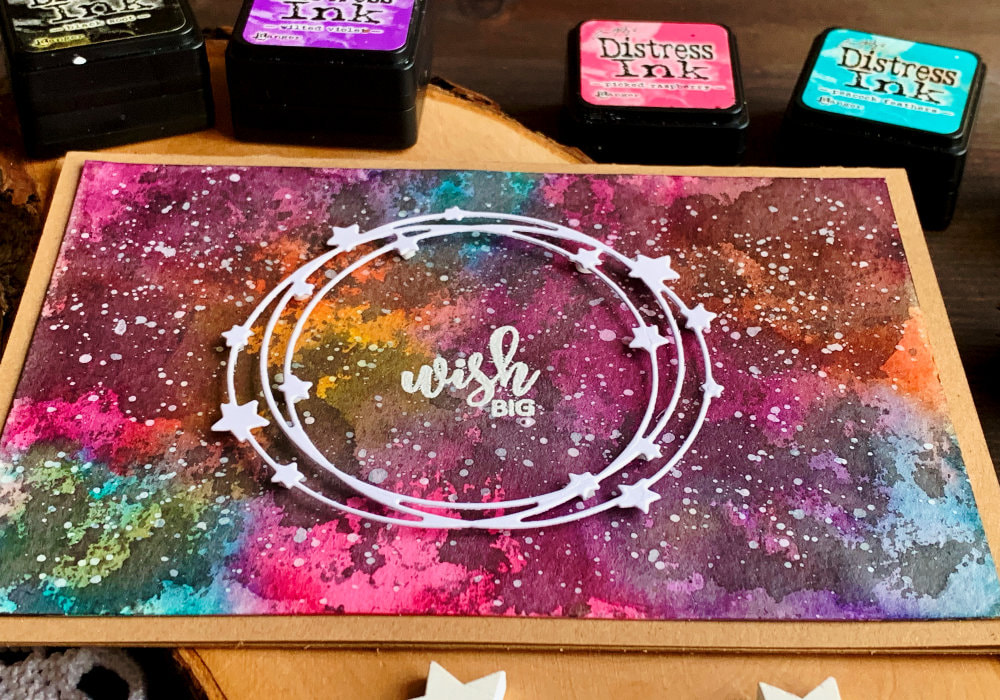 The background is done. To finish the card, in the middle of the panel, I adhered a die-cut with a wreath and stars using a double-sided foam tape. Before that however I stamped and heat embossed a sentiment that says "Wish Big" and it's from a stamp set by Avery Elle. The wreath is also from Avery Elle. I adhered the panel on top of a card base that I made using a double-sided tape and the card is done! I hope you will try making this card yourself. Make sure you check out my video on YouTube and give it a Like as well. The list of product is down below, where you can also find a few blog posts that I think you might enjoy. And if you have any questions, just drop me a line. VIDEO TUTORIALWatch the video below or on my YouTube Channel. PRODUCTS USEDTim Holtz Distress Mini Ink, Kit 1 (Picked Raspberry, Mustard Seed, Peacock Feathers) AmazonDE | AmazonUK Tim Holtz Distress Mini Ink, Kit 2 (Seedless Preserves) danipeussDE | CraftStashUK Tim Holtz Distress Mini Ink, Kit 3 (Black Soot) danipeussDE | CraftStashUK Tim Holtz Distress Mini Ink, Kit 8 (Ripe Persimmon) danipeussDE | CraftStashUK Tim Holtz Distress Mini Ink, Kit 15 (Wilted Violet) danipeussDE | CraftStashUK Canson XL, Watercolour Cardstock , 300gsm/140lb AmazonDE | AmazonUK Daler Rowney Watercolour Brushes 4, 6, 10 AmazonDE | AmazonUK Ranger Tim Holtz Distress Sprayer AmazonDE | AmazonUK Crafter's Companion, Heat Resistant Acetate AmazonDE | AmazonUK Pebeo, Gouache, Permanent White AmazonDE | AmazonUK Avery Elle, Star Frame Elle-ments StempelKücheDE | SevenHillsCraftsUK Avery Elle, Heart Frame Elle-ments StempelShopCreativ | SevenHillsCraftsUK Avery Elle, Magnolia Stamp Set MennysShopDE | SevenHillsCraftsUK Tsukineko Versamark Watermark Ink Pad AmazonDE | AmazonUK EK Susccess, Anti-Static Powder Tool AmazonDE | AmazonUK Joy Crafts, Kraft Paper,A4 300gsm/140lb (card base) KreativbuntDE | AmazonUK Absofine, A4 Recycled Kraft Paper 320gsm (card base) AmazonDE | AmazonUK Papermania, A6 Card Bases + Envelopes, Craft AmazonDE | AmazonUK Sellotape Double Sided Tape AmazonDE | AmazonUK Dovecraft, Foam Squares AmazonDE | AmazonUK Fiscars, Guillotine A5 AmazonDE | AmazonUK Tonic Studios, Guillotine A4 AmazonDE | AmazonUK EK Success, Scissors AmazonDE | AmazonUK My Sweet Petunia, Mini MISTI Stamping Tool StempelmühleDE | BumbleberrysUK Papermania, Stamp Block AmazonDE | AmazonUK Crafting Mat, Black AmazonDE | AmazonUK Disclaimer: These are products I used to make this card. Please note that the products are just a guide, you don't need the exact products or brands. For most of the products I include links to the shops where you can purchase these items if available. As I live in Europe, I provide links to UK and German stores. These are not affiliate links and every products I used for this card I purchased myself. YOU MIGHT ALSO LIKEPIN MEDid you like the card? I would love, if you pinned it to your board on Pinterest! 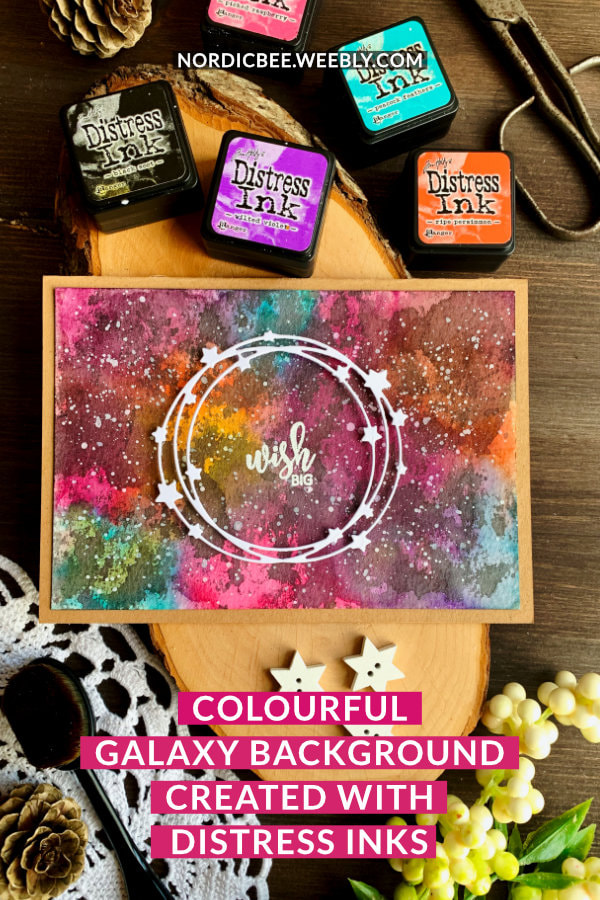
0 Comments
Leave a Reply. |
FOLLOW ME
SEE MORE


CATEGORIES
All
Stamping Die Cutting Using Stencil Heat Embossing Embossing or Texture Paste Distress Inks Nuvo Products Stamping & Colouring Stamping With Solid Stamps Watercolouring Watercolour Pencils Waterbased Markers Pencil Colouring Alcohol Markers Altenew Markers Zig Brush Markers Easy Backgrounds Stamped Backgrounds Small Stamp Ideas Simple Cards Complex Cards Cardmaking For Beginners All
Painting With Acrylics Painting With Gouache Painting With Watercolours Drawing With Fineliner Minimal Supplies Cards Christmas & Holiday
Love & Valentine Mother's Day Father's Day Halloween Spring Cards Summer Cards Autumn/Fall Cards Winter Cards Cards For Children Cards For Women Cards For Men Thank You Cards Sympathy Cards Get Well Soon Cards Floral & Leav Cards Rainbow Colours Messy Watercolouring Modern Art Inspirations Geometric Patterns Landscape Painting Acrylics
Gouache Watercolours Watercolour Pencils Waterbased Markers Distress Inks Alcohol Markers Colouring Pencils No Stamps No Dies Cards
Cardmaking On A Budget Let’s Colour Quick Cards Fun Masculine Cards Background Ideas Distress Ink Combinations |
 RSS Feed
