
Fun Masculine Cards | The Easiest Watercolour Galaxy Background With A Stamped Octopus + VIDEO22/5/2021 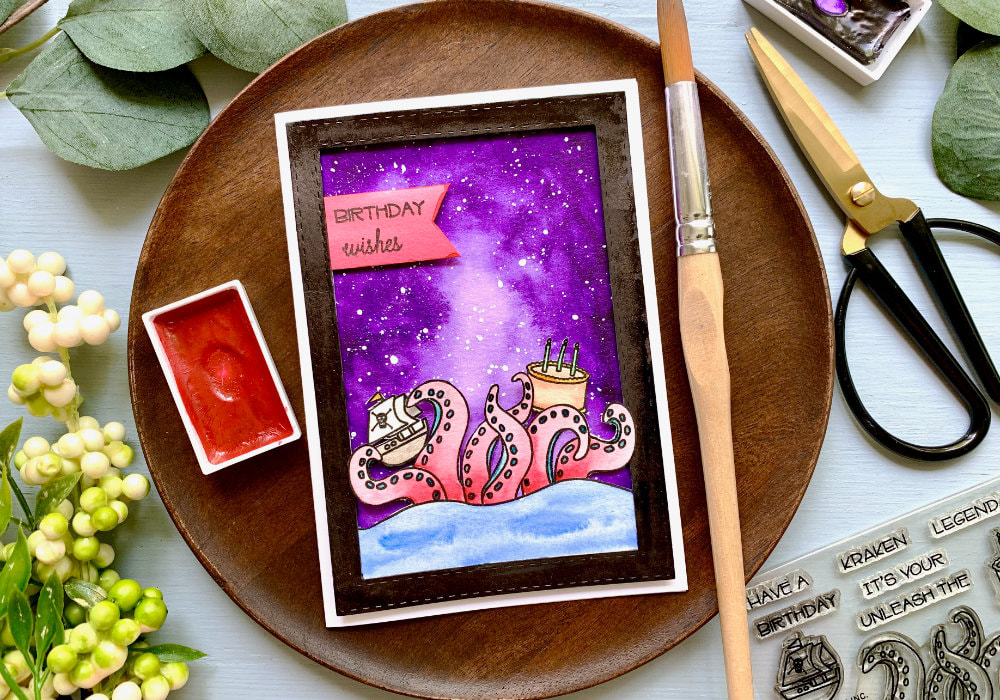
You know the times when you buy a stamp set, it is what you exactly wanted, but when it comes to the time to actually use it and make a card, you have no idea where to start. Well, that was exactly what happened, when I bought the Legendary stamp set from Avery Elle. Octopus, pirate ship, cool sentiments, great! However when I sat down to make a card, I was stuck, I had no idea what to do. I don’t really have stamps or other background building products, to create a scene, so I just didn’t know what to do.
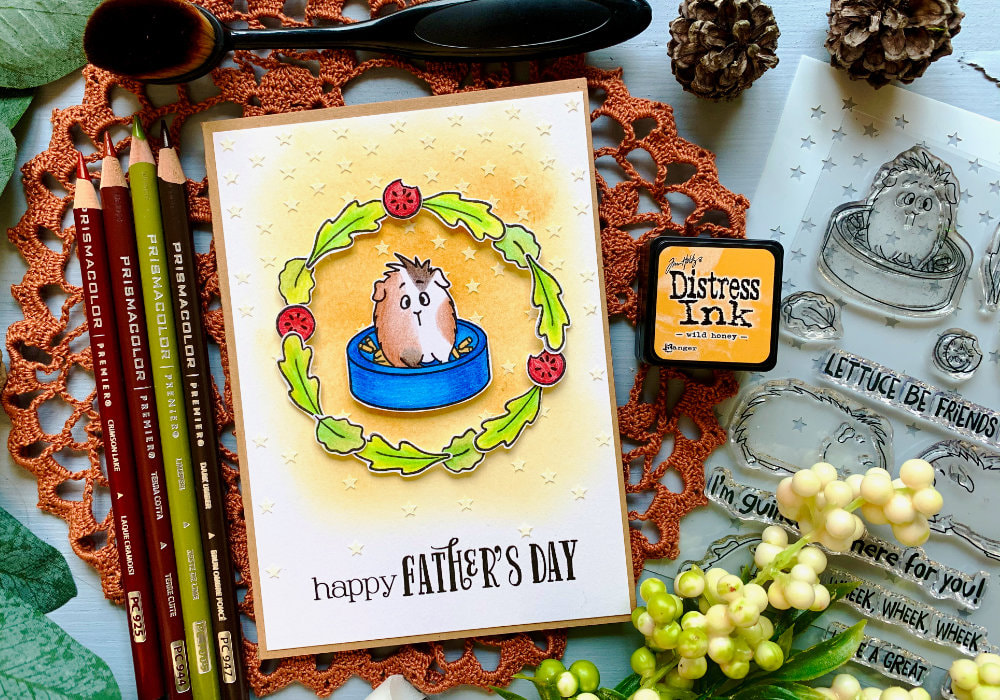
I cannot remember how the idea with the galaxy background came about. But I really like it, it fits this particular stamp set perfectly. However, you can use what ever stamp set you have, I think this would even work with the guinea pig stamp set as well and I think also a flower stamp set. And if you don’t have anything fitting, you can just add a sentiment, either stamped or die-cut. I’m not the best creating galaxies, or at least it feels like it, because once you add the stars, even the worst looking galaxy painting transforms into a rather good one. The thing I’m not good at, is randomly placing colours. I managed to paint few quite nice galaxies, but I just don’t feel confident enough. I watched a lot of videos, but when I try to recreate it, it doesn’t look right. However, I stumbled across one particular tutorial on the YouTube channel Studio of M.M, with multiple ways of painting a galaxy and the first one, was painting with only one colour. I’ve seen these type of galaxies before, but I have never thought of that. How amazing, let’s do it! 
For this card I’m using only watercolours, including colouring of the octopus. I just wanted to keep the supplies at minimum, otherwise I would have used some water-based markers for the colouring of the stamped images, as it’s easier to manage.
To paint the galaxy background, I taped the watercolour card stock to a board using a painters tape. You can do the wet on wet technique if you want, just make sure you are using a card stock that can handle water very well. I did the wet on dry technique as I wanted the colours to be really saturated. I used a purple paint, but you could use black, blue, green, there are many colour options that you can choose from. I started with a dark paint at the top, slowly decreasing the intensity as I was adding paint working my way to the bottom of the panel, creating a gradient. I was following that tutorial, but then I changed it and created a lighter space in the middle of the panel. When painting a galaxy, I really like that effect, when there are parts that are lighter or even white. I didn’t wait for the piece to dry, I went in right away with the second layer of the colour to make a more organic look. Instead of creating a gradient and making a smooth application of the paint, I went in a dabbing motion, creating something like blobs of colour to make a cloud like texture. I painted mainly from outside in, leaving the middle part lighter. 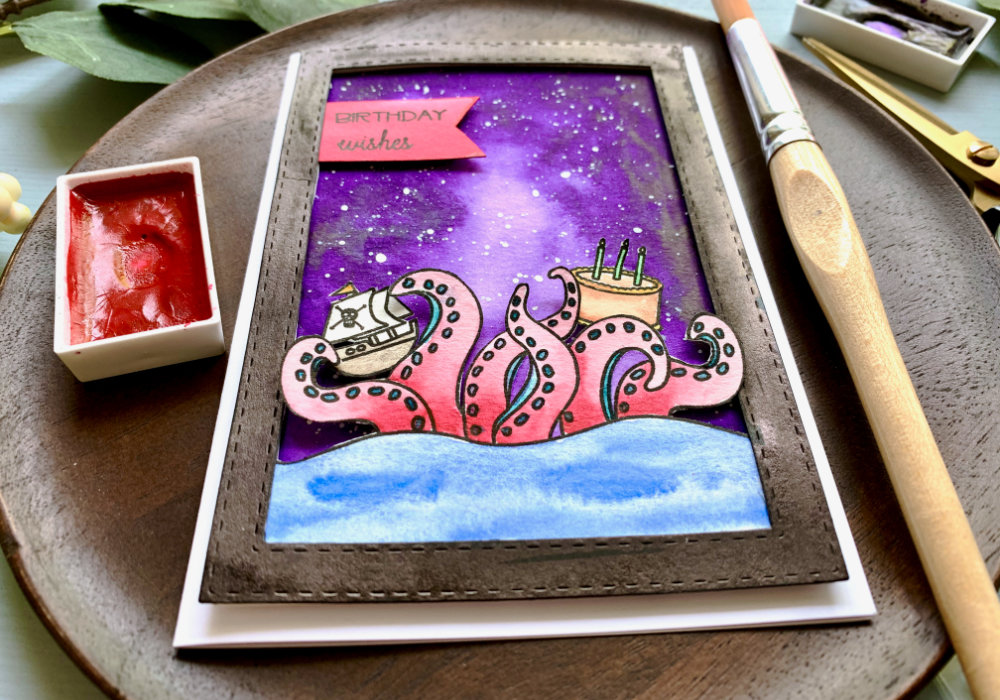
I applied little bit too much of the colour to the middle, so I cleaned and dried my brush and soaked up the colour with that brush and I repeated it until I was happy with the look.
I let the piece dry and I added another coat of the colour, but this is optional. I pretty much repeated what I did on the previous layer, dabbing my brush to create a texture, going from dark to light. After the piece was fully dry I added the stars. I used gouache that I diluted with water, but you can also use an acrylic paint or even white gel pen. When it comes to creating stars I always have some kind of problems with the tools I’m using. There are quite a few tools or techniques you can use or do, I either use a toothbrush or a round brush. And I try them all and see which works and which doesn’t, it changes all the time. This time toothbrush didn’t work at all and also tapping on the brush to make the splatter didn’t work either, I could not get the paint off the brush. The way I applied the stars this time, was using an acrylic block and flicking the colour off the acrylic block with a brush. This is a technique that I learned from Kristina Werner. I let the piece dry and while it was drying I worked on the images that I was going to put on top of the card, starting with stamping all the images from the stamp set onto a watercolour card stock using the Versafine ink in Onyx black. 
Then I coloured them using the same watercolours as I used on the galaxy background and then I cut out all the images using my scissors. I used a pink paint, because when I think of an octopus, I imagine it to be pink. Some would stay away from this colour, just because it’s not typical “masculine” colour, but really, who cares, some people are trying to be way too literal. But I googled and octopus can change colours to grey, brown, pink, blue, or green. Or you can go rogue and paint it orange.
The stamp shows the octopus coming out of the water and I just checked out the coordinating dies, just to see what the creator had in mind and the die cuts the outline. What I did, I kept the part with the water below the octopus and I painted it as well. The problem I had though, it just looked weird when I assembled it on the card. It looked unfinished and I needed something that will bring all the pieces together. And this is when I thought of creating a frame, something I did on the tulip card few weeks ago. As I said previously, I don’t have a die cutting machine at the moment, but I did pre die-cut few shapes, including the frame. All I had to do is to paint it black, as all this shapes I die-cut from a white card stock. I painted it with black watercolour paint, but I placed it at a stupid place, where it got damaged, so in the end I used a black alcohol marker. If I had a die-cutting machine I would just use a black card stock. 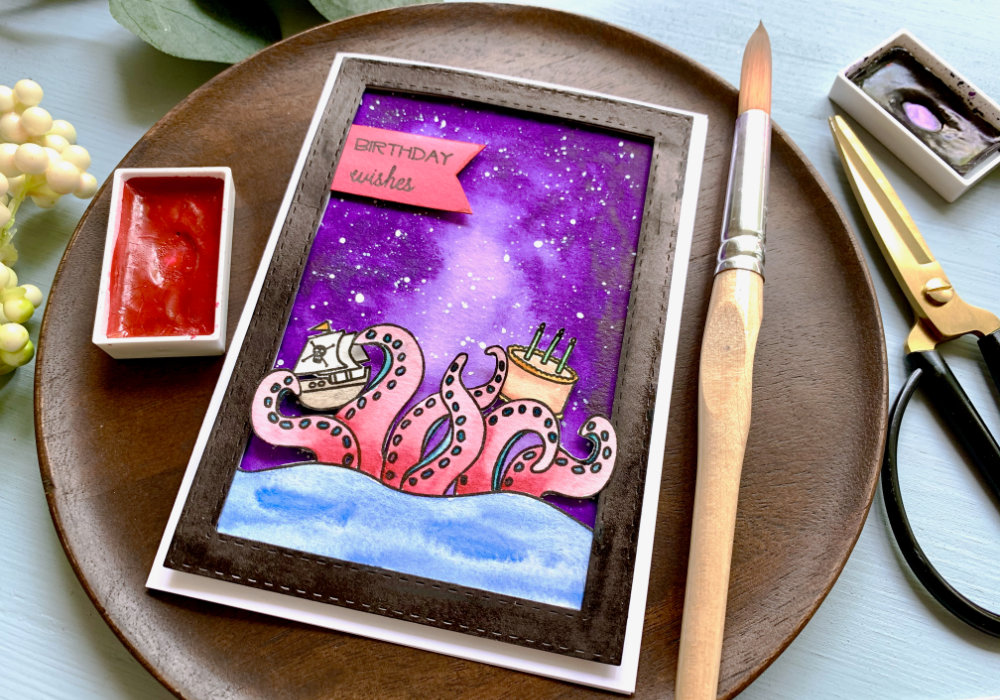
For the sentiment I created a banner, which I painted it in the same colour as the octopus. The stamp set has really great sentiments, you can create sentiments that say Have A Legendary Birthday or Unleash The Kraken. But I’m making a card for my dad who is not an English speaker and I don’t think he would understand it, so I only used the word Birthday and added the word Wishes from an another stamp set. And when I was editing my video, I noticed that there is one more stamp that says It’s Your, I could have used that, but I completely missed it.
Lastly I adhered all the pieces on top of the card base. First I adhered the octopus and the sentiment banner on the back of the frame just using a simple tape adhesive and then I attached a foam tape on the back the whole piece and I adhered it on the top of the panel with the galaxy background. The panel I had to trim a bit, so you don’t see it when the frame is attached. The two small stamped pieces - the ship and the cake - I tacked behind the octopuses tentacles also using a foam adhesive. And then I adhered the whole thing on top of a white card base. I hope you will give this galaxy a try and if you have any questions, do not hesitate to drop me a line. VIDEO TUTORIAL
Watch the video below or on my YouTube Channel.
PRODUCTS USED
Disclaimer: I’m currently not using any affiliate links. These links are just to help you find the products. The list includes alternatives to what I was using and while I haven't used some of them, I only recommend brands I trust.
Canson XL, Watercolour Cardstock , 300gsm/140lb
AmazonDE | AmazonUK Kuretake, Gansai Tambi, Watercolour Paints 36 Set AmazonDE | AmazonUK Daler Rowney Watercolour Brushes 4, 6, 10 AmazonDE | AmazonUK Pebeo, Gouache, Permanent White AmazonDE | AmazonUK Royal & Langnickel, Mixing Palette AmazonDE | AmazonUK Avery Elle, Legendary MennysShopDE | SevenHillsCraftsUK Tsukineko, Versafine Ink pad, Onyx Black AmazonDE | AmazonUK Create A Smile, Double Stitched Rectangles CreateASmileDE papermilldirect, White Card Plain 250gsm papermilldirectUK papermilldirect, Black Card Plain 240gsm papermilldirectUK Color Copy , White Paper, A4 300gsm/140lb (card base) AmazonDE | AmazonUK Papermania, A6 Card Bases + Envelopes, White AmazonDE | AmazonUK Stick It!, Double Sided Foam Tape AmazonDE | AmazonUK Sellotape Double Sided Tape AmazonDE | AmazonUK EK Success, Scissors AmazonDE | AmazonUK Fiscars, Guillotine A5 AmazonDE | AmazonUK My Sweet Petunia, Mini MISTI Stamping Tool StempelmühleDE | BumbleberrysUK Papermania, Stamp Block AmazonDE | AmazonUK Crafting Mat, Black AmazonDE | AmazonUK YOU MIGHT ALSO LIKE
PIN ME
Did you like the card? I would love, if you pinned it to your board on Pinterest!

0 Comments
Leave a Reply. |
FOLLOW ME
SEE MORE


CATEGORIES
All
Stamping Die Cutting Using Stencil Heat Embossing Embossing or Texture Paste Distress Inks Nuvo Products Stamping & Colouring Stamping With Solid Stamps Watercolouring Watercolour Pencils Waterbased Markers Pencil Colouring Alcohol Markers Altenew Markers Zig Brush Markers Easy Backgrounds Stamped Backgrounds Small Stamp Ideas Simple Cards Complex Cards Cardmaking For Beginners All
Painting With Acrylics Painting With Gouache Painting With Watercolours Drawing With Fineliner Minimal Supplies Cards Christmas & Holiday
Love & Valentine Mother's Day Father's Day Halloween Spring Cards Summer Cards Autumn/Fall Cards Winter Cards Cards For Children Cards For Women Cards For Men Thank You Cards Sympathy Cards Get Well Soon Cards Floral & Leav Cards Rainbow Colours Messy Watercolouring Modern Art Inspirations Geometric Patterns Landscape Painting Acrylics
Gouache Watercolours Watercolour Pencils Waterbased Markers Distress Inks Alcohol Markers Colouring Pencils No Stamps No Dies Cards
Cardmaking On A Budget Let’s Colour Quick Cards Fun Masculine Cards Background Ideas Distress Ink Combinations |

 RSS Feed
