
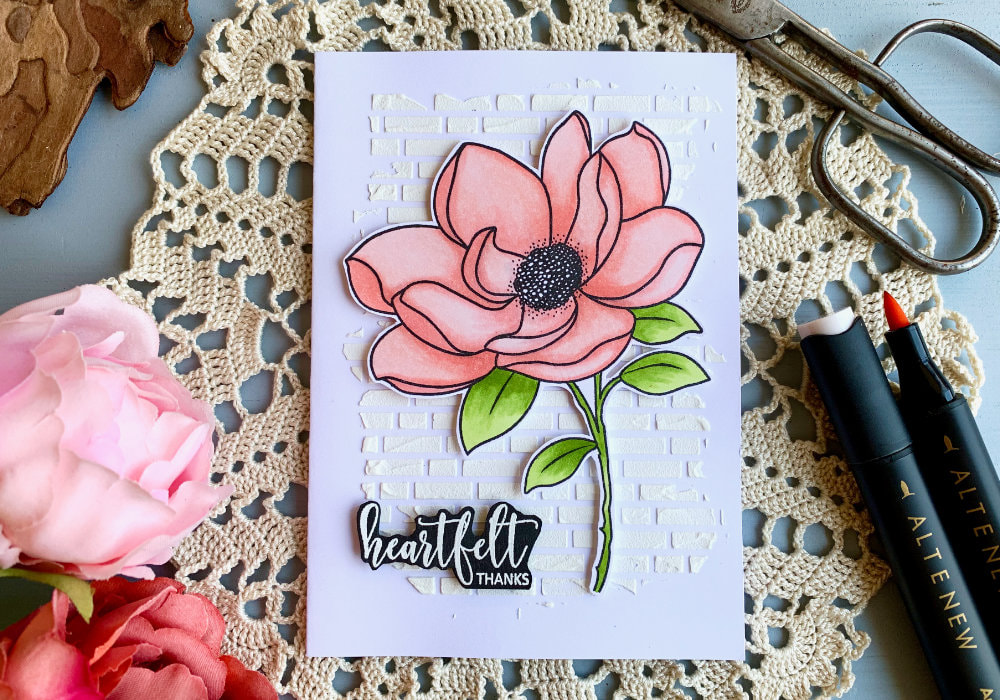
I really like stamp sets with big bold flowers as they are very easy to colour, especially if you are using watercolour mediums or as I did on this card, alcohol markers. The stamp set I used is form Avery Elle and it's called Magnolia. I coloured it with the Altenew alcohol markers using the pack Red Sunset for the reds and Green Fields for the greens.
I stamped the flower using the Versafine ink in Onyx black. The flower and the stem are two separate stamps, so I had to do a little bit of masking, when stamping the stem. I used the Post-it note with a full adhesive for that. The card stock I used is the Bristol paper from Canson, I think it works really well with the markers. 
To colour the flower I used two shades for each colour, more specifically:
The reds: Rouge (R301) and Blush (R400) The greens: Frayed Leaf (G715) and Forest Glades (G702) There are two ways I usually colour to create depth. I either start with the darkest shade at the bottom or where I think a shadow would be (e.g. overlapping leafs or petals) or I start with the lightest shade, then I apply the darker shade and then I blend it again with the lightest shade. After I was finished with the colouring I used my scissors to cut out the whole flower. 
Next I wanted to create a background and to do that I used a stencil with a brick wall pattern and an embossing paste. I didn't want to waste any paper, therefore I applied the paste directly onto a white card base. I placed the stencil first and secured it with a washi tape and then I used a palette knife to apply the embossing paste. I didn't apply the paste all over the background, I wanted the application to be slightly imperfect.
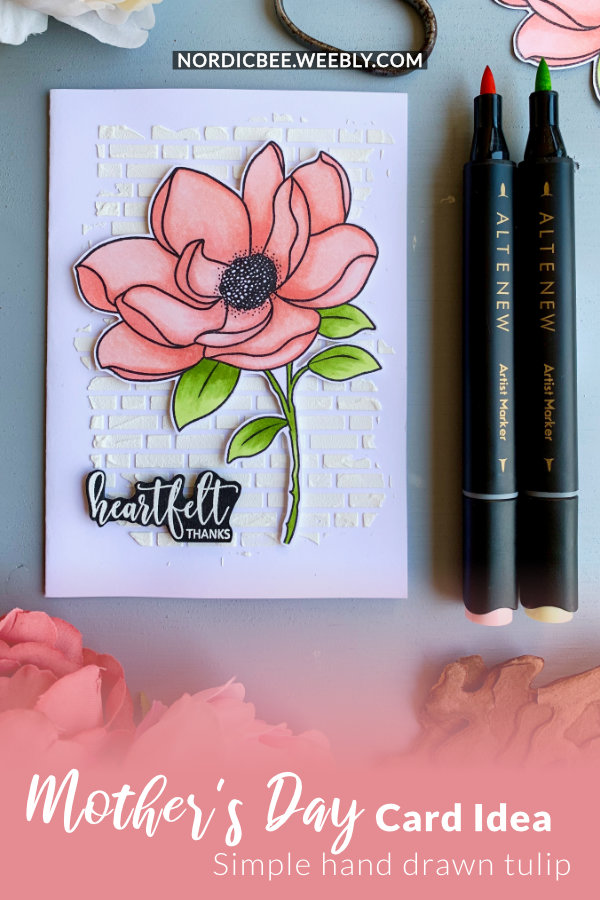
Before I assembled the card and while the paste was drying I worked on the greeting. I used the sentiment "Heartfelt Thangs", which is a part of the stamp set. If you want to make it into a Mother's Day card, just change the greeting. This sentiment I stamped onto a black card stock using the Versamark ink and then I heat embossed it with a white embossing powder. After that I cut it into a banner and so it's not too thick I cut around the letters in the word "heartfelt". 
Lastly I adhered the flower and the greeting on top of the card base with the brick background using a double-sided foam tape.
You can see a quick video of me making this card on my YouTube channel or Instagram and make sure you subscribe/follow. ​ QUICK VIDEO
Watch the video below or directly on my YouTube channel or Instagram.
YOU MIGHT ALSO LIKEPIN ME
Did you like this card? I would love, if you pinned it to your board on Pinterest!
0 Comments
Leave a Reply. |
FOLLOW ME
SEE MORE


CATEGORIES
All
Stamping Die Cutting Using Stencil Heat Embossing Embossing or Texture Paste Distress Inks Nuvo Products Stamping & Colouring Stamping With Solid Stamps Watercolouring Watercolour Pencils Waterbased Markers Pencil Colouring Alcohol Markers Altenew Markers Zig Brush Markers Easy Backgrounds Stamped Backgrounds Small Stamp Ideas Simple Cards Complex Cards Cardmaking For Beginners All
Painting With Acrylics Painting With Gouache Painting With Watercolours Drawing With Fineliner Minimal Supplies Cards Christmas & Holiday
Love & Valentine Mother's Day Father's Day Halloween Spring Cards Summer Cards Autumn/Fall Cards Winter Cards Cards For Children Cards For Women Cards For Men Thank You Cards Sympathy Cards Get Well Soon Cards Floral & Leav Cards Rainbow Colours Messy Watercolouring Modern Art Inspirations Geometric Patterns Landscape Painting Acrylics
Gouache Watercolours Watercolour Pencils Waterbased Markers Distress Inks Alcohol Markers Colouring Pencils No Stamps No Dies Cards
Cardmaking On A Budget Let’s Colour Quick Cards Fun Masculine Cards Background Ideas Distress Ink Combinations |
 RSS Feed
