
Spring is coming, so for the whole month of March I will be making spring cards with flowers and I’m going to be using stamps for all of them.
I haven’t been using stamps much lately, simply because I don’t know if you guys like me using stamps. What I’m struggling with is that even though all the stamps I’m using I have never used before, they are not latest releases and often they are no longer available, which you hardly see other card makers that have either a blog or a YouTube channel do. Consequently I’m always on a fence, if these cards are interesting to you. That’s why I have been making a lot of cards completely from scratch, without any stamps or dies. Therefore, I would like to ask you for a help! Write me in the comment section on this blog or the YouTube video, if you prefer cards with stamps and dies, or complete DIY cards and if you mind that I use older stamps, especially when they are no longer available. You see, my cards suppose to be an inspiration or a template that you can re-create with different stamps as well. 
This month I’m going to be using flower stamp sets from Clearly Besotted. They are quite identical, just with different flowers. And while I like these stamp sets and they play a big role in these cards, they can be substituted for other stamps.
Actually the main components of the card today are the alcohol markers from Altenew. I bought them two years ago and while I already used them on some cards, I have never used them in a blog post or a video. The second main component of the card is a rectangular die-cut frame. You can actually get dies that die cut frames, but if you don’t have those, you can do what I did. I took two rectangular dies in two sizes, I put them together and run it through my die-cutting machine to create a frame. Frames like these can be used for a shaker card, but I used them few times to cover up the bottom part of a die-cut, in this example the flowers. If you look at the stamp, it is sort of cut off and while it would not look ugly, the frame just puts everything together and makes it neater. I made another card with the same concept and to see it make sure you watch the video. 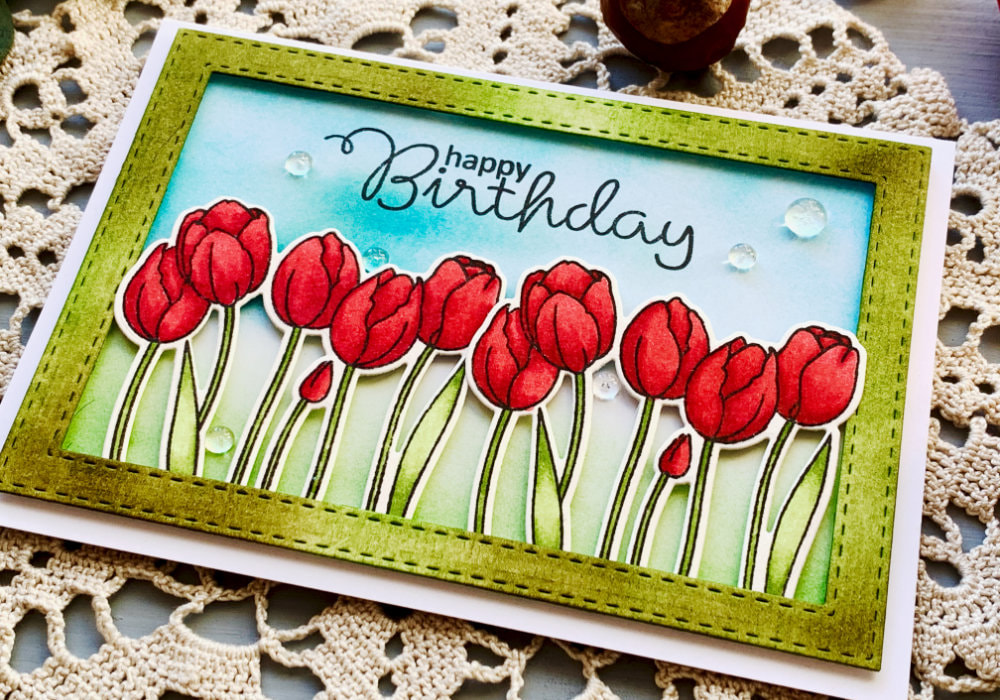
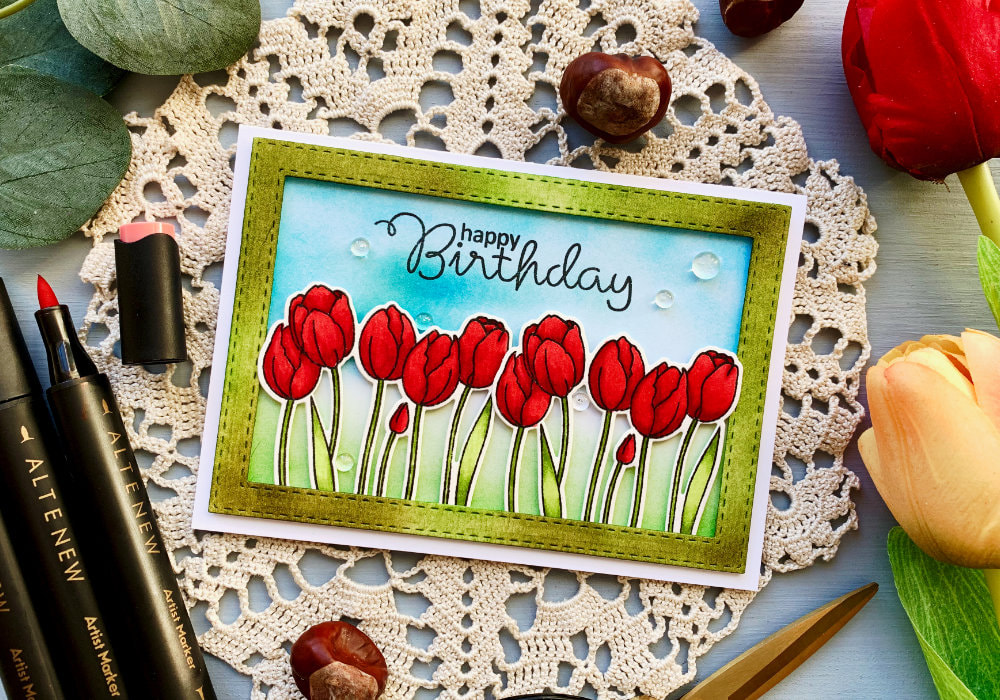
The stamp set I’m using for today’s card is called Spring Tulips, there are two stamps in this stamp set and I’m using the one with the row of the flowers. And while this exact stamp set is no longer available, you can still get the row of tulips together with a row of daffodils on Clearly Besotted website.
I stamped the tulips using the Mini Misti stamping tool and the Gina K. Amalgan ink in black. The card stock I used is the Canson XL Mixed Media, I like to use it with these markers and I also like the texture of it. I'm making top folding horizontal card, so I stamped two of the images, to fill up the whole background. Then I coloured the tulips. I used two red markers (R217 and R206) and green markers (G702 and G715). I am not good at shading, so I did what I always do, I used the darker shade for the bottom part of the petals and for the areas where the shade would be. And then I used the lighter shade for the top part of the petal, blending it with the darker shade. I did the same on the leafs and stems except, I applied the darker green at the top and bottom part and the lighter green I applied in the middle. Next I die-cut the flowers and the frame. For the frame I used the same card stock as for the flowers. 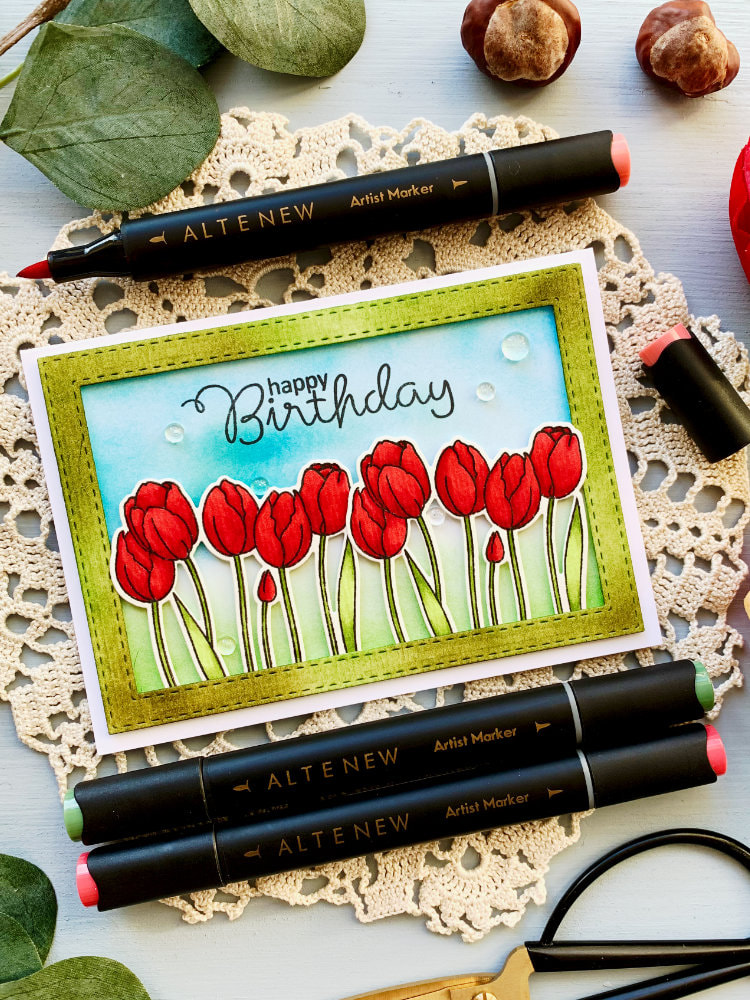
You could adhere all those pieces onto the card base after you die cut all the pieces, but I wanted to add some colour to the background, so I used the Distress inks to create a sky and grass background. For the sky I used Salty Ocean and Tumbled Glass inks and for the grass I used Mowed Lawn.
I applied the ink directly onto the card base and not to get the ink on the back of the card base and also to secure the card base, I used a Post-It tape. I only used three pieces of the tape, when I worked on the sky, I had the tape on the sides and the top, and when I worked on the grass I moved the top tape to the bottom. And while I had the Distress inks out, I also applied the colour to the frame. You cold make the frame using a coloured card stock, but I wanted the colours to match the background, that’s why I used the Distress inks. I used Mowed Lawn again and Forest Moss, which I applied to the edges of the frame. I was also using a blending tool that I bought in a make up section of something like a Euro or Dollar store. You can get those from craft brands, but those are more expensive. I still prefer to use the blending tools from Tim Holtz, but I like this tool as well, especially if I’m using a card stock that is not the best for blending, like the card base I was using. 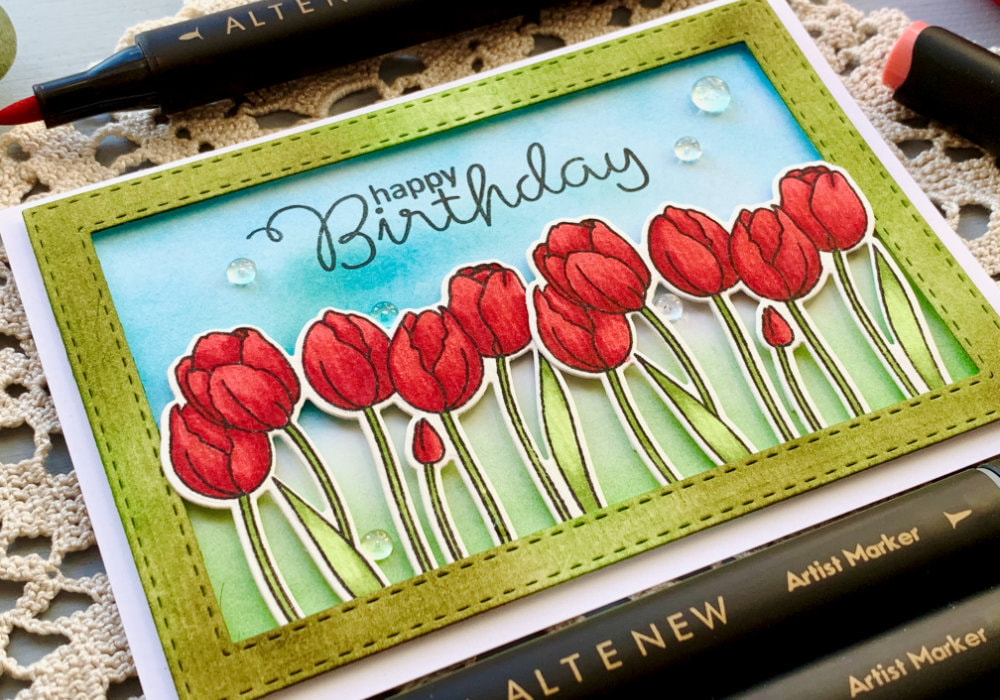
Next I adhered all the pieces onto the card base. I used a double-sided foam adhesive on all the pieces. I started with the frame. When you are adding the foam tape on the the frame, it is important to keep in mind to put the tape little bit lower on the bottom part, to have enough space for the flowers. Then I adhered the tulips. The stems I tacked behind the frame, but the flowers on the left and right side I kept outside of the frame. I think this way it looks much better.
Lastly I adhered few clear drops across the panel. To adhere them I used Glossy Accents from Ranger, you could also use the Multi Medium Mat adhesive, but I thought, since the drops are clear, using glossy accents might make it nicer. I’m not sure if it does, this is just my brain at work. And the card is finished! VIDEO TUTORIAL
Watch the video below or on my YouTube Channel.
PRODUCTS USED
Disclaimer: I’m currently not using any affiliate links. These links are just to help you find the products. The list includes alternatives to what I was using and while I haven't used some of them, I only recommend brands I trust.
Altenew, Alcohol Markers - Green Fields
MennysShopDE | SevenHillsCraftsUK Altenew, Alcohol Markers - Red Sunset MennysShopDE | SevenHillsCraftsUK Create A Smile, Double Stitched Rectangles CreateASmileDE Canson XL, Mix Media Cardstock, 300gsm/140lb AmazonDE | AmazonUK Clearly Besotted, Spring Tulips (Not Available) Alternatives: Clearly Besotted, Spring Blooms ClearlyBesottedUK Clearly Besotted, From All Of Us ClearlyBesottedUK Gina K., Amalgam Ink, Obsidian StempelmühleDE | BumbleberrysUK Tim Holtz Distress Mini Ink, Kit 2 (Mowed Lawn, Salty Ocean) AmazonDE | AmazonUK Tim Holtz Distress Mini Ink, Kit 8 (Tumbled Glass) BastelWeltDE | AmazonUK Tim Holtz Distress Mini Ink, Kit 9 (Forest Moss) AmazonDE | AmazonUK Color Copy , White Paper, A4 300gsm/140lb (card base) AmazonDE | AmazonUK Papermania, A6 Card Bases + Envelopes, White AmazonDE | AmazonUK Stick It!, Double Sided Foam Tape AmazonDE | AmazonUK Pretty Pink Posh, Clear Droplets 4mm Pretty Pink Posh, Clear Droplets 6mm Lucy’s Cards, Raindrops LucysCardsUK YOU MIGHT ALSO LIKEPIN ME
Did you like the card? I would love, if you pinned it to your board on Pinterest!

0 Comments
Leave a Reply. |
FOLLOW ME
SEE MORE


CATEGORIES
All
Stamping Die Cutting Using Stencil Heat Embossing Embossing or Texture Paste Distress Inks Nuvo Products Stamping & Colouring Stamping With Solid Stamps Watercolouring Watercolour Pencils Waterbased Markers Pencil Colouring Alcohol Markers Altenew Markers Zig Brush Markers Easy Backgrounds Stamped Backgrounds Small Stamp Ideas Simple Cards Complex Cards Cardmaking For Beginners All
Painting With Acrylics Painting With Gouache Painting With Watercolours Drawing With Fineliner Minimal Supplies Cards Christmas & Holiday
Love & Valentine Mother's Day Father's Day Halloween Spring Cards Summer Cards Autumn/Fall Cards Winter Cards Cards For Children Cards For Women Cards For Men Thank You Cards Sympathy Cards Get Well Soon Cards Floral & Leav Cards Rainbow Colours Messy Watercolouring Modern Art Inspirations Geometric Patterns Landscape Painting Acrylics
Gouache Watercolours Watercolour Pencils Waterbased Markers Distress Inks Alcohol Markers Colouring Pencils No Stamps No Dies Cards
Cardmaking On A Budget Let’s Colour Quick Cards Fun Masculine Cards Background Ideas Distress Ink Combinations |

 RSS Feed
