

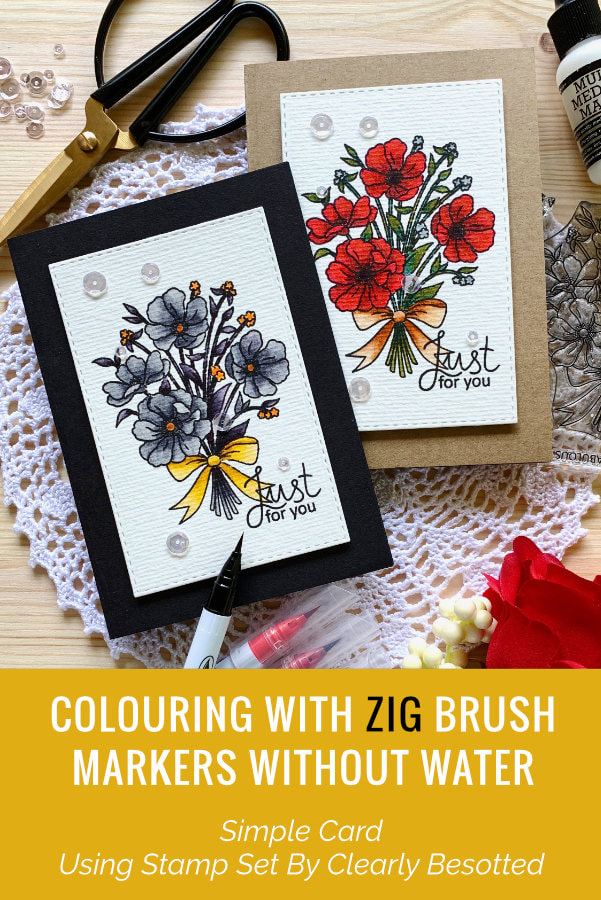
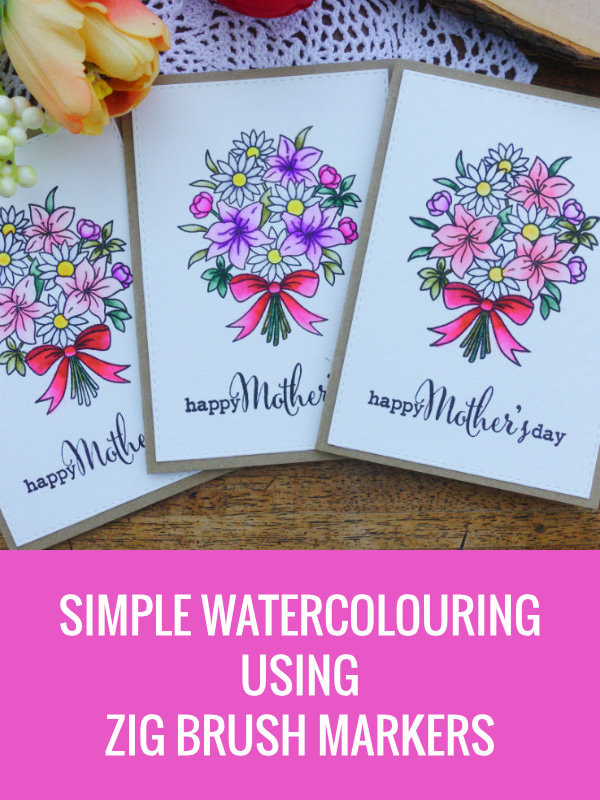
Few months ago, for Mother’s Day I made a card using the Say It With Flowers stamp set from Clearly Besotted. This stamp set has two bouquets, one I used on the Mother’s Day card and I coloured it with Zig Brush Markers and water, like watercolours. Today's card is sort of a part two. I will be using the other stamp set and the Zigs, but this time without water, just like you would do with alcohol markers.
If you don’t have the Zig brush markers, you can use any other brush markers, as long they are water-based. For example the Tombow or Arteza sell such markers as well. 
I started by stamping using the Versfaine ink in Onyx black. For the stamping I used the Mini Misti stamping tool and I had to re-stamp a few times as I had problems getting smooth coverage in the middle of the image. Please note that Clearly Besotted currently only sells the bouquet that I used on the first card, the stamp in today’s post is not available.
Next I started colouring. Originally I thought I will just use reds for the big flowers and greens for the stem and leafs and I did do that. But then I got the idea to use blacks and greys and create sort of a monochrome look. I didn’t want the image to be fully grey, so I picked few yellows and oranges, as well. 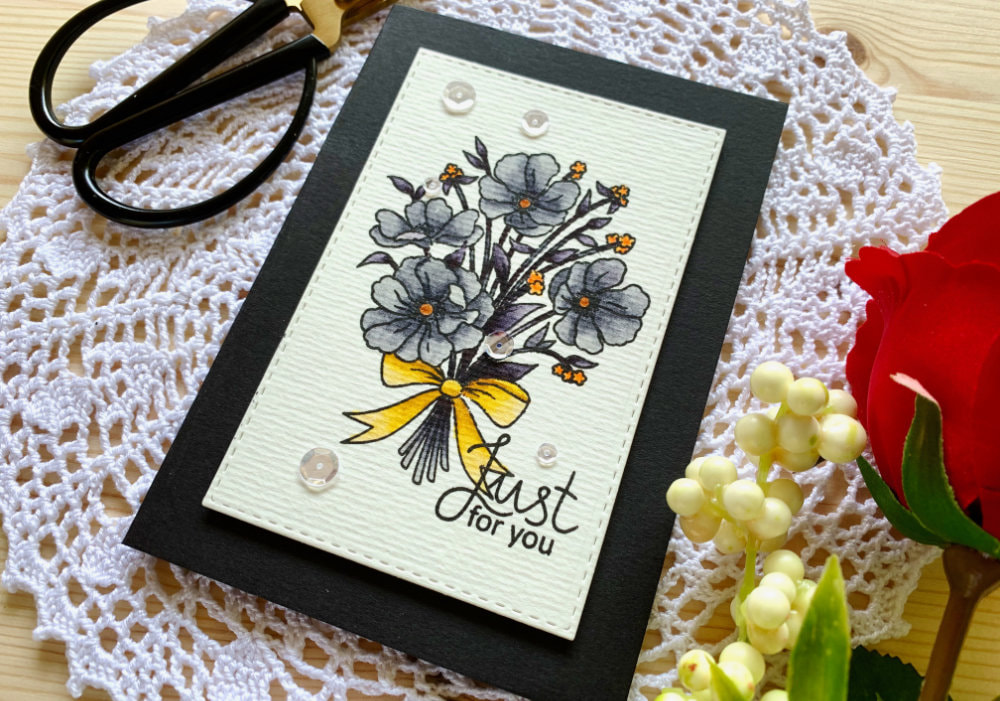
HOW I APPROACH COLOURING - FAKE SHADING
Normally, when colouring, you would pick a light source and colour and shade accordingly. Well I cannot do that, neither I have the patience to learn and practice. However I don’t want my images to look flat either.
So what do I do? I fake it. All I want to achieve is little bit of a dimension and most of the time it’s just a guessing game. What do I mean by that? First of all, this method mainly applies to floral images, just because I don’t colour other images too often. However, it can be used on other type of images as well. I don’t put too much emphases on the light source. It doesn’t mean I don’t care about it, I just don’t pick one place where the light source is coming from. For me, each flower has it’s own light source. When you look at the flowers in the bouquet, the two flowers on the bottom, one is turned to the left side and the other to the right, but I coloured them the same way. 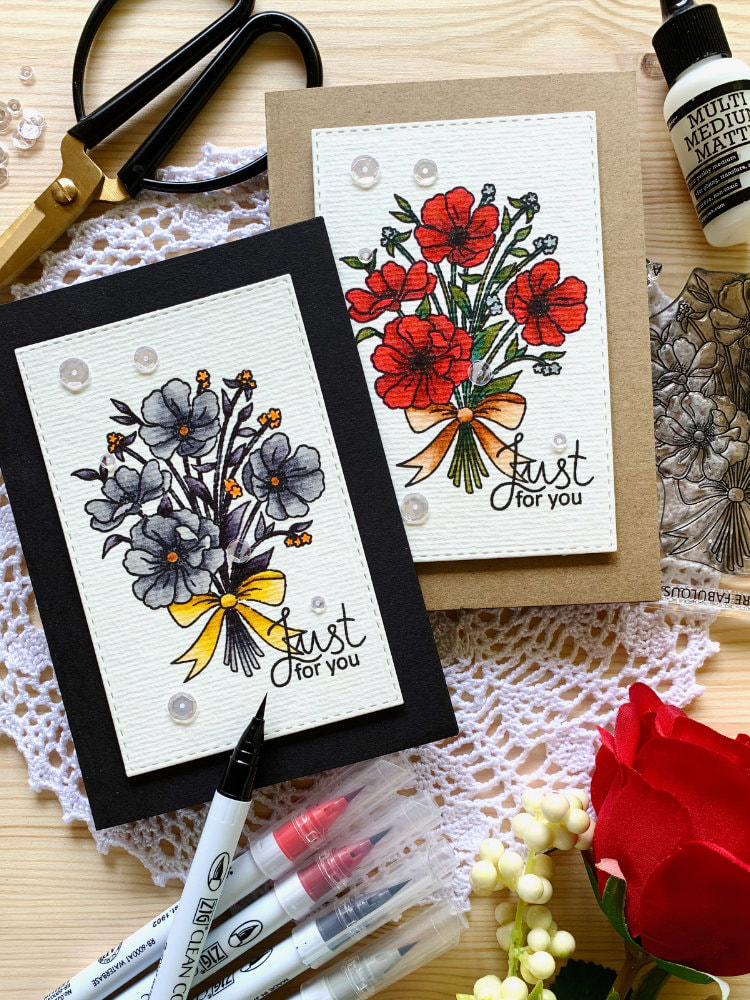
I have three ways of approaching the colouring.
The first is the most obvious and that is when I pretty much know that there would be a shade, in most light source scenarios. Like the stems underneath the bow or inside of the bow, those places would be dark for sure. Next is when the petal or leaf is fully visible, mainly on top of any other leafs or petals. In that case I apply darker colour to the bottom of the image and go lighter on the top. If you would pick a light source that is on the side, for some petals this would be correct colouring, but for some it would be incorrect. In this case I didn’t need to apply too much of the darker colour, since these are water based markers I was able to bring the darker colour with the lighter grey and blend it together. And the last approach is when the petal or leaf is behind, meaning there is something overlapping it. In this case, I also add the darker colour to the part where the top petal would be overlapping. There are also petals or leafs that are bent, for example. In those cases I just guess, where the light part is and where to put the dark part. And I do this sort of a “technique” if you can even call it like that on all my colouring, no matter which colouring medium I pick. Well except of normal watercolours, in those cases, most of the time I let the water do it’s thing. 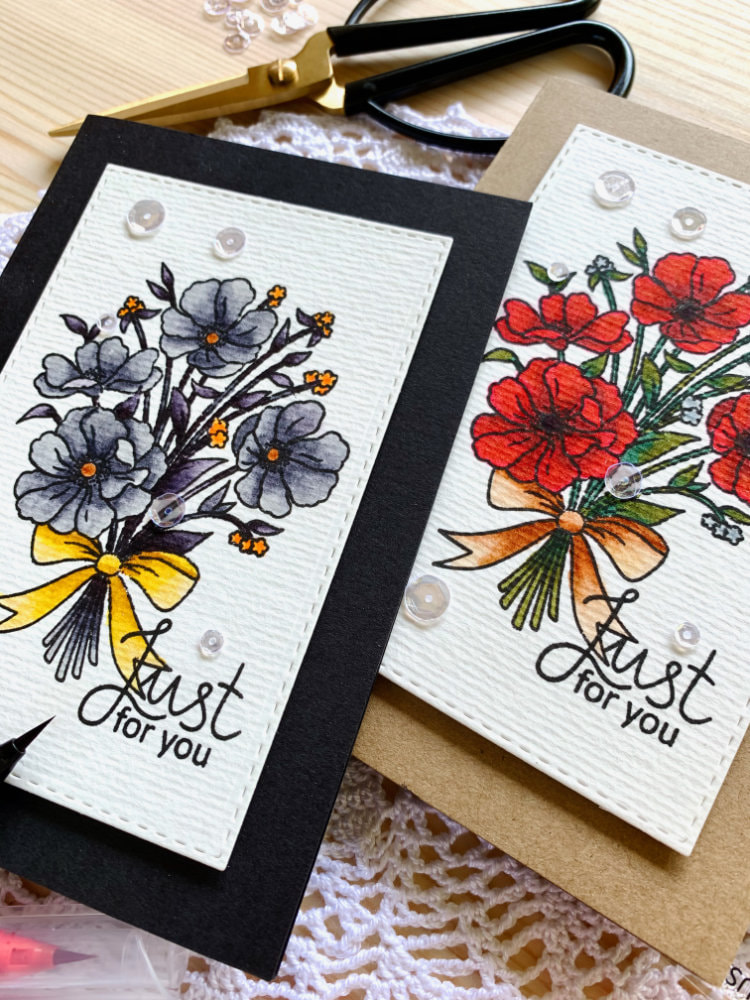
For the sentiment I used another stamp set from Clearly Besotted, called Scrumptious Script and I used the words Just For You. This stamp set is sadly not available anymore.
I could have used a sentiment from the bouquet stamp set, it even has Just For You stamp, but I wanted to stamp directly onto the panel and I thought a small, one lined sentiment would just disappear. I could have heat embossed it on a black card stock, using a white embossing powder, but I didn’t want to deal with heat embossing. Why can’t more companies make more stamp set with solid backgrounds? That would be much simpler. I wanted something little bit bigger, but not too wide and after going through my sentiment stamps, this stamp set had the best fitting stamp. I adhered both panels on top of the card bases using double-sided foam tape. For the card bases I used black card base for the grey flowers and for the red ones I used a card base for a craft card stock. Lastly I adhered few clear sequins in different sizes. I adhered them randomly using the Multi Medium Matte adhesive from Ranger. 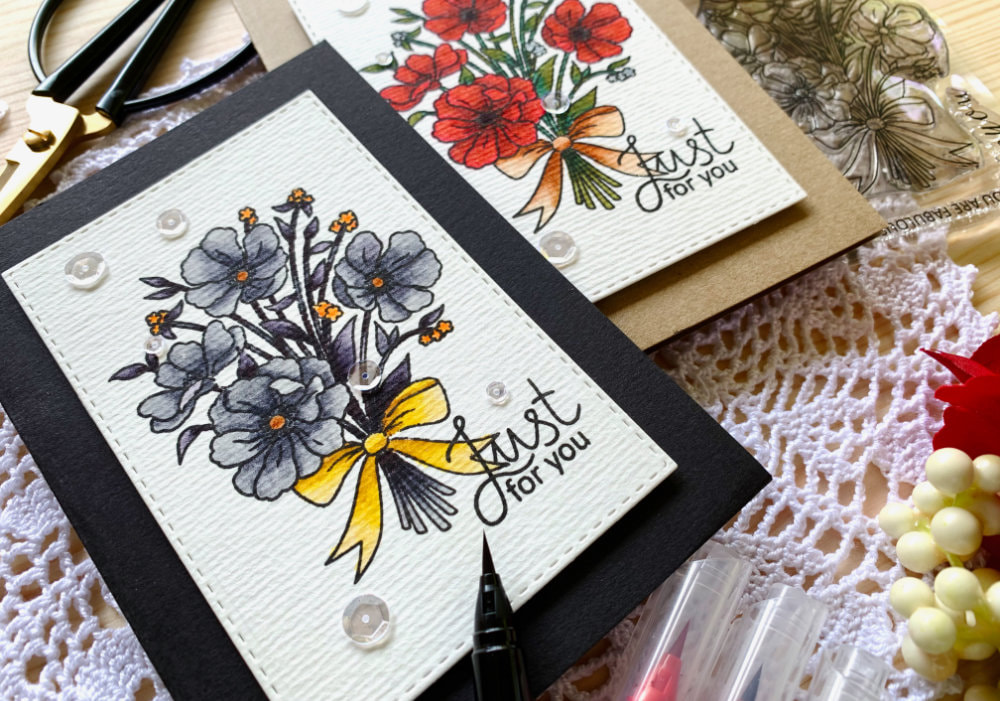
QUICK STEP-BY-STEP HOW TO
The card is finished. Thank you for stopping by, I hope you will have a great day. Sending hugs from Sweden! VIDEO TUTORIAL
Watch the video below or on my YouTube Channel.
PRODUCTS USED
Disclaimer: I’m currently not using any affiliate links. These links are just to help you find the products.
Kuretake, ZIG Clean Color Real Brush Markers | AmazonDE | AmazonUK
Clearly Besotted, Say It With Flowers | ClearlyBesotted Clearly Besotted, Scrumptious Script (N/A) Tsukineko, Versafine Ink pad, Onyx Black | AmazonDE | AmazonUK Canson XL, Mix Media Cardstock , 300gsm/140lb | AmazonDE | AmazonUK Create A Smile, Double Stitched Rectangles | CreateASmile Stick It!, Double Sided Foam Tape | AmazonDE | AmazonUK Neat & Tangled, Clear Sequins | SevenHillsCraftsUK My Sweet Petunia, Mini MISTI Stamping Tool | StempelmühleDE | BumbleberrysUK Crafting Mat, Black | AmazonDE | AmazonUK YOU MIGHT ALSO LIKEPIN ME
Did you like the card? I would love, if you pinned it to your board on Pinterest!
0 Comments
Leave a Reply. |
FOLLOW ME
SEE MORE


CATEGORIES
All
Stamping Die Cutting Using Stencil Heat Embossing Embossing or Texture Paste Distress Inks Nuvo Products Stamping & Colouring Stamping With Solid Stamps Watercolouring Watercolour Pencils Waterbased Markers Pencil Colouring Alcohol Markers Altenew Markers Zig Brush Markers Easy Backgrounds Stamped Backgrounds Small Stamp Ideas Simple Cards Complex Cards Cardmaking For Beginners All
Painting With Acrylics Painting With Gouache Painting With Watercolours Drawing With Fineliner Minimal Supplies Cards Christmas & Holiday
Love & Valentine Mother's Day Father's Day Halloween Spring Cards Summer Cards Autumn/Fall Cards Winter Cards Cards For Children Cards For Women Cards For Men Thank You Cards Sympathy Cards Get Well Soon Cards Floral & Leav Cards Rainbow Colours Messy Watercolouring Modern Art Inspirations Geometric Patterns Landscape Painting Acrylics
Gouache Watercolours Watercolour Pencils Waterbased Markers Distress Inks Alcohol Markers Colouring Pencils No Stamps No Dies Cards
Cardmaking On A Budget Let’s Colour Quick Cards Fun Masculine Cards Background Ideas Distress Ink Combinations |
 RSS Feed
