
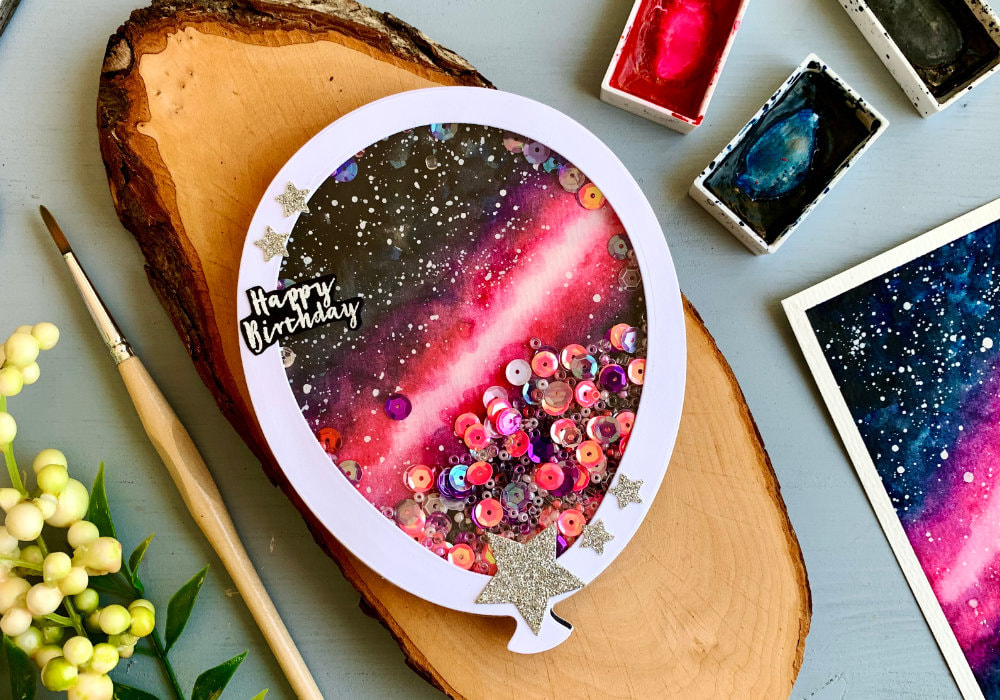
 I have a balloon die-set that I bought years ago from Simon Says Stamp and I really wanted to use it, because I have never used the big dies and I wanted to make a shaker card. The good thing is, despite the die-set being a few years old, it is still available to purchase. Even though my card inspirations are not about the exact products, i.e. you don't need to use the same products as I do, there are plenty of alternatives. However, I do appreciate when the product is still available. The brands I mainly use don't keep their products for long, after a year often they are gone. NOTE: You can use other dies, like a circle, star and other shapes, to create something similar. 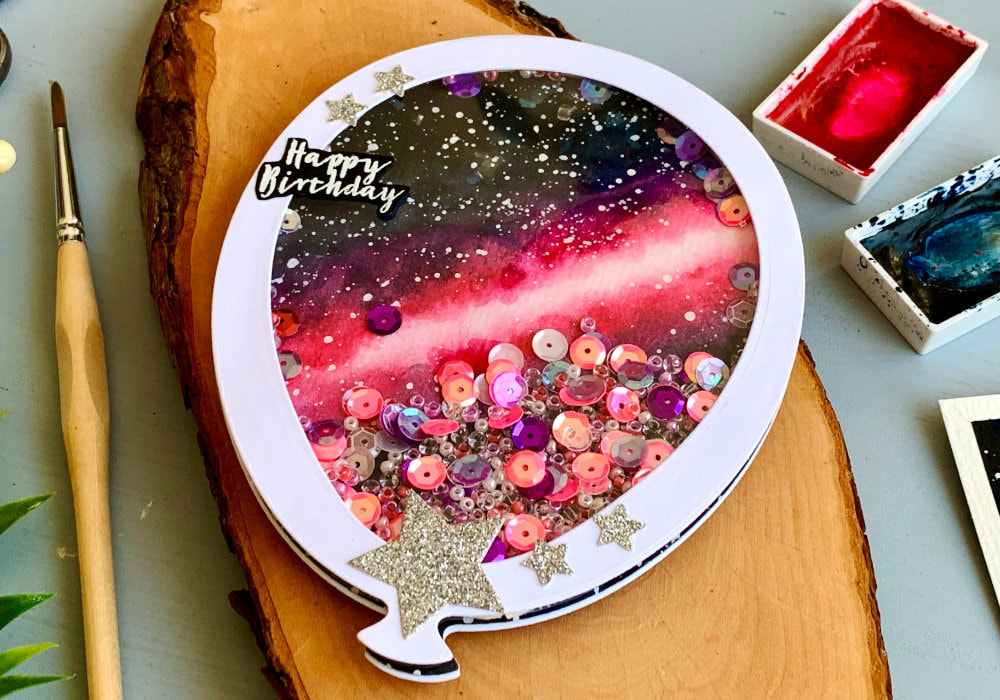 CREATING THE BACKGROUND Coming up with the idea for the background was a process of it's own. Originally I wanted to do this bubble technique, where you mix a paint with water and dish soap and using a straw you blow in to create bubbles. And then you scoop up the bubbles with a card stock and you end up with a fun background pattern. The problem was, when I tested it it didn't work, there was no paint on the bubbles. I guess the ratio between the paint and water was the issue. I was going to try it again, but then I had different idea, which was a galaxy background. I'm a bit intimidated by painting galaxy background. I don't know why. Often I look at too many photos and cannot decide, which one I wanna paint. Here I decided to create a diagonal shape and make it pink with a white middle and the rest black and blue. I actually could not decide between those two, you can use just black. 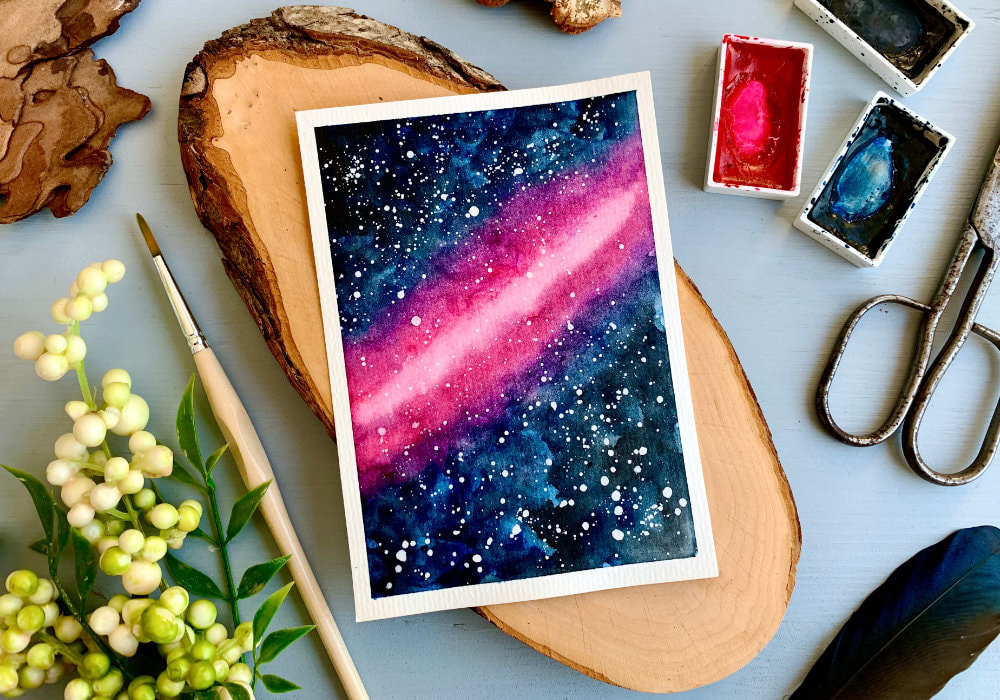 I also added purple, but I didn't like the shade and when you mix the area where the pink and blue meet you will get a purple anyway. And I liked that purple more. In the video I started with the wet on wet technique and created a light, blotchy or uneven layer. This was intentional as it was a base layer. I didn't like this layer, I didn't like the wet on wet and if I would be re-creating it, I would skip it and start directly with the wet on dry technique. You just need to experiment, which technique you prefer. Also I was using a wood pulp watercolour paper and wet on wet technique doesn't always work. For the next two layers I did the wet on dry technique. I applied the paint in a dabbing motion to create an interesting texture. I was changing between blue and black when painting the outer parts, but in the end I used mainly black. In the middle I first used a clean damp brush and soften the edges, trying not to contaminate it. And then I applied more pink, avoiding touching the blue. When I was happy with it, I blended the blue and the pink which as I mentioned, created purple.  I let the piece dry and then I created the stars. Here I used a white gouache, you can also use an acrylic paint. I mixed it with water to make it more fluid and then I splattered the background. There are a few ways of creating a splatter. I did the typical technique, where I dipped my brush into the paint and tapping my finger on the brush I splattered the watercolour panel. Remember the amount of water and paint on the brush, as well as the size of the brush will affect the size of the droplets. I let the background dry and then I was ready to create the shaker card. 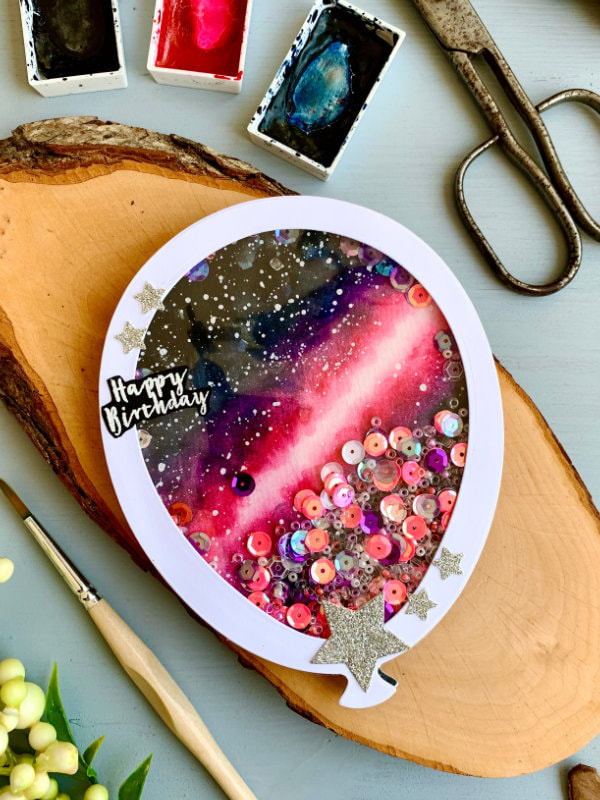 CREATING THE SHAKER CARD I started by die-cutting all the pieces. I needed a frame for the shaker, a window or clear element and the back part of the card. The frame I created by putting the largest and the second largest dies together on top of a card stock. I made sure they are aligned, just incase I secured them with a washi and run them through the die cutting machine. For the window I used an acetate and I die-cut it using the largest die, which I also used for the back part of the card. I adhered the acetate on the back of the frame using a liquid glue. The acetate was a bit rough along the edges, so I trimmed it just a bit with my scissors. 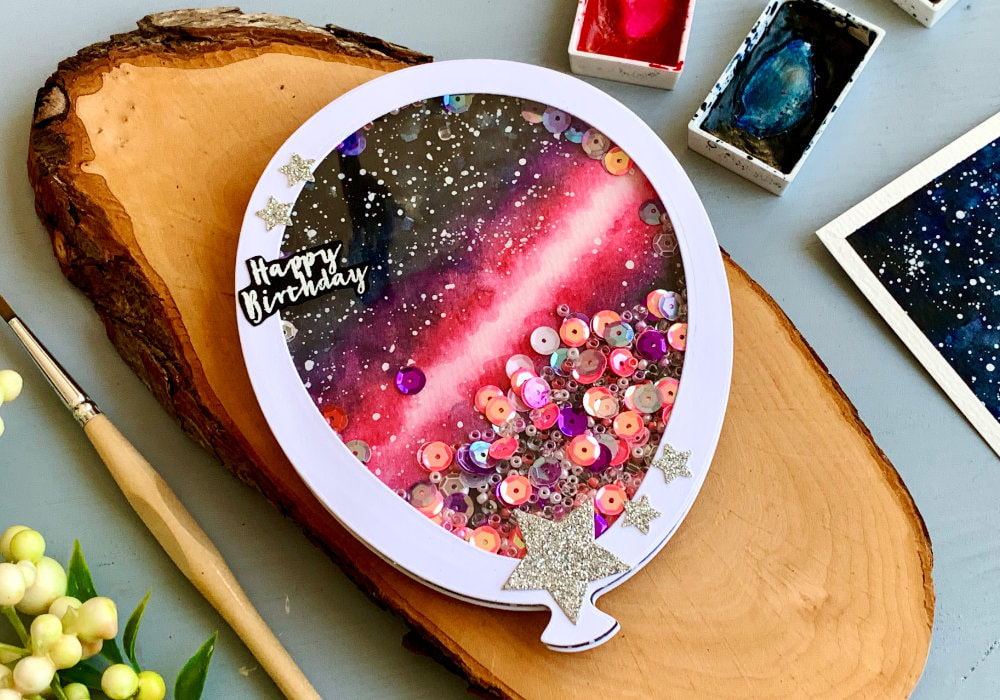 In order for the card to open you need to create a fold on the back panel. So while the glue was drying, I made the fold. This was a bit tricky and I ruined a few die-cuts as I didn't aligned it correctly and the fold was slightly skewed. Therefore to get a straight line, I die cut a balloon out of a dotted paper (squared would work to), before I die cut it, I made sure the lines were straight. This way I was able to place it on the back panel, align it on my scoring board and make the fold. Next I worked on the shaker part. I first attached a double sided tape along the frame. And to make sure there is enough of space for the shaker elements to move, I doubled up on the tape. When I was placing the tape on top of the frame I removed the backing paper from both sides. This way it's easier to adhere it in the form of the shape. And if you cut your tape short and have to adhere multiple pieces, make sure there are not gaps. After I applied the tape I filled it with beads and sequins. And then I carefully placed the watercolour background on top. I didn't fully press down, until I flipped it over. 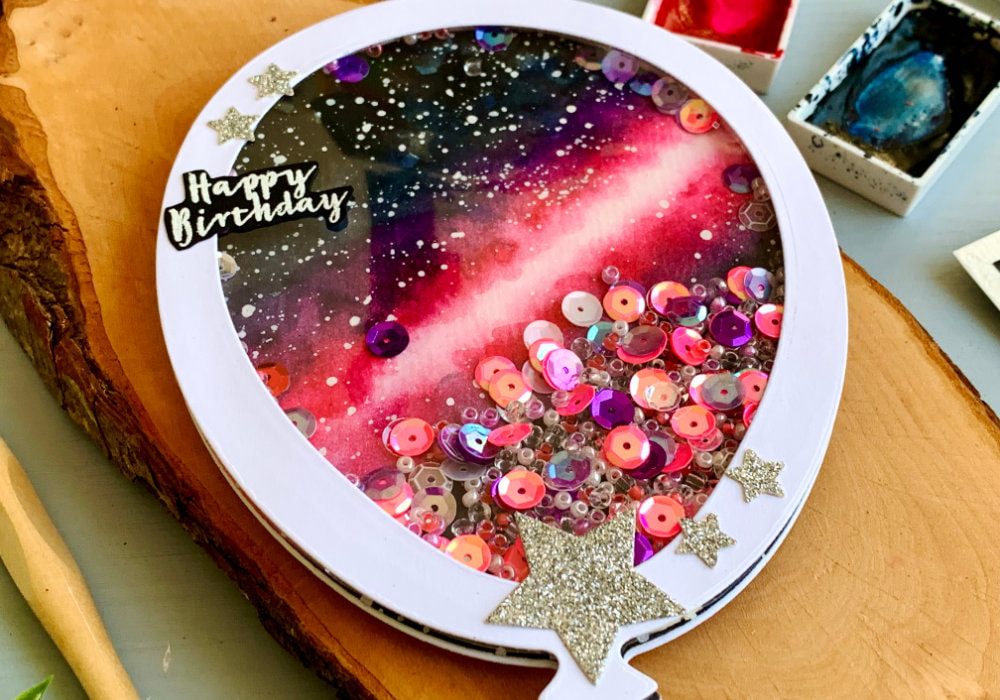 Lastly I adhered a greeting, just a simple banner with Happy Birthday sentiment and I also die-cut a few stars out of a silver glitter cards stock. This was not to add additional decoration on to of the card, but to cover the bottom as the double sided was visible there. It was easier to cover it up, then try to go around with the tape, which would have to been extra thin. And I think, the stars fit perfectly. I hope you will try making this card yourself. Make sure you check out my video on YouTube and give it a Like as well. The list of product is down below, where you can also find a few blog posts that I think you might enjoy. And if you have any questions, just drop me a line. VIDEO TUTORIALWatch the video below or on my YouTube Channel. PRODUCTS USEDCLICK HERE TO SEE TO THE LIST OF PRODUCTS
Simon Says Stamp, Balloon Wafer Dies
SSS Kuretake, Gansai Tambi, Watercolour Paints 36 Set AmazonDE | AmazonUK Pebeo, Gouache, Permanent White AmazonDE | AmazonUK Daler Rowney Watercolour Brushes 4, 6, 10 AmazonDE | AmazonUK Tritart, Watercolour Card Stock 300 gsm AmazonDE Canson XL, Watercolour Cardstock , 300gsm/140lb AmazonDE | AmazonUK Rayher, Beads 1.6mm Rahyer Lucy’s Cards, Raindrops LucysCardsUK Tonic Studios, Nuvo Crystal Drops - Morning Dew BastelWeltDE | CraftStashUK Lucy’s Cards, Ice Cube Mix Jewels LucysCardsUK Stick It!, Double Sided Foam Tape AmazonDE | AmazonUK UHU, Liquid Glue AmazonDE | AmazonUK Fiscars, Guillotine A5 AmazonDE | AmazonUK Tonic Studios, Guillotine A4 AmazonDE | AmazonUK EK Success, Scissors AmazonDE | AmazonUK Crafting Mat, Black AmazonDE | AmazonUK Disclaimer: Here you can find the products I used to make this card. Please note that the products are just a guide, you don't need the exact products or brands. If available I include links to the stores where you can find the products. As I live in Europe, I provide links to UK and German stores. These are not affiliate links and every product I used for this card, I purchased myself. YOU MIGHT ALSO LIKEPIN MEDid you like the card? I would love, if you pinned it to your board on Pinterest! 
0 Comments
Leave a Reply. |
FOLLOW ME
SEE MORE


CATEGORIES
All
Stamping Die Cutting Using Stencil Heat Embossing Embossing or Texture Paste Distress Inks Nuvo Products Stamping & Colouring Stamping With Solid Stamps Watercolouring Watercolour Pencils Waterbased Markers Pencil Colouring Alcohol Markers Altenew Markers Zig Brush Markers Easy Backgrounds Stamped Backgrounds Small Stamp Ideas Simple Cards Complex Cards Cardmaking For Beginners All
Painting With Acrylics Painting With Gouache Painting With Watercolours Drawing With Fineliner Minimal Supplies Cards Christmas & Holiday
Love & Valentine Mother's Day Father's Day Halloween Spring Cards Summer Cards Autumn/Fall Cards Winter Cards Cards For Children Cards For Women Cards For Men Thank You Cards Sympathy Cards Get Well Soon Cards Floral & Leav Cards Rainbow Colours Messy Watercolouring Modern Art Inspirations Geometric Patterns Landscape Painting Acrylics
Gouache Watercolours Watercolour Pencils Waterbased Markers Distress Inks Alcohol Markers Colouring Pencils No Stamps No Dies Cards
Cardmaking On A Budget Let’s Colour Quick Cards Fun Masculine Cards Background Ideas Distress Ink Combinations |
 RSS Feed
