
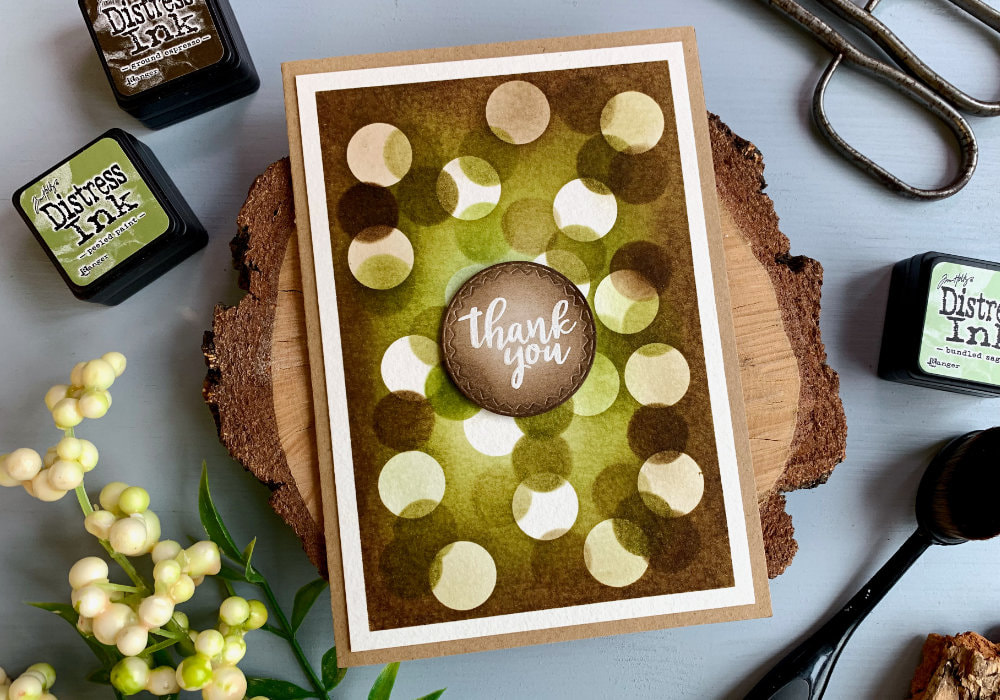
 Happy New Year everyone! I was thinking what kind of a card design I can start the year with. For the past few weeks I was playing with the idea of creating another background with the bokeh effect using watercolours, but I didn't find any techniques I liked, I really wanted to have a cleaner look. Therefore I decided to use Distress inks and do a little bit of masking and this way I got the look I wanted. You can use any inks that blend well and even watercolours if you do not have any inks. You will also need a masking tape or washi will do as well, to create circle masks. Just make sure the tape can be easily peeled off the card stock. And to create the circles, you either need a circle punch (which I used) or a die, however if you do not have those, you can just draw a circle on top of the masking tape and use scissors to cut it out. You can even use a heart die or punch and create a background for a Valentine's day card. 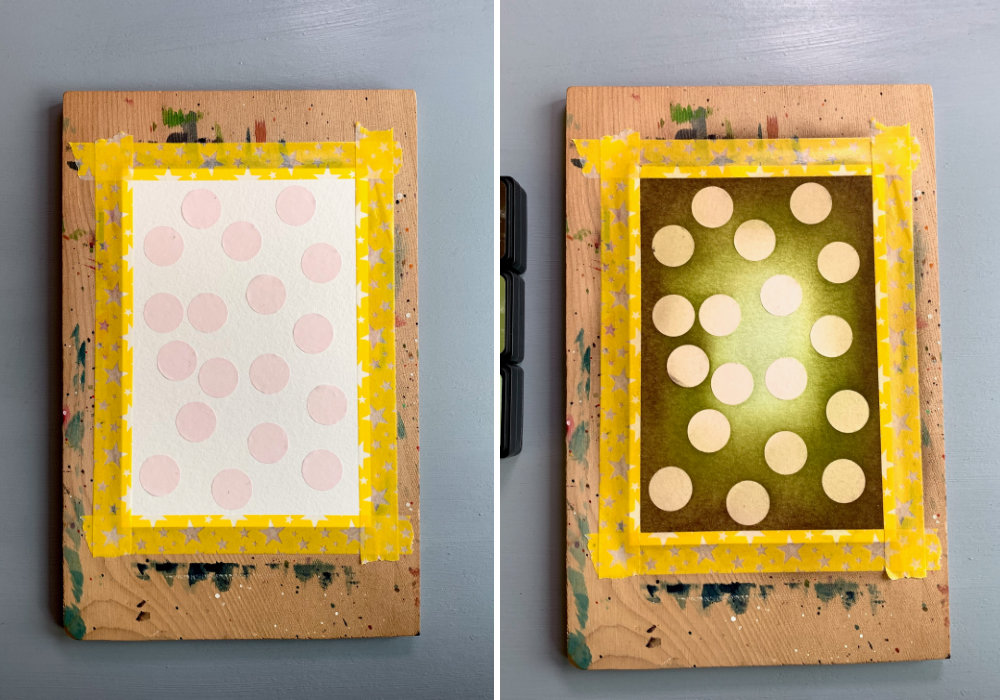 I started with creating the masks. I thought I would be able to cut the tape as it is with my punch, but it wasn't cutting through. So I did an extra step, where I attached the tape onto a scrap of paper and punch the circles that way. After I cut all the circles, I removed the circle masks from the card stock and attach it onto a panel that I used for the background. The panel I secured onto a board using a washi. I attached the circles across the panel in a random order. Also to remove the tape from the card stock, I used a needle tool to lift the tape and then I used tweezers to remove it, which made the process much easier. Since I placed the circle masks onto the card stock, which is the Canson XL watercolour paper, before I applied the inks, the circles will be the same colour as the card stock after I remove them. If this is too bright for you, you can apply a light ink shade first and then attach the masks. 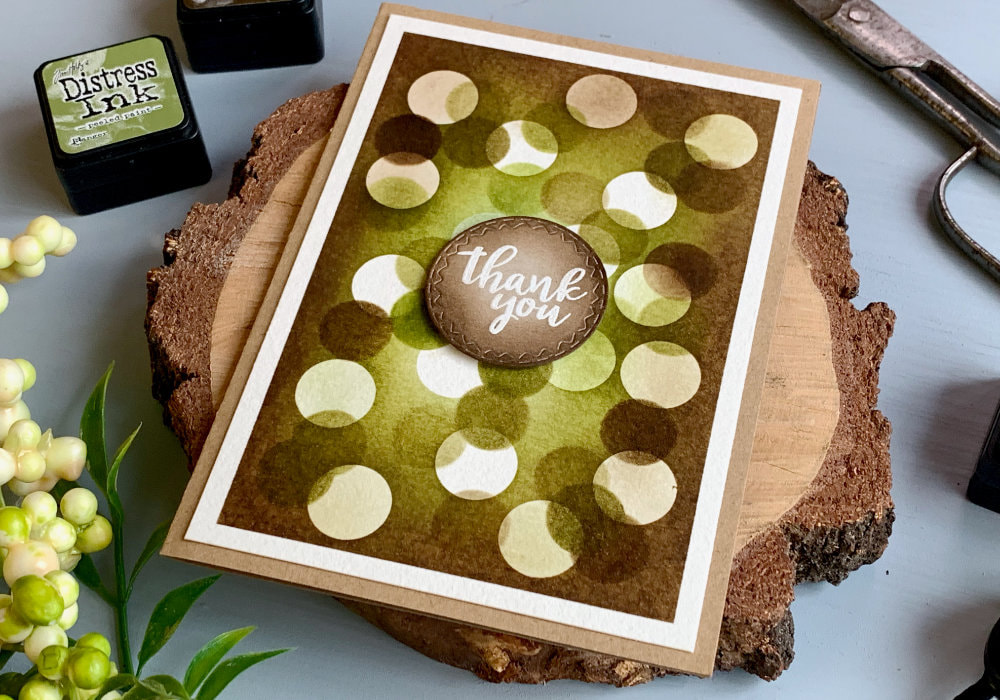 Once I was happy with the placement of the masks, I started ink blending. I went for a green - brown colour combination, but you can use what ever colours you want. You can even check out my blending colour combination ideas here. The inks I used are:
I blended the inks from lightest to darkest, starting in the middle with the Bundles Sage, then the Peeled Paint and on the outer edges I used the Ground Espresso. 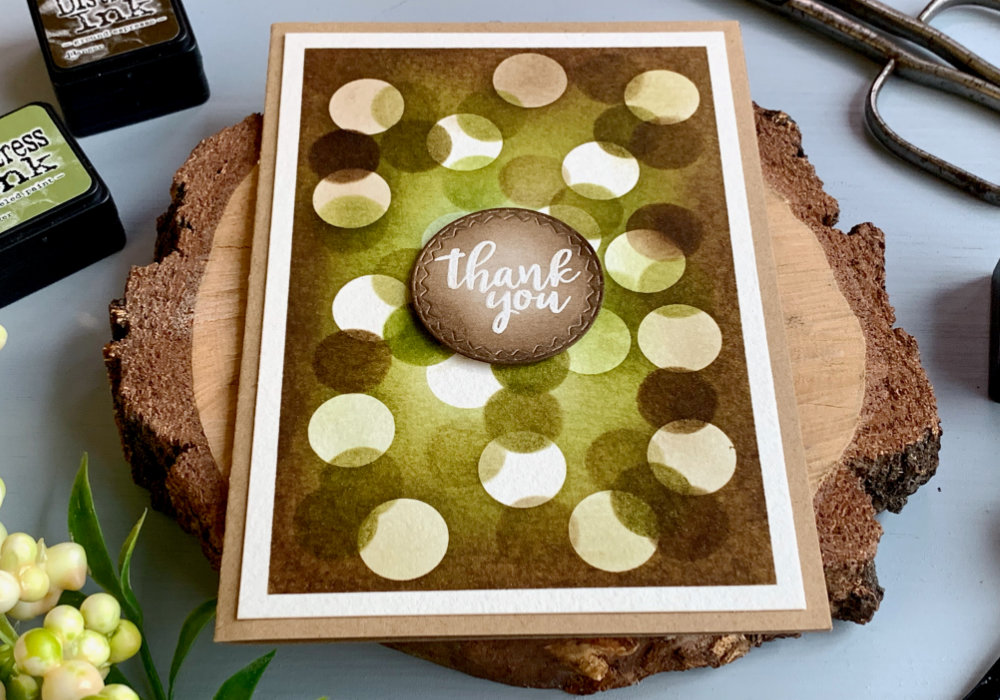 I applied multiple layers of the inks to get a nice colour. You can apply a light base layer, remove some of the masks and apply additional layers. I thought doing that as well, but then I changed my mind, because I can always blend inks over the circles later. Next I created a circle stencil using the same circle punch. I used the size 5/8", in the video I said 3/8, but now I looked at the punch and that was incorrect. I also have 1", but that one was a little bit too big for the size of this background. At least that's what I thought. You can use multiple sizes if you want. The stencil I used to add additional circles. I placed the stencil over the background and blended the inks over it. If you have an actual stencil, you can use that. Again I created the circles randomly, switching between the inks, overlapping the circles. Some of the white circles I covered with the inks fully to make them look more subtle. 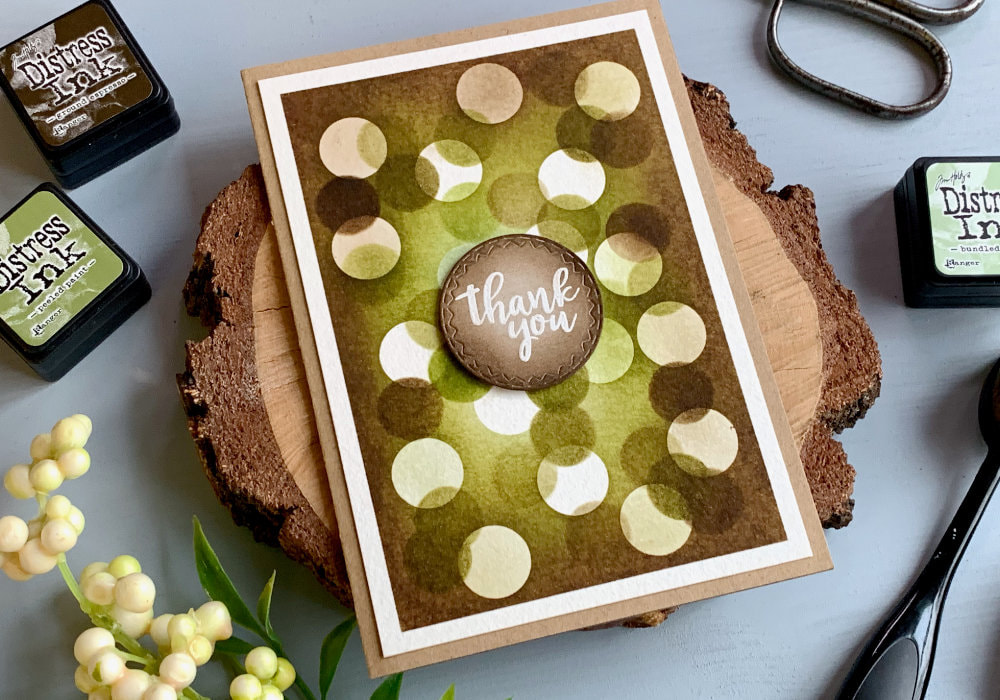 Once I was happy with the look I put the panel on a side and worked on the greeting. For the first card of the year I like to make a Thank You card and I thought creating a circle banner would suit this card very nicely. So I picked a circle die and a greeting that fit the circle. I heat embossed the greeting using a white embossing powder and then I run it through my die-cutting machine. I decided to blend the Ground Espresso ink over the edges of the circle with the greeting, to match the colours of the background better. Lastly I adhered the panel with the background on top of a card base using a simple double-sided tape and the greeting I attached in the middle using a foam tape. For the card base I used a craft card stock. 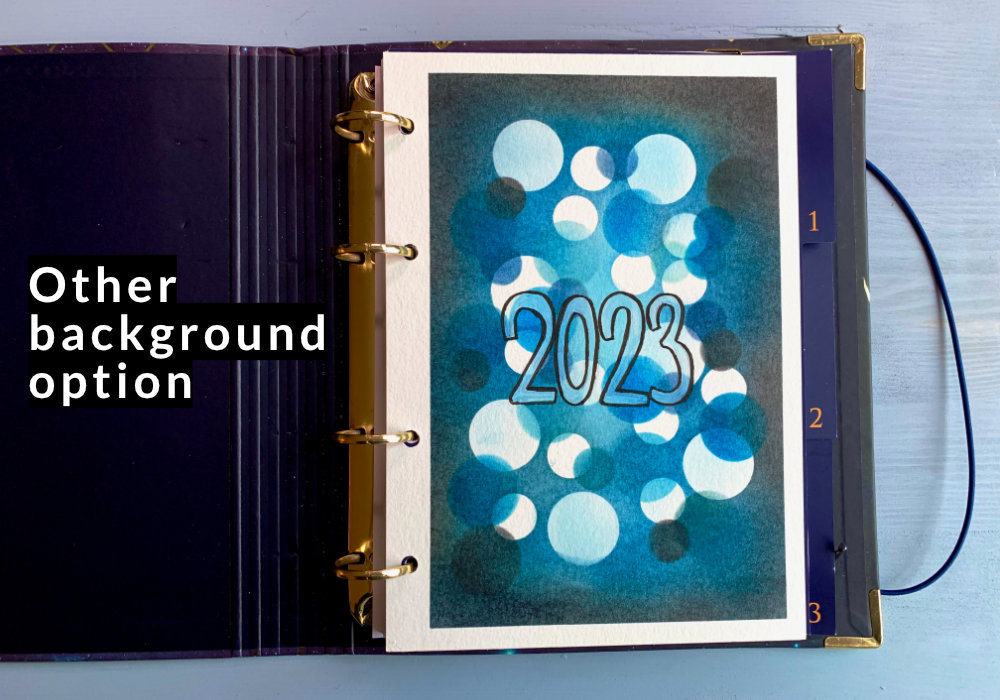 There are so many variations of this background you can make, not only different colours, but you can use different sizes of the circles, you can use a damp brush and make the edges more blurry, or use a glitter brush for a little bit of sparkle. You also do not need to make a card, I created a similar background for my first planner page, which you can see above, where I used the colour combination that I used on my first card last year. I hope you will try making this card yourself. Make sure you check out my video on YouTube and give it a Like as well. The list of product is down below, where you can also find a few blog posts that I think you might enjoy. And if you have any questions, just drop me a line. VIDEO TUTORIALWatch the video below or on my YouTube Channel. PRODUCTS USEDCLICK HERE TO SEE TO THE LIST OF PRODUCTS
Canson XL, Watercolour Cardstock , 300gsm/140lb
AmazonDE | AmazonUK Tim Holtz Distress Mini Ink, Kit 5 (Peeled Paint) DaniPeussDE | CraftStashUK Tim Holtz Distress Mini Ink, Kit 10 (Bundled Sage) danipeussDE | CraftStashUK Tim Holtz Distress Mini Ink, Kit 14 (Ground Espresso) danipeussDE | CraftStashUK Rayher, 5/8" Round Punch Alternative: Vaessen Round Punch AmazonDE | AmazonUK Tesa, Precission Sensitive Maskint Tape AmazonDE | AmazonUK Tsukineko Versamark Watermark Ink Pad AmazonDE | AmazonUK Stampendous, Embossing Powder, White AmazonDE | AmazonUK Docrafts Papermania, Heat Tool AmazonDE | AmazonUK EK Susccess, Anti-Static Powder Tool AmazonDE | AmazonUK Joy Crafts, Kraft Paper,A4 300gsm/140lb (card base) KreativbuntDE | AmazonUK Absofine, A4 Recycled Kraft Paper 320gsm (card base) AmazonDE | AmazonUK Sellotape Double Sided Tape AmazonDE | AmazonUK Dovecraft, Foam Squares AmazonDE | AmazonUK Fiscars, Guillotine A5 AmazonDE | AmazonUK Tonic Studios, Guillotine A4 AmazonDE | AmazonUK My Sweet Petunia, Mini MISTI Stamping Tool StempelmühleDE | BumbleberrysUK Papermania, Stamp Block AmazonDE | AmazonUK Crafting Mat, Black AmazonDE | AmazonUK Disclaimer: Here you can find the products I used to make this card. Please note that the products are just a guide, you don't need the exact products or brands. For most of the products I include links to the shops where you can purchase these items if available. As I live in Europe, I provide links to UK and German stores. These are not affiliate links and every products I used for this card I purchased myself. YOU MIGHT ALSO LIKEPIN MEDid you like the card? I would love, if you pinned it to your board on Pinterest! 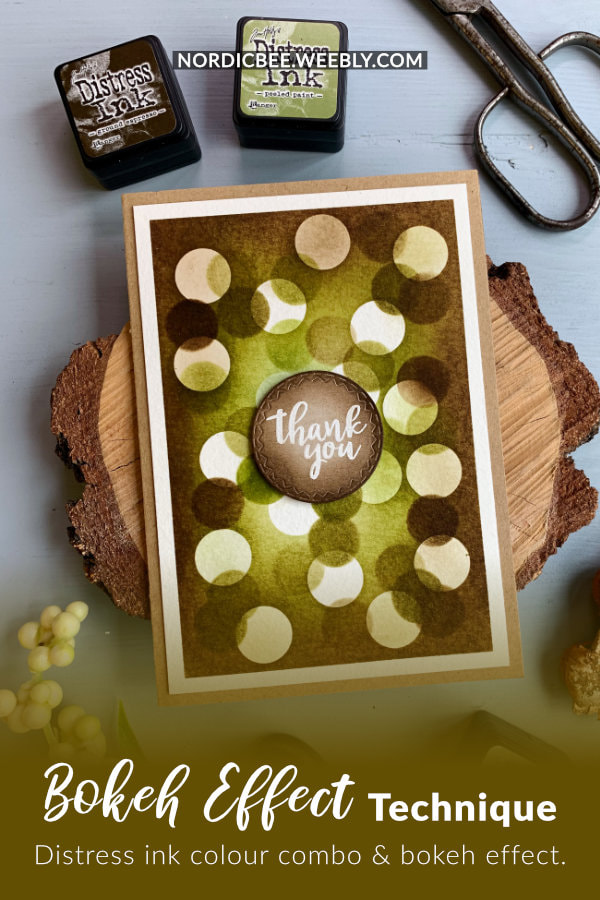
0 Comments
Leave a Reply. |
FOLLOW ME
SEE MORE


CATEGORIES
All
Stamping Die Cutting Using Stencil Heat Embossing Embossing or Texture Paste Distress Inks Nuvo Products Stamping & Colouring Stamping With Solid Stamps Watercolouring Watercolour Pencils Waterbased Markers Pencil Colouring Alcohol Markers Altenew Markers Zig Brush Markers Easy Backgrounds Stamped Backgrounds Small Stamp Ideas Simple Cards Complex Cards Cardmaking For Beginners All
Painting With Acrylics Painting With Gouache Painting With Watercolours Drawing With Fineliner Minimal Supplies Cards Christmas & Holiday
Love & Valentine Mother's Day Father's Day Halloween Spring Cards Summer Cards Autumn/Fall Cards Winter Cards Cards For Children Cards For Women Cards For Men Thank You Cards Sympathy Cards Get Well Soon Cards Floral & Leav Cards Rainbow Colours Messy Watercolouring Modern Art Inspirations Geometric Patterns Landscape Painting Acrylics
Gouache Watercolours Watercolour Pencils Waterbased Markers Distress Inks Alcohol Markers Colouring Pencils No Stamps No Dies Cards
Cardmaking On A Budget Let’s Colour Quick Cards Fun Masculine Cards Background Ideas Distress Ink Combinations |

 RSS Feed
