
 I found a new project where I can use my crafty supplies and that is to creating fun removable inserts for my clear mobile phone case. I have never been a person who changes mobile phone cases on regular bases, I don't even change my wallpaper that often. So I have never thought of decorating the case. Decorating to me would have been either buying a new case or paining on the outside. But then I stumbled across a video on Instagram, where the person painted an insert for a clear mobile phone case. I thought that's an awesome idea! Not only to easily decorate my case, without spending money. But as I said, it gives me another way to use my crafty supplies and also it’s something else than creating cards. I love making cards, but sometimes it's nice to have something else to create. So if you have a mobile phone case and would like to decorate it, in this blog post I will show you how.  The number one part is to create a template. I have two methods that I tried, one is with a printer, the other without it. The good thing is you only need to do this once. After you figure out your measurements and especially the opening for the camera, which is the tricky part, you will not need to do this again. Well, until you buy a new phone with a completely different design. PRODUCTS YOU NEED
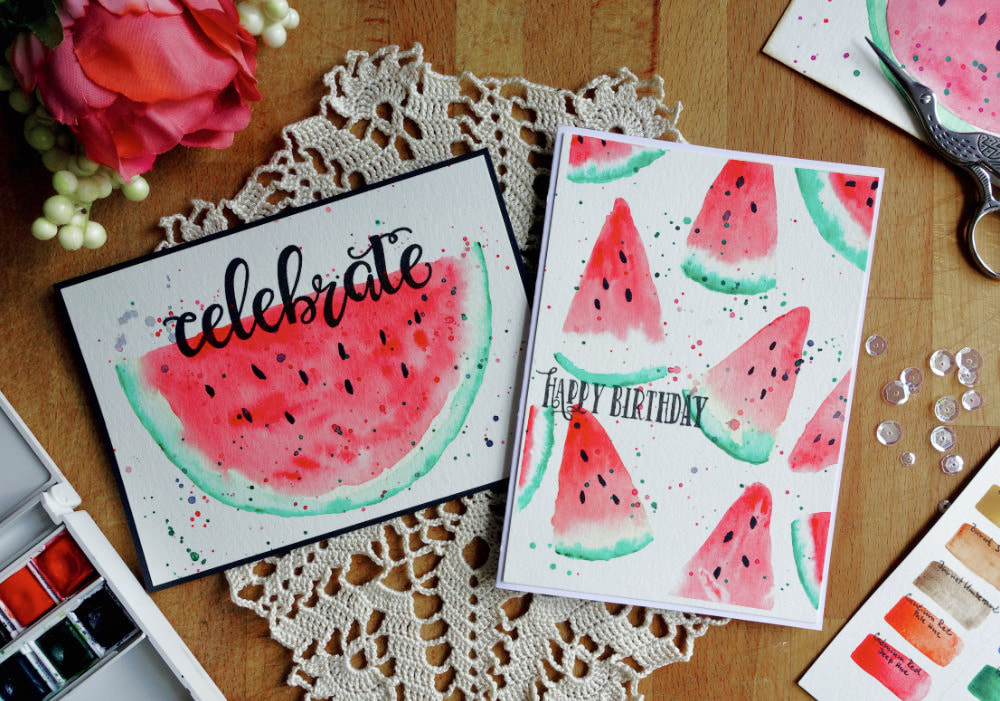
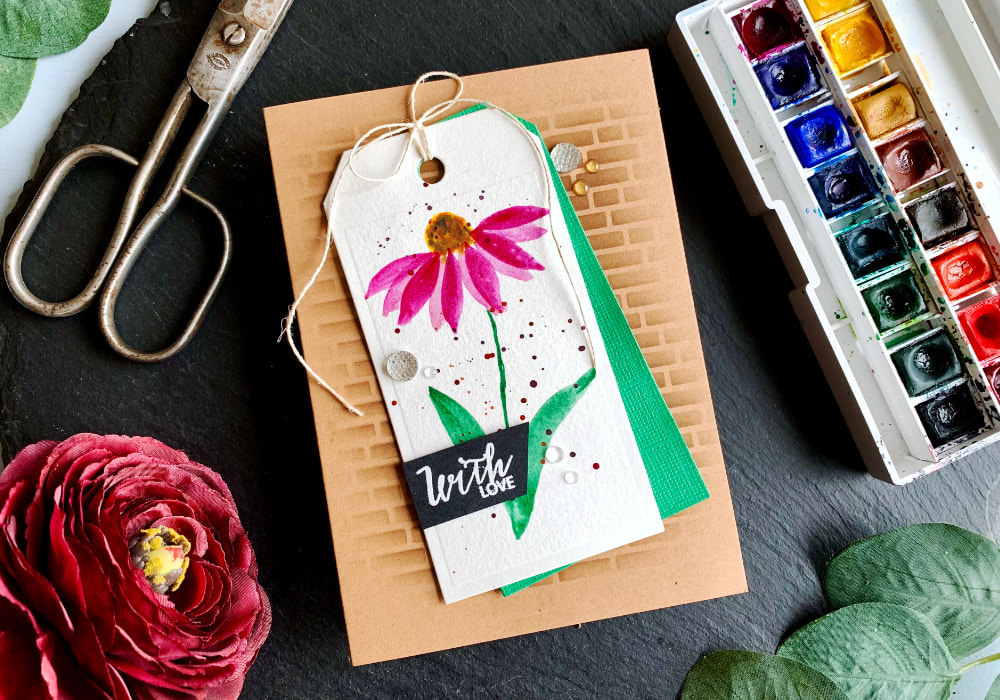
 Note: I'm using a printer paper not only because the second method uses printer, but also because it's flexible and more transparent, which was helpful creating the camera opening. But most importantly, if it doesn't work out the first time, it's less costly than wasting a good thicker card stock. FIRST STEP FOR BOTH METHODS The first step is to measure your case or the clear parts of your case. You need to measure only the length and the with. Tip: My case was quite easy to measure, because the edges are black, so is not fully clear. The reason why I have this type of case, is because when I had the full clear case and the edges were getting yellow, which I didn't like. I read somewhere to buy the one that has coloured edges, which solved the problem.  METHOD 1 - WITHOUT A PRINTERAfter you measure the case, cut it either with your scissors or if you have a paper trimmer than use that. I believe most phones have rounded corners. I have a corner rounder, so that. But you can use scissors and round the corners that way. If you do not have a fully clear case, you could also cut the corners straight. I only needed to round the corners on three sides, the one where the camera is I left as it is, as I will be cutting it out later anyway. For cases with the camera in the middle, you can round all four corners. The next step is to cut out the camera opening, which can be a little bit tricky. That's why we are using a cheap paper.  I started by placing the paper (the cut out rectangle) on the outside of the case. Making sure it's lined up correctly and to avoid any shifting, I secured it with a washi. Then I placed the case with the paper on my table and using my pencil I traced the camera opening. I placed the tip of my pencil as far as I could, just to get a bigger outline. Next I placed the paper inside of the case, checking the look. It was still a little bit small. So while I had it inside of the case, I used my pencil and because the paper is quite transparent I just traced the opening from the inside of the case. Then I cut it again and now the template fitted perfectly. And the template is done!  METHOD 2 - USING A PRINTERIf you have a printer, you could find the outline for your case online and print it out. The trickiest part is finding the outline, especially for older phones. Outline is the best, but as long as it looks like the shape of your case, even if it's the case photo itself, you should be able to use it as well. To find the outline, I went on Google and searched the words "phone name" plus "case outline". For my case it was "iPhone xs case outline". I found my outline under Google Images, but there are websites that have phone case outlines. Before you go ahead and print it, I suggest you to check if the outline is the correct size. I simply used a word editor and cropped the photo very tightly and then I adjusted the size in the measurement field. Alternatively you could use a square shape, adjust it using your measurements and align it with the outline and adjust the size that way. Once you are done, send it to your printer, cut it out and the template is done!  MAKING THE INSERT, IDEAS AND OTHER TIPS Making The Insert I only use the template for the camera opening. Instead of tracing the whole template, I find it easier and faster to first cut the insert using a paper trimmer. And after rounding the corners, I use the template and trace the opening for the camera and cut it out. What To Create? You can use stamps and colour and re-create your card designs. You can use Distress inks or other inks to create a background. You can use a pattern paper, print out a background or a photo. Or you can paint your own background using watercolours or other painting or colouring supplies. Additional Tips If you would like to have more durable template, you could just use the printer paper template to create a template form a thicker card stock. However I just use the insert that I created to create my next insert. 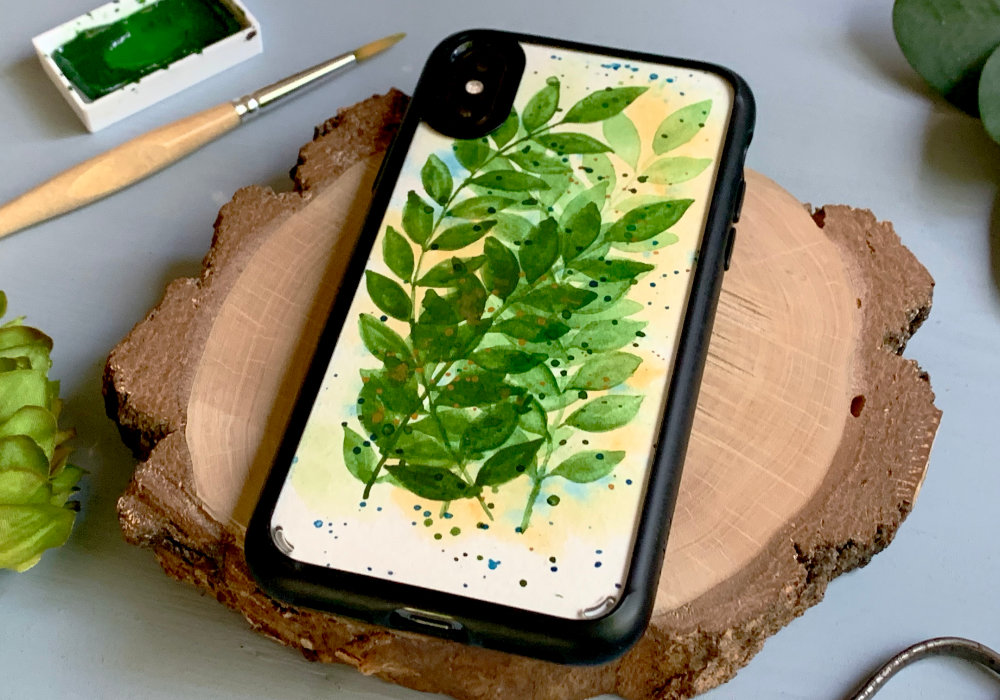 Depending on what you decide to do to decorate or design your insert, it might be better if you first paint, stamp or colour and then cut out the insert afterwards. This might be useful when you create a seamless background or other backgrounds. Or if you are watercolouring and want to keep your card stock in place to avoid warping, but don't want to have the white lines around your project. I think this is a great, fun project where you can use your crafty supplies and I hope you will try making these inserts yourself. Make sure you check out my video on YouTube and give it a Like as well. If you have any questions, just drop me a line. VIDEO TUTORIALWatch the video below or on my YouTube Channel. YOU MIGHT ALSO LIKEI used the designs on these cards to create the insert. PIN MEDid you like the card? I would love, if you pinned it to your board on Pinterest! 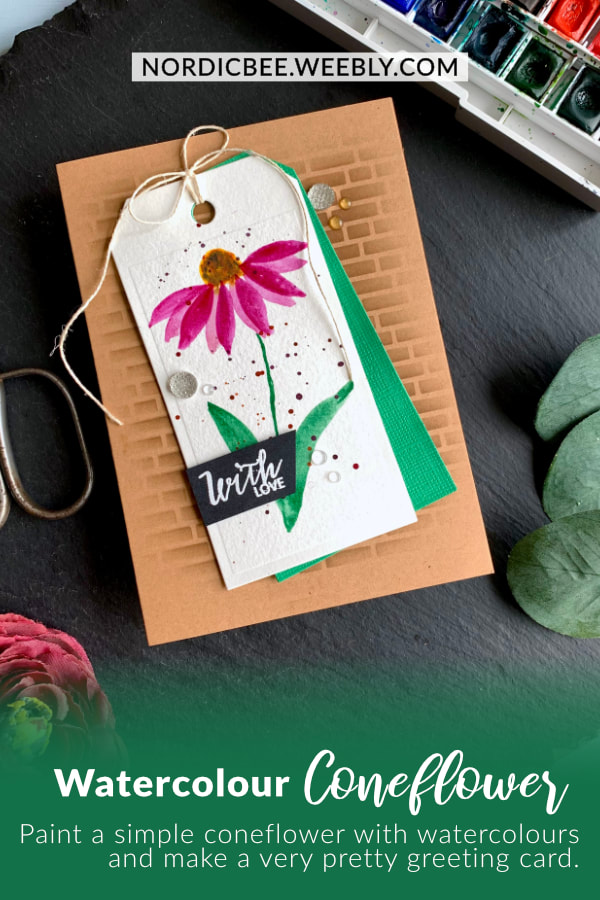
0 Comments
Leave a Reply. |
FOLLOW ME
SEE MORE


CATEGORIES
All
Stamping Die Cutting Using Stencil Heat Embossing Embossing or Texture Paste Distress Inks Nuvo Products Stamping & Colouring Stamping With Solid Stamps Watercolouring Watercolour Pencils Waterbased Markers Pencil Colouring Alcohol Markers Altenew Markers Zig Brush Markers Easy Backgrounds Stamped Backgrounds Small Stamp Ideas Simple Cards Complex Cards Cardmaking For Beginners All
Painting With Acrylics Painting With Gouache Painting With Watercolours Drawing With Fineliner Minimal Supplies Cards Christmas & Holiday
Love & Valentine Mother's Day Father's Day Halloween Spring Cards Summer Cards Autumn/Fall Cards Winter Cards Cards For Children Cards For Women Cards For Men Thank You Cards Sympathy Cards Get Well Soon Cards Floral & Leav Cards Rainbow Colours Messy Watercolouring Modern Art Inspirations Geometric Patterns Landscape Painting Acrylics
Gouache Watercolours Watercolour Pencils Waterbased Markers Distress Inks Alcohol Markers Colouring Pencils No Stamps No Dies Cards
Cardmaking On A Budget Let’s Colour Quick Cards Fun Masculine Cards Background Ideas Distress Ink Combinations |
 RSS Feed
