
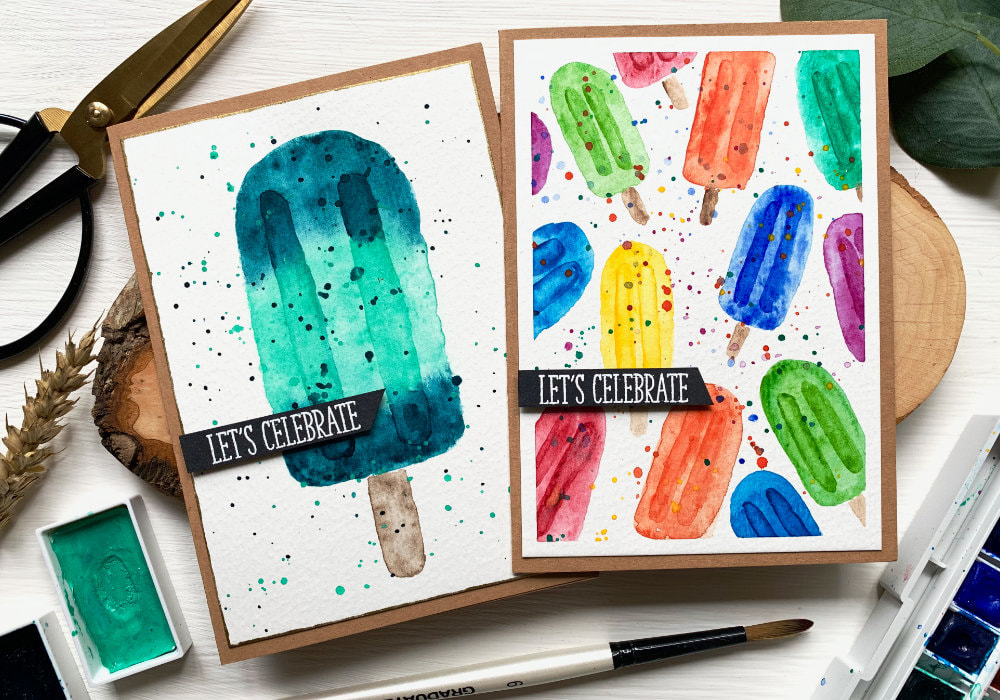
Make A Summer Birthday By Painting A Background With Orange Citrus Slices Using Watercolours + VIDEO21/7/2023 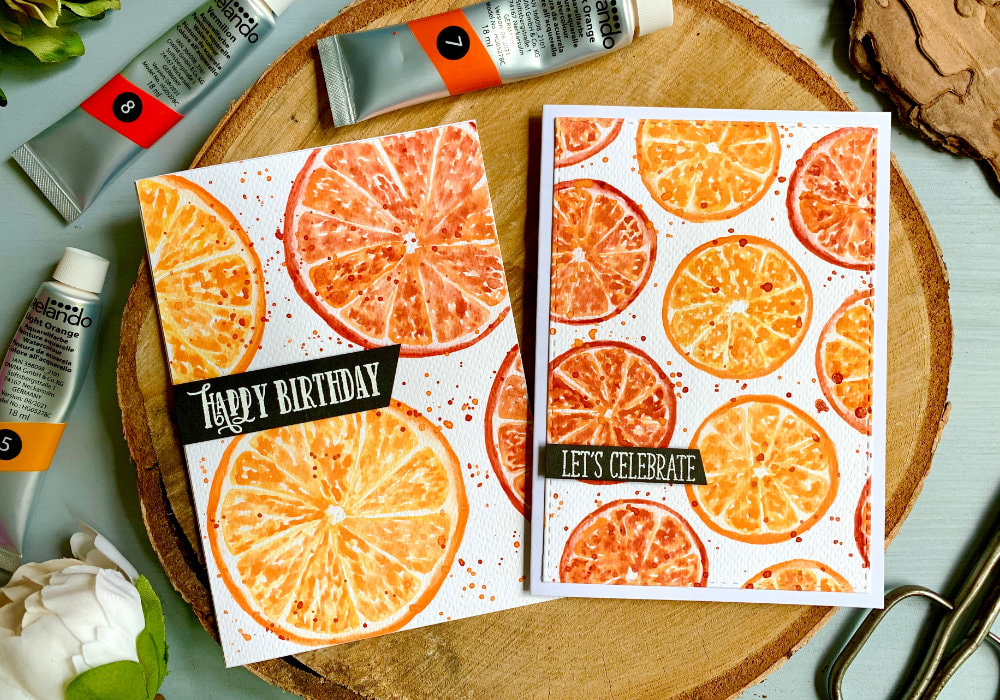 Since it’s summer I thought let’s paint something summery and citrus slices is what popped to my mind. A background filled with citrus slices to be more precise. First I had to pick which fruit to paint. Lemons, limes, oranges...? Of course I could have painted all of them, but for some reason I wanted stick with just one colour. And I wanted the colour to pop. Lemons were rejected right away, because I felt like the yellow was not "poppy" enough. Limes were better, mixing yellows and greens looks great, but in the end I stuck with the oranges and grapefruit. I created two backgrounds, the one in the video with the smaller slices was my main idea. However, this is not a quick project, it took me an hour, maybe more to paint it. So I tried painting them bigger, which reduced the time and I had another example for you. 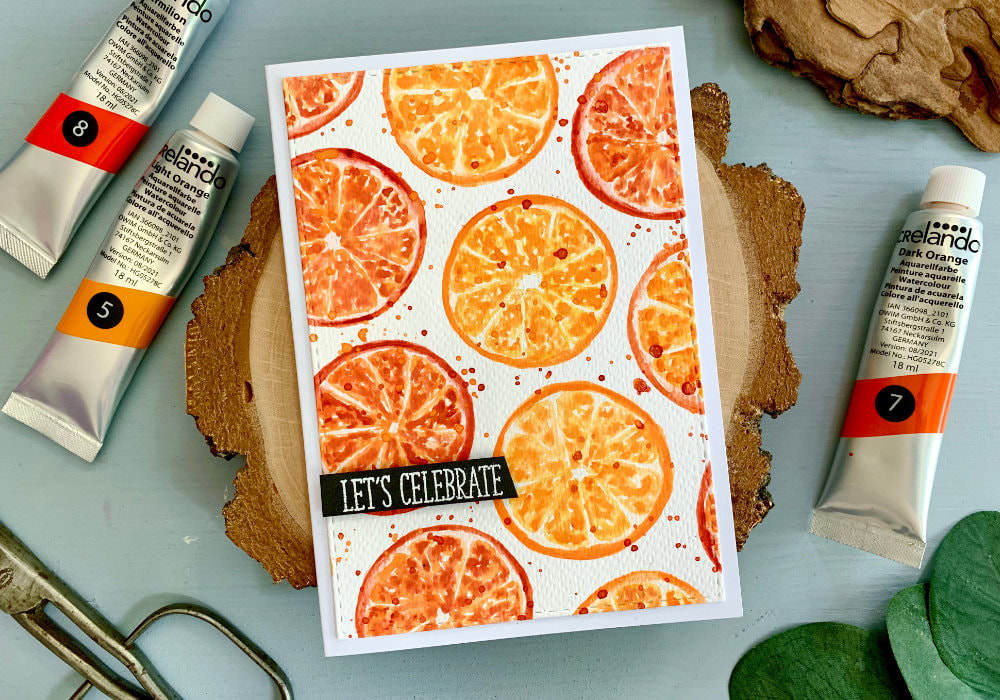 You will need the typical watercolour products - watercolours, watercolour paper, brushes, clean water and paper towel. I also used a washi tape and a pencil. You do not need to make cards, but that's the point of my blog, so I picked a white blank card base and an adhesive, as well as something for the greeting. I was using products I have at home, I didn't buy anything special for this project. The product list you will find below, but you can use any supplies you already have or can afford. I cut my card stock slightly bigger than the card base. I always think how I want my card to look at the end and I like to add some kind of border to my panels. With a bigger card stock I have an option of using a rectangular die and die-cut a panel with the full pattern. The die has a stitched pattern so it adds border to the panel. 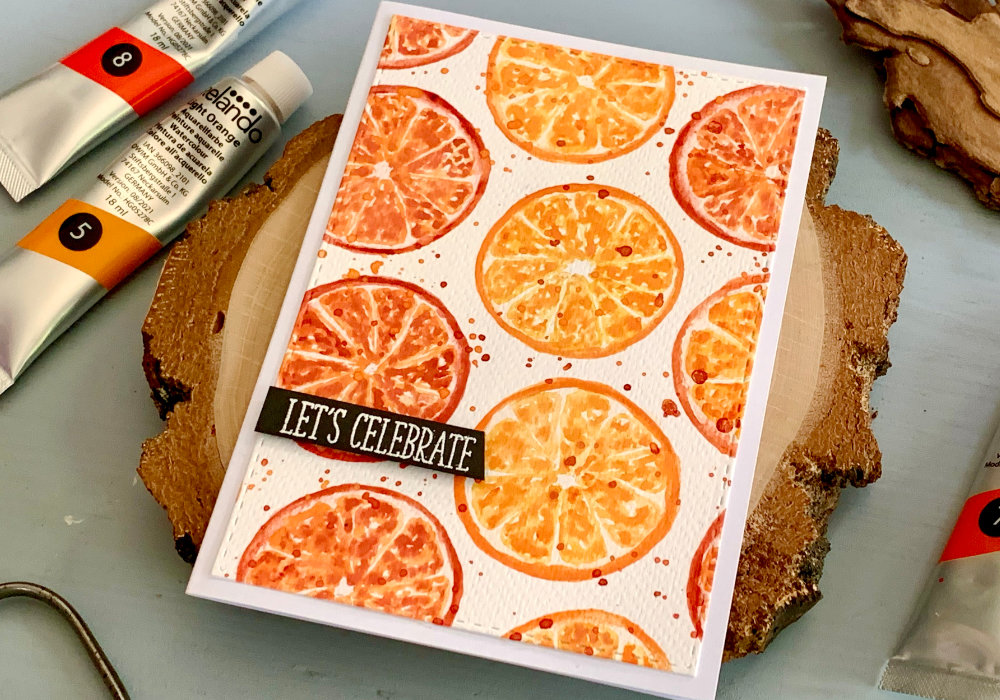 Let's start painting. Here I'm describing how I made the background with the smaller slices, but it is the same process for any sizes, shapes or colours. I taped my card stock onto a board using a washi tape and then I started creating the background. The first step is to draw circles across the whole panel. I used the washi tape as my guide as it was the perfect size, anything circular or a compass will do. Then I also drew smaller circles in each of the big circles. Citrus slices have a white part in the middle and so to avoid painting over it, I needed a guide to see where I need to stop. After I drew all the circles, I slightly erased the pencil lines, as I didn't want them to be visible when I paint over it. 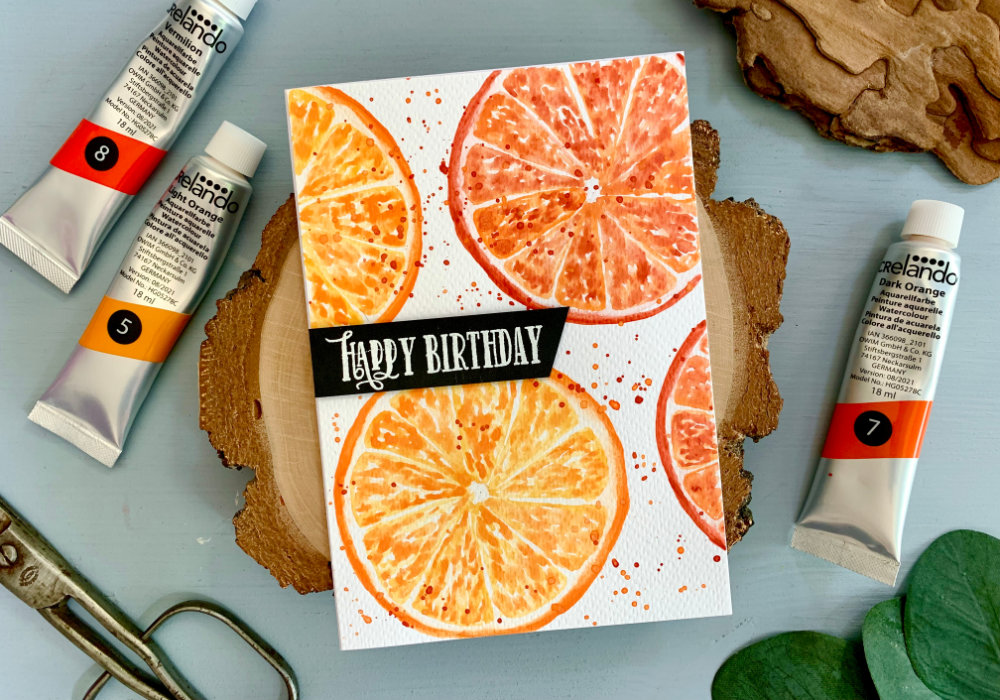 Next I started painting. I used three colours - light and dark orange and red, or more precisely Vermilion. You can use only two shades of paints, but since I decided to paint oranges and grapefruit, I added the red. For the oranges I used dark and light orange and for the grapefruit I used dark orange and red. I first painted the peel, the outline of the circle. I carefully went around it with the tip of my brush, trying not to make it too thick. Note: when I say I tried doing something, means I didn't succeed every time, but it was not a problem. While the paint was wet, I used a clean brush and added clean water across the circle. I wanted the paint and the clean water to mix, which creates a cool effect along the painted circle and adds a little bit of colour across the inner circle. This step is optional. 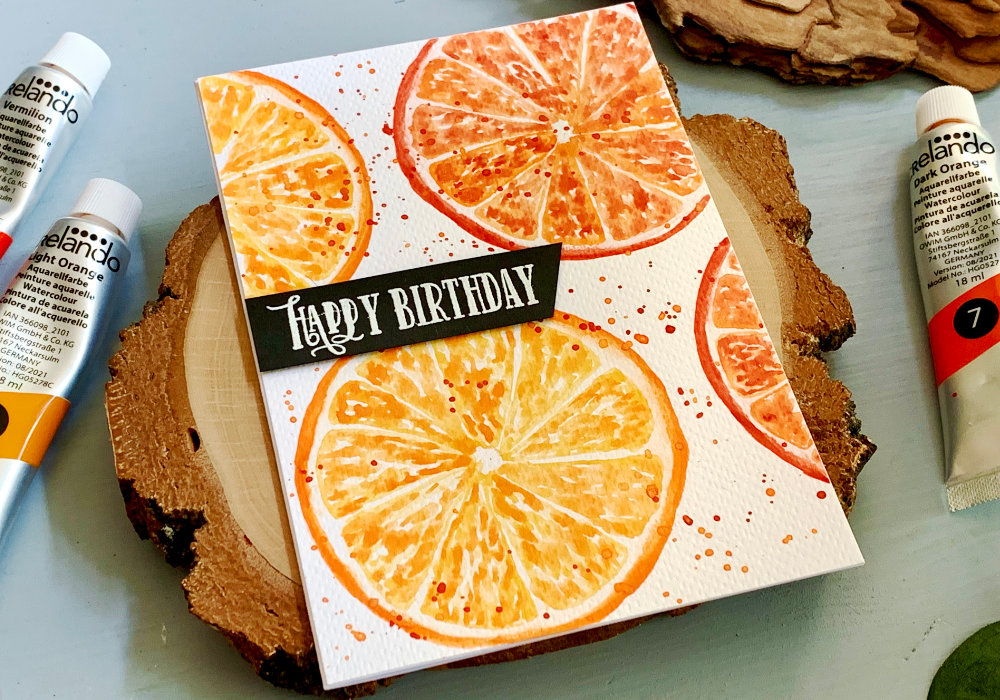 You can paint each orange one by one, or paint first the peels and after the circles are dry, paint the inner parts. The inside of the orange slices is filled with little triangle. I used the lighter shade and I started with an outline of the triangle and I tried to make all the corners rounded. I left a little bit of white space at the top and at the bottom of each triangle. At the bottom I stopped, where I painted the middle circle. Then I filled the inside of the triangle with short strokes. I was using a size 4 brush with a very pointy tip, so I was able to just push the tip of the brush and create a dash. I filled the whole triangle this way, painting short strokes. As I was painting I also was trying to leave some white space. 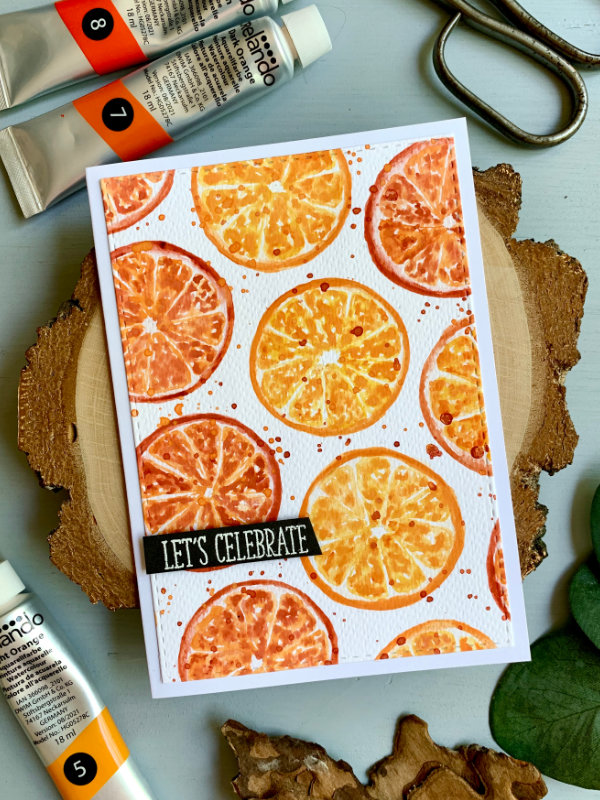 Next I used the darker paint that I used for the outline and I added some dashes that are darker. This is optional, but I think it improves the look. I didn't wait for the lighter layer to dry, I added the darker shad right away, but you can do that after the first layer is dry. In that case I would fill the circle with the triangles first using the lighter shade and then come back, with the darker shade. This way the triangles should be dry and this saves you time. I repeated the same process for each of the circles, creating triangles and filling them with short strokes. Once I was finished, I let the panel dry and then I used the two darker paints and I added splatter over the whole panel. This is however optional. After the panel was dry, I removed the washi and I used a stitched rectangular die and die-cut the panel. 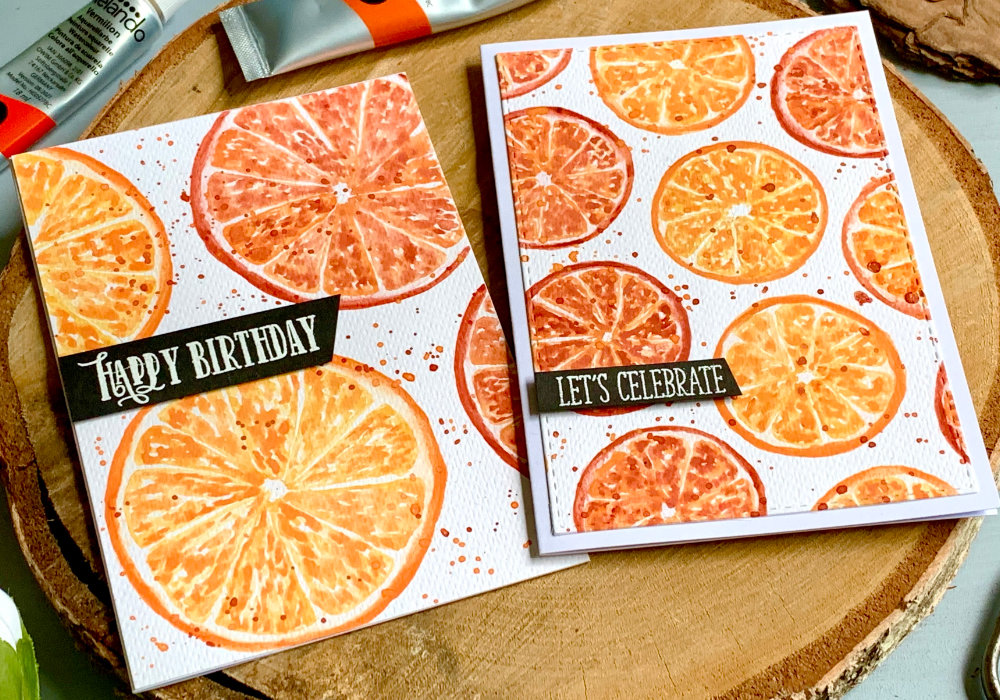 To assemble the card I adhered the watercolour panel on top of a white card base using a liquid glue. Some cards do not need greetings or sentiments, but usually when I create a background like this one, a greeting is needed. At least in my opinion. I have bunch of sentiments pre-made, all of them stamped and heat embossed in white onto a black card stock and cut into a banner. Here I picked a greeting that says Let's Celebrate and I attached it onto a panel using foam squares. If you do not have stamps you can write it yourself. You can also buy sentiment strips or print them out. I hope enjoyed this project and will try making this card yourself. Make sure you check out my video on YouTube and give it a Like as well. The list of product is down below, where you can also find a few blog posts that I think you might enjoy. And if you have any questions, just drop me a line. VIDEO TUTORIALWatch the video below or on my YouTube Channel. PRODUCTS USEDCLICK HERE TO SEE TO THE LIST OF PRODUCTS
Lidl, Crelando (Paints Vermilion, Dark Orange & Light Orange)
Washi tape Faber Castell, HB Graphite Pencil AmazonDE | AmazonUK Staedtler, Eraser AmazonDE | AmazonUK Blue Squid Brush Set AmazonDE | AmazonUK Flying Tiger, Watercolour Card Stock 300 gsm FlyingTiger Color Copy , White Paper, A4 300gsm/140lb (card base) AmazonDE | AmazonUK Papermania, A6 Card Bases + Envelopes, White AmazonDE | AmazonUK UHU, Liquid Glue AmazonDE | AmazonUK Ranger, Multi Medium Matte Adhesive AmazonDE | AmazonUK Crafting Mat, Black AmazonDE | AmazonUK Disclaimer: Here you can find the products I used to make this card. Please note that the products are just a guide, you don't need the exact products or brands. If available I include links to the stores where you can find the products. As I live in Europe, I provide links to UK and German stores. These are not affiliate links and every product I used for this card, I purchased myself. YOU MIGHT ALSO LIKEPIN MEDid you like the card? I would love, if you pinned it to your board on Pinterest! 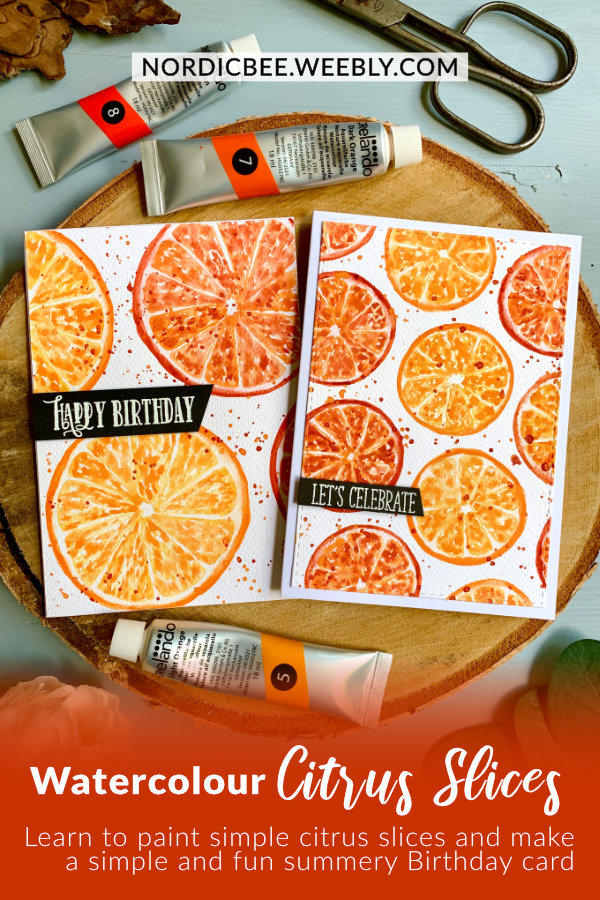
0 Comments
Leave a Reply. |
FOLLOW ME
SEE MORE


CATEGORIES
All
Stamping Die Cutting Using Stencil Heat Embossing Embossing or Texture Paste Distress Inks Nuvo Products Stamping & Colouring Stamping With Solid Stamps Watercolouring Watercolour Pencils Waterbased Markers Pencil Colouring Alcohol Markers Altenew Markers Zig Brush Markers Easy Backgrounds Stamped Backgrounds Small Stamp Ideas Simple Cards Complex Cards Cardmaking For Beginners All
Painting With Acrylics Painting With Gouache Painting With Watercolours Drawing With Fineliner Minimal Supplies Cards Christmas & Holiday
Love & Valentine Mother's Day Father's Day Halloween Spring Cards Summer Cards Autumn/Fall Cards Winter Cards Cards For Children Cards For Women Cards For Men Thank You Cards Sympathy Cards Get Well Soon Cards Floral & Leav Cards Rainbow Colours Messy Watercolouring Modern Art Inspirations Geometric Patterns Landscape Painting Acrylics
Gouache Watercolours Watercolour Pencils Waterbased Markers Distress Inks Alcohol Markers Colouring Pencils No Stamps No Dies Cards
Cardmaking On A Budget Let’s Colour Quick Cards Fun Masculine Cards Background Ideas Distress Ink Combinations |
 RSS Feed
