
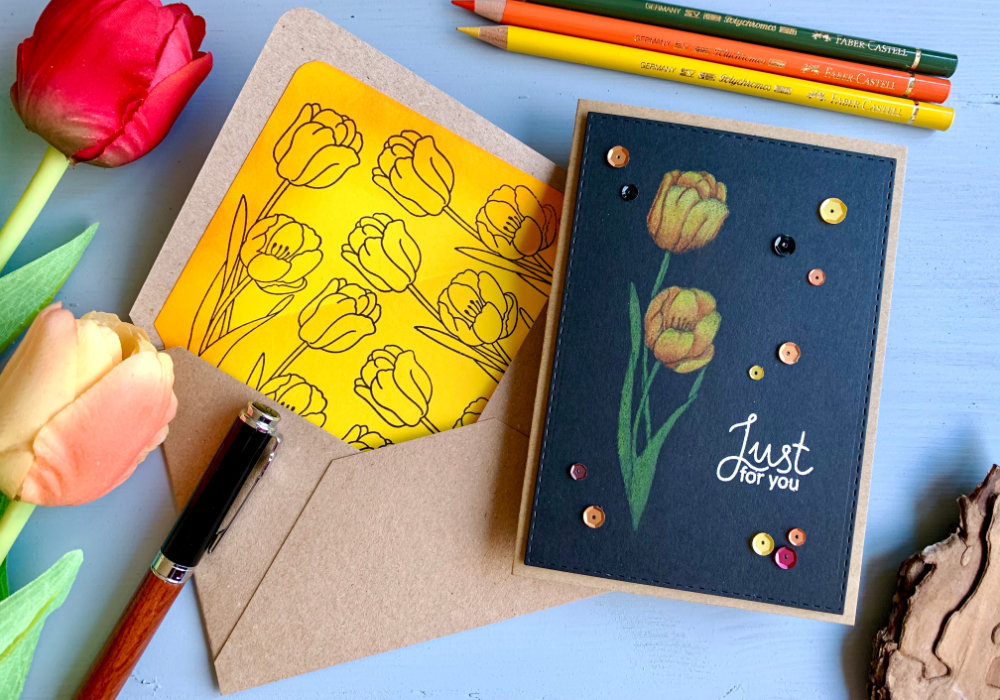
 I really enjoy colouring with colouring pencils and recently I was experimenting with different non-white cardstock. I used grey, black and two different types of craft cardstock and I loved the results. In fact I liked all of them and could not decide which one to share in a blog post and video. So I asked you on Instagram and YouTube, which one I should colour and the black card stock got the most votes. There were two colour options, yellow and white and because they got the same amount of votes, I picked the yellow. I used the Faber-Castell Polychromos colouring pencils, but this works with other brands as well. The card stock I used is not a specialty card stock for pencil colouring, I bought it years ago from the UK company Papermilldirect and that's the only black card stock I have. For the image on this card I picked an older stamp set by Clearly Besotted with a tulip. This stamp set is no longer available, but my cards are not about the products. You can use what ever you already have or you can afford. The product list is just for your information. 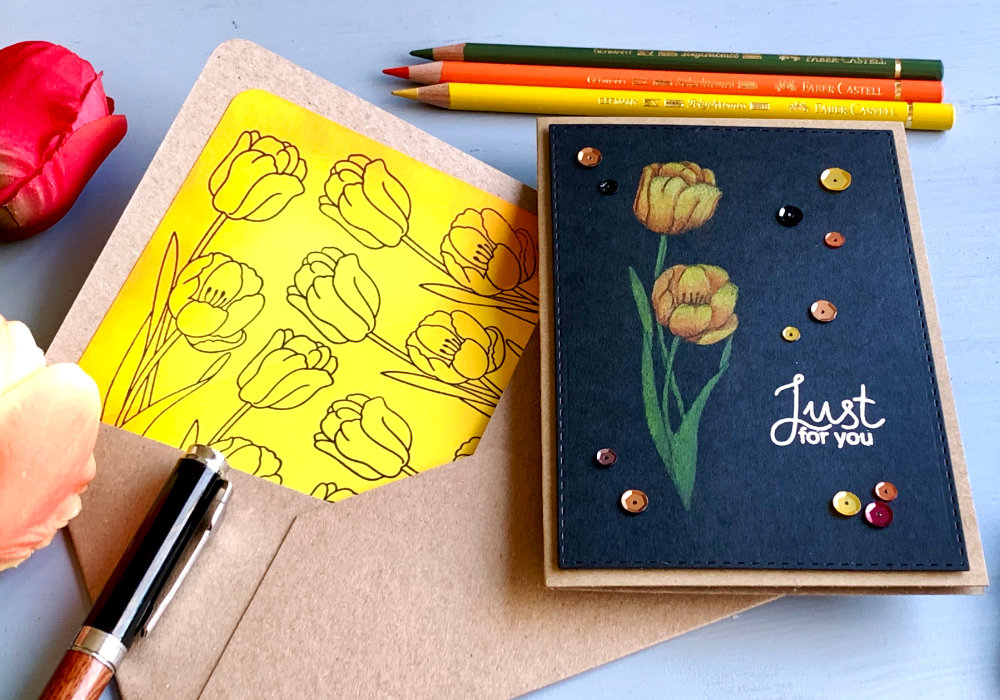 For all the cards I made I did no-line colouring, therefore to stamp the image, I needed an ink that will blend with the pencils and won't be visible. There are a few inks that you can use. On a white card stock it's much simpler, any light ink would do. Here you need an ink that you will see, but won't be visible at the end. I used the Versamark ink, which is a transparent, sticky ink that normally is used for heat embossing. I didn't have any big problems seeing the outlines while colouring, but I did have to tilt my head quite a bit. If you are worried that your ink will dry before you are finished colouring, you could use a stamping tool like the MISTI, keep the stamp in it and re-stamp if needed. What I did, I lightly outlined the image using a colouring pencil. 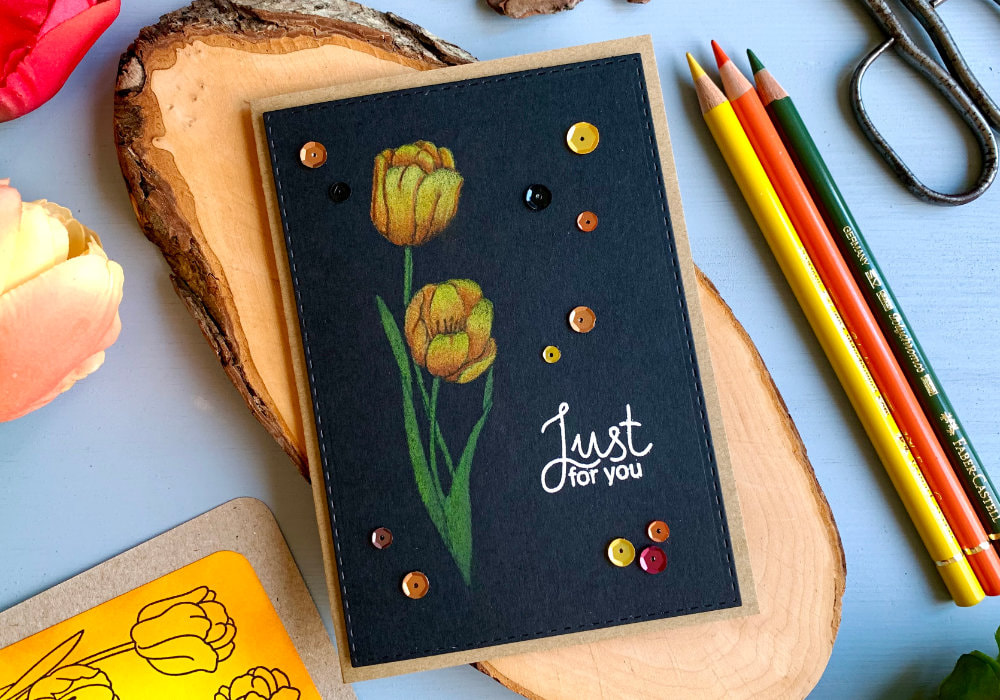 After I stamped the image, I started colouring. The exact pencil colours I used are:
Despite colouring on a black card stock, I didn't change the way I colour. When I colour, I pretty much create an ombre effect. To do this, you can use one colour, or one shade, or use different colours like I did here. I applied the darkest colour, in this case orange at the bottom of the petal and blended it with the yellows towards the top. I could have used one yellow, but when I have too many options, I use them. The same I did with the greens, but here I used only two shades, dark and light. One thing I try to concentrate on, although I'm not great at it, because of my impatience, but I'm trying to get better at it and that is working in layers. Start lighter and build the colour that way. Although with the black card stock I had to push harder, when I wasn't getting a good coverage. 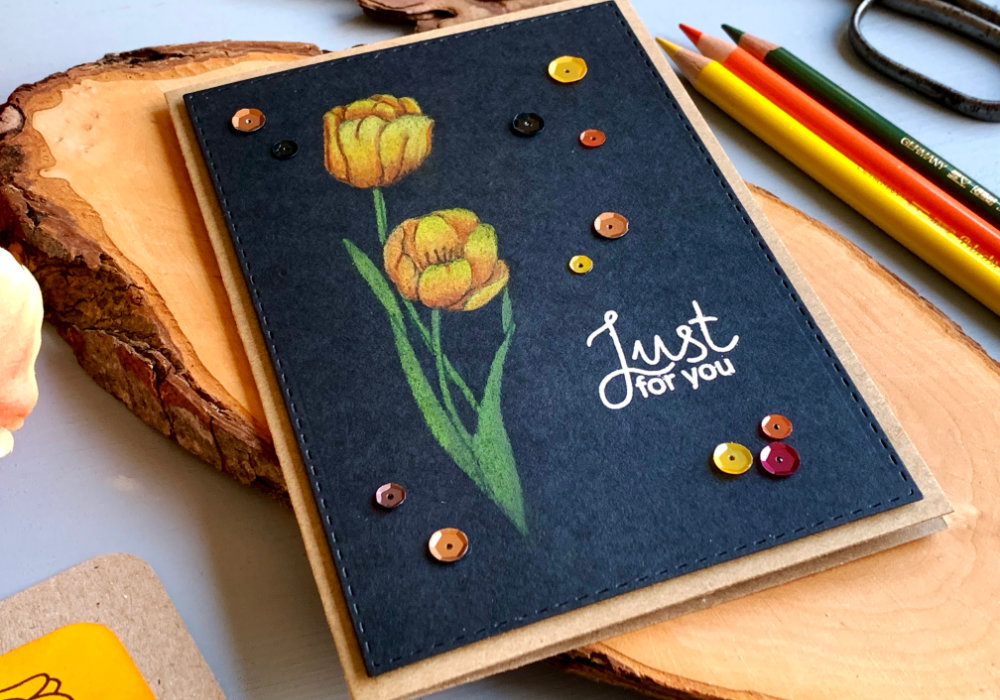 When it comes to shading, I don't do anything special. For images like this, with a single or bunch of flowers, I don't care about the light source. Where the leaves and petals are overlapping I use darker shades and that's all. After I was finished with the colouring, I stamped the greeting. I wanted to have a neutral sentiment and I picked a stamp that says Just For You. And I stamped and heat embossed it with a white embossing powder. I also die-cut the panel using a stitched rectangular die, but this is completely optional. And then I adhered the panel on top of a card base that I made out of a craft card stock using a double-sided foam tape. I thought the card was missing something, so I decided to adhere a few sequins across the panel. 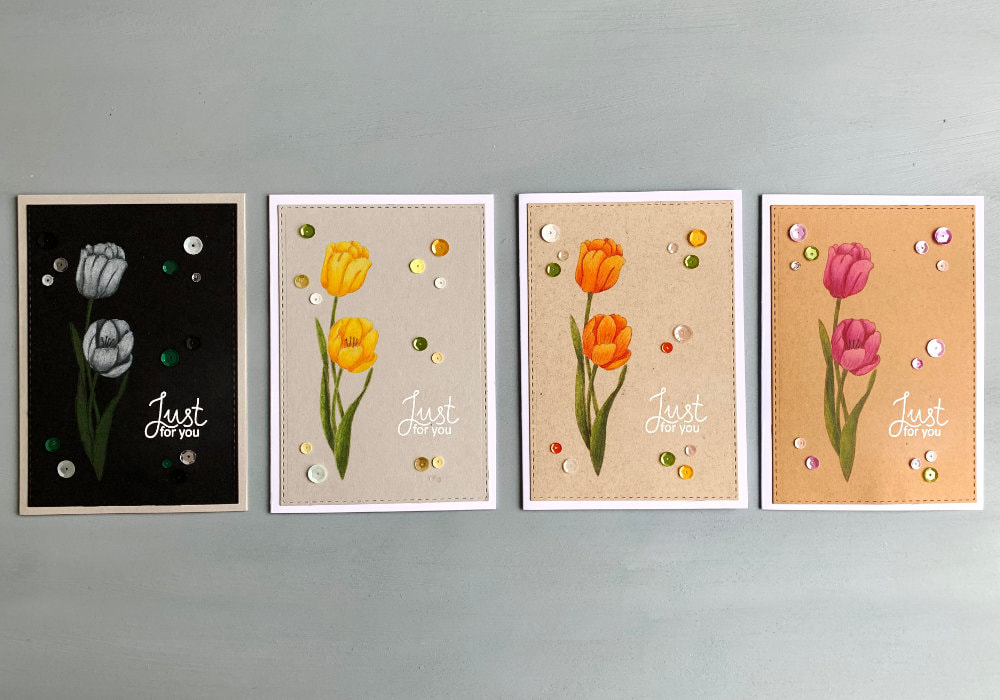 DECORATING ENVELOPE The card is finished, but after my previous blog posts, I was inspired to make a matching envelope, mainly the insert. I did make my own envelope, but the main focus was on the decorating of the insert. I was planning to make a yellow envelope, but the paper was too bright. Therefore I changed plans and made an envelope from a craft card stock and used the yellow paper for the insert. I cut the insert to the size of the envelope and then I first used the Spaced Marmalade Distress ink to add a little bit of orange along the edges. The yellow paper was still a little bit too bright and the orange bought it down a bit. Plus it matches the colours I used for the tulip and fits the envelope very well. 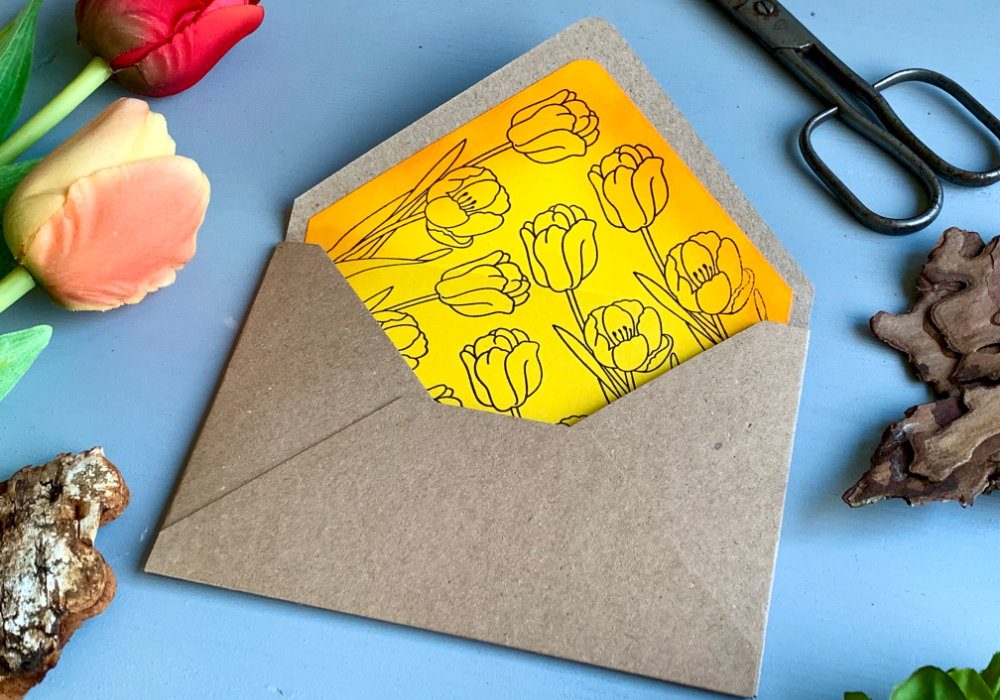 After I blended the ink I used the stamp with the tulip and stamped it across the insert using a black ink. I also stamped the tulip once at the back of the envelope. Lastly I adhered the insert inside of the envelope. The trick is to add adhesive only to the top flap, because the insert needs to be able to move as you open and close the envelope. I hope you will try making this card yourself. Make sure you check out my video on YouTube and give it a Like as well. The list of product is down below, where you can also find a few blog posts that I think you might enjoy. And if you have any questions, just drop me a line. VIDEO TUTORIALWatch the video below or on my YouTube Channel. PRODUCTS USEDCLICK HERE TO SEE TO THE LIST OF PRODUCTS
Faber-Castell, Polychromos Colour Pencils
AmazonDE | AmazonUK papermilldirect, Black Card Plain 240gsm papermilldirectUK Stamp sets by Clearly Besotted ClearlyBesottedUK Tsukineko, Versafine Ink pad, Onyx Black AmazonDE | AmazonUK Tsukineko Versamark Watermark Ink Pad AmazonDE | AmazonUK Stampendous, Embossing Powder, White AmazonDE | AmazonUK Docrafts Papermania, Heat Tool AmazonDE | AmazonUK EK Susccess, Anti-Static Powder Tool AmazonDE | AmazonUK Lucy’s Cards, Sequins LucysCardsUK Joy Crafts, Kraft Paper,A4 300gsm/140lb (card base) KreativbuntDE | AmazonUK Lidl Crelando, Coloured Paper 135gsm (envelope) Tim Holtz Distress Mini Ink, Kit 1 (Spiced Marmalade) AmazonDE | AmazonUK Stick It!, Double Sided Foam Tape AmazonDE | AmazonUK UHU, Liquid Glue AmazonDE | AmazonUK Fiscars, Guillotine A5 AmazonDE | AmazonUK Tonic Studios, Guillotine A4 AmazonDE | AmazonUK My Sweet Petunia, Mini MISTI Stamping Tool StempelmühleDE | BumbleberrysUK Papermania, Stamp Block AmazonDE | AmazonUK Crafting Mat, Black AmazonDE | AmazonUK Disclaimer: Here you can find the products I used to make this card. Please note that the products are just a guide, you don't need the exact products or brands. For most of the products I include links to the shops where you can purchase these items if available. As I live in Europe, I provide links to UK and German stores. These are not affiliate links and every products I used for this card I purchased myself. YOU MIGHT ALSO LIKEPIN MEDid you like the card? I would love, if you pinned it to your board on Pinterest! 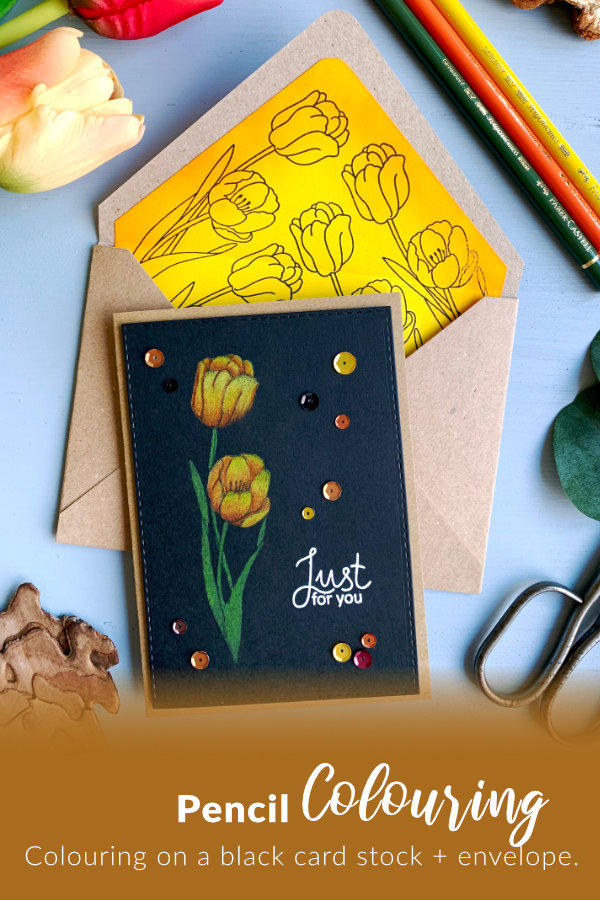
0 Comments
Leave a Reply. |
FOLLOW ME
SEE MORE


CATEGORIES
All
Stamping Die Cutting Using Stencil Heat Embossing Embossing or Texture Paste Distress Inks Nuvo Products Stamping & Colouring Stamping With Solid Stamps Watercolouring Watercolour Pencils Waterbased Markers Pencil Colouring Alcohol Markers Altenew Markers Zig Brush Markers Easy Backgrounds Stamped Backgrounds Small Stamp Ideas Simple Cards Complex Cards Cardmaking For Beginners All
Painting With Acrylics Painting With Gouache Painting With Watercolours Drawing With Fineliner Minimal Supplies Cards Christmas & Holiday
Love & Valentine Mother's Day Father's Day Halloween Spring Cards Summer Cards Autumn/Fall Cards Winter Cards Cards For Children Cards For Women Cards For Men Thank You Cards Sympathy Cards Get Well Soon Cards Floral & Leav Cards Rainbow Colours Messy Watercolouring Modern Art Inspirations Geometric Patterns Landscape Painting Acrylics
Gouache Watercolours Watercolour Pencils Waterbased Markers Distress Inks Alcohol Markers Colouring Pencils No Stamps No Dies Cards
Cardmaking On A Budget Let’s Colour Quick Cards Fun Masculine Cards Background Ideas Distress Ink Combinations |
 RSS Feed
