
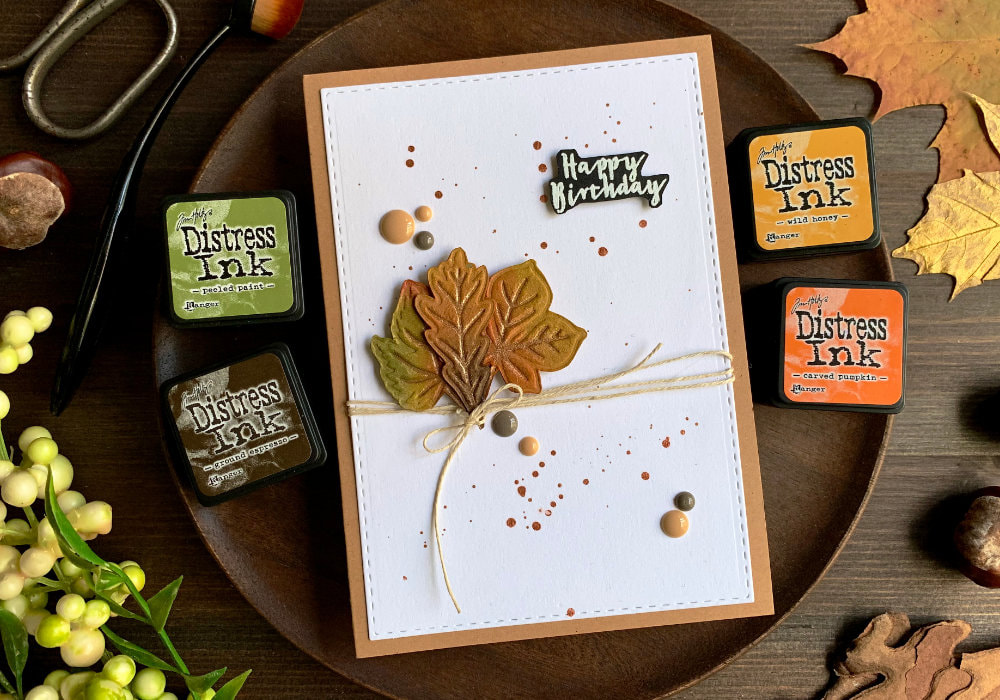
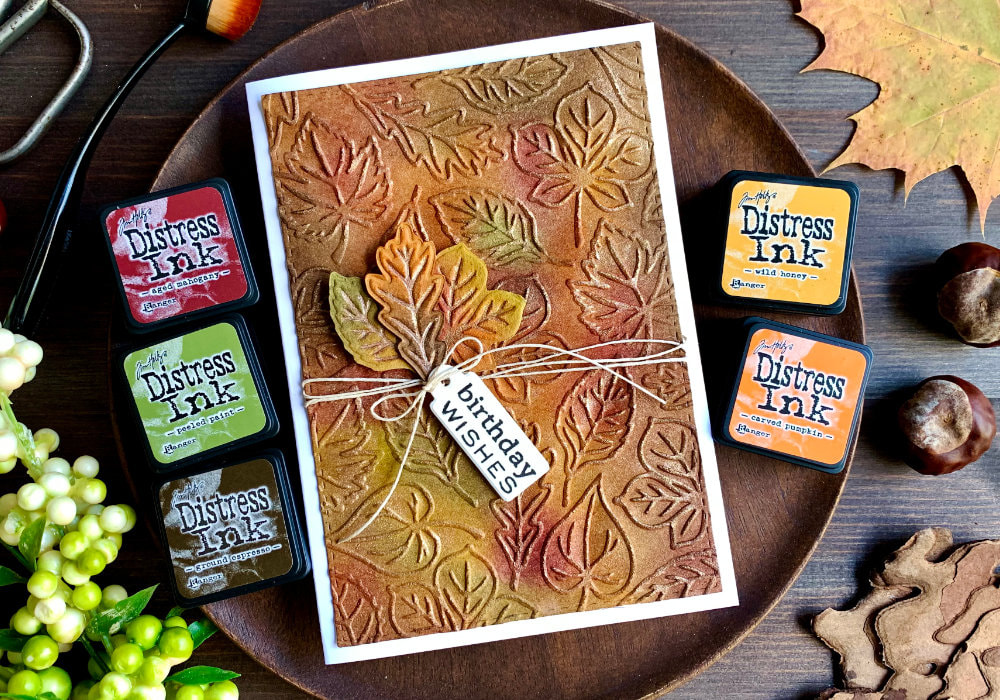
 In my last blog post I actually made two cards, but my description of how I made the main card was too long, so I left the second card for a separate article. This card is just simple version of that card. If you missed the first card, you can find it here. You can find there the list of supplies. I picked a white card stock and die cut it using a stitched rectangular die. You could also use the embossing folder, but I didn’t really think about it. I just had a few left over leaves that I cut out and wanted to use them. For these leaves I first embossed a panel for which I used a craft card stock and these leaves I cut out with my scissors.  I actually used the de-bossed side and I wanted the leaves to match the colours on the background of the first card, where I used the Distress inks. After I was done with the ink blending, to add a little bit of shimmer to the leaves I used a clear embossing pen and I went over the de-bossed lines. Then I used a very small brush, size 0 and I applied the Perfect Pearls powder (Perfect Bronze) to those lines. Then I sprayed the leaf with a clean water to set the powder. Before I assembled the card I splattered golden watercolour over the background and let it dry. This is however optional.  To assemble the card I first tied a backers twine around the panel and I tied a knot to hold it in place. Then I adhered tree leaves. Two of them I attached using a foam tape. For the one that was overlapping I only used the tape for half of the leaf. And the last leaf I adhered using a liquid glue. I also made sure that the stems are together, so I can tie the bakers twine around them. I tied the twine into a knot and then into a bow. To make sure it doesn’t untie, I added a drop of clear glue. Next I adhered the panel on top of a card base that I made out of a craft card stock.  Lastly, to finish up the card I adhered a few brown and beige enamel dots. These I bought ages ago and keep forgetting about them. I think they are great addition to the look of the card. And I also adhered a greeting. Simple Happy Birthday that I stamped and heat embossed in white onto a black card stock. I hope you will try making this card yourself. Make sure you check out my video on YouTube and give it a Like as well. The list of product is down below, where you can also find a few blog posts that I think you might enjoy. And if you have any questions, just drop me a line. YOU MIGHT ALSO LIKEPIN MEDid you like the card? I would love, if you pinned it to your board on Pinterest! 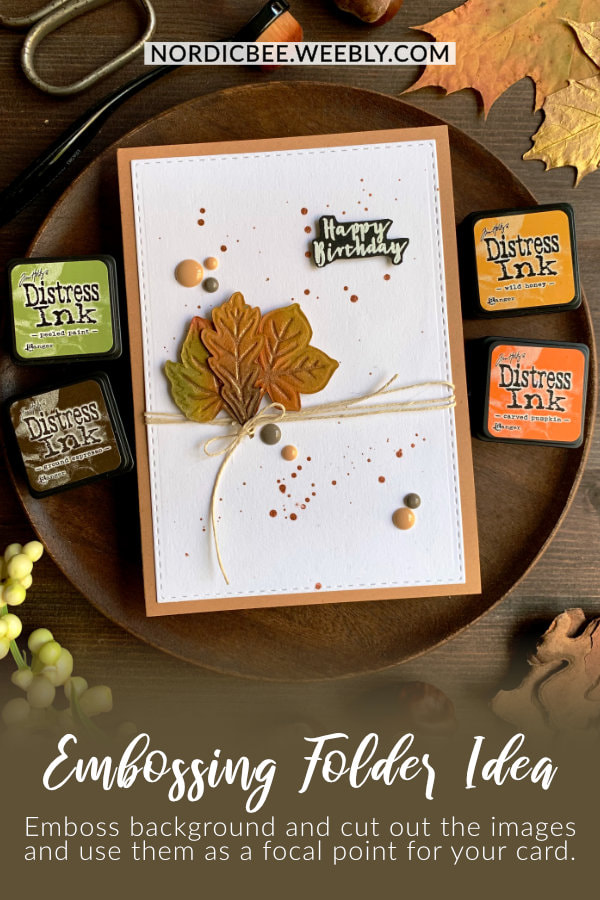
0 Comments
Leave a Reply. |
FOLLOW ME
SEE MORE


CATEGORIES
All
Stamping Die Cutting Using Stencil Heat Embossing Embossing or Texture Paste Distress Inks Nuvo Products Stamping & Colouring Stamping With Solid Stamps Watercolouring Watercolour Pencils Waterbased Markers Pencil Colouring Alcohol Markers Altenew Markers Zig Brush Markers Easy Backgrounds Stamped Backgrounds Small Stamp Ideas Simple Cards Complex Cards Cardmaking For Beginners All
Painting With Acrylics Painting With Gouache Painting With Watercolours Drawing With Fineliner Minimal Supplies Cards Christmas & Holiday
Love & Valentine Mother's Day Father's Day Halloween Spring Cards Summer Cards Autumn/Fall Cards Winter Cards Cards For Children Cards For Women Cards For Men Thank You Cards Sympathy Cards Get Well Soon Cards Floral & Leav Cards Rainbow Colours Messy Watercolouring Modern Art Inspirations Geometric Patterns Landscape Painting Acrylics
Gouache Watercolours Watercolour Pencils Waterbased Markers Distress Inks Alcohol Markers Colouring Pencils No Stamps No Dies Cards
Cardmaking On A Budget Let’s Colour Quick Cards Fun Masculine Cards Background Ideas Distress Ink Combinations |
 RSS Feed
