
Simple, Very Basic Watercolour Christmas Wreath For Beginners | Holiday Card Series 2020 + VIDEO13/11/2020 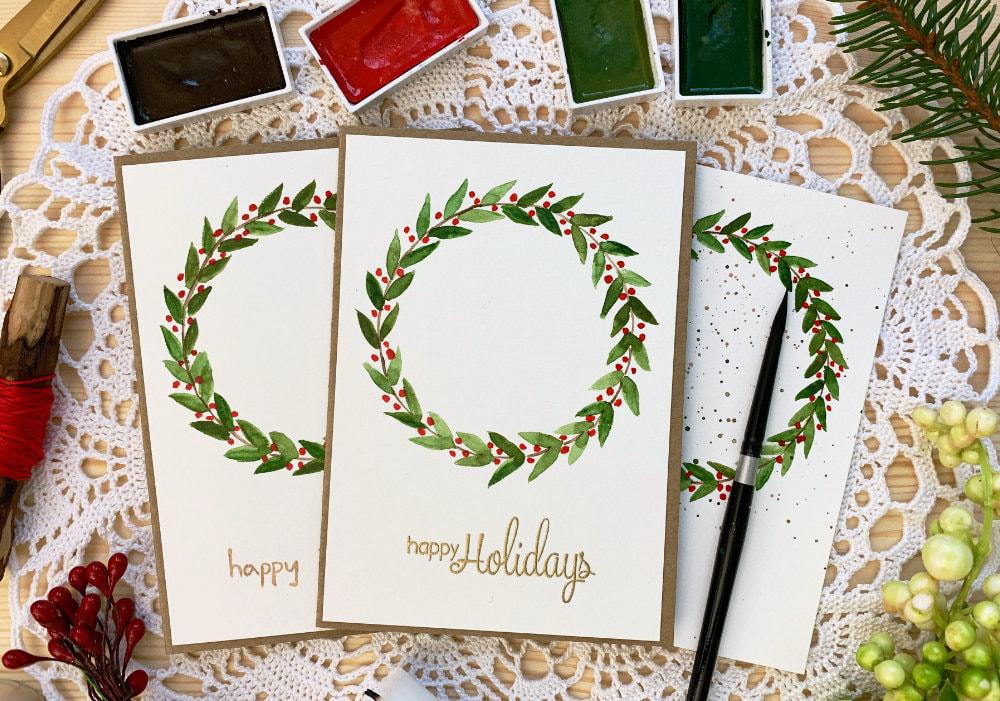
One of my favourite images to put on Christmas cards are Christmas wreaths. Actually I like a wreath for any season, using stamps, dies, stencils and so on. However this time I wanted to paint it myself. The only problem was, my skill level is not there yet. First of all, you are painting in a circle and all the paintings I saw had multiple layers, clusters of flowers or leafs, brunches that go in multiple directions. I cannot do that!
Nevertheless, I was determined to find a picture or a video that will help me to paint it myself. So, I searched the internet and on YouTube I found… nothing, well nothing that was simple. Sometimes I think that the words simple, easy, for beginners are just overused and misleading, just to get the people to click. And then you watch the video and realize that this is not for beginners and your time was wasted. I needed something, very basic, for a beginner that has never painted a wreath before. Something like level 1 wreath. On Pinterest I found few helpful drawings, these I often see people doing in their bullet journals, just using a fine liner. And this is what gave me the idea for the card today, very simple, basic watercolour Christmas wreath, perfect for beginners, even if you haven’t painted one before. Just like me! 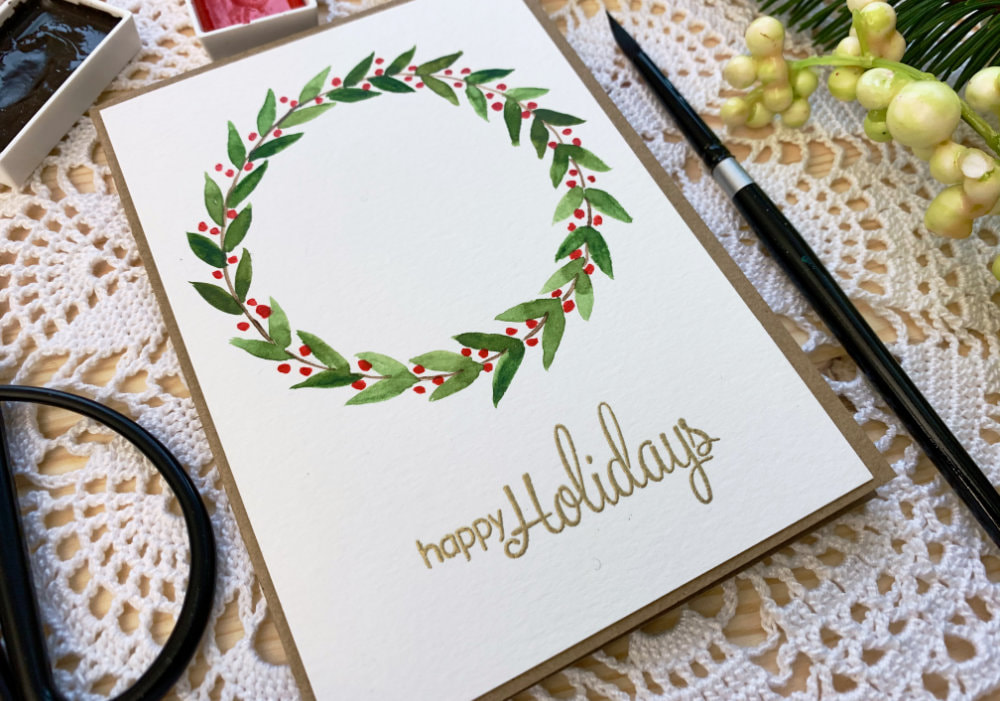
The products I’m using here are pretty much the same as those I used in my two previous cards. All you will need is watercolours, some brushes and watercolour card stock. Plus few other things.
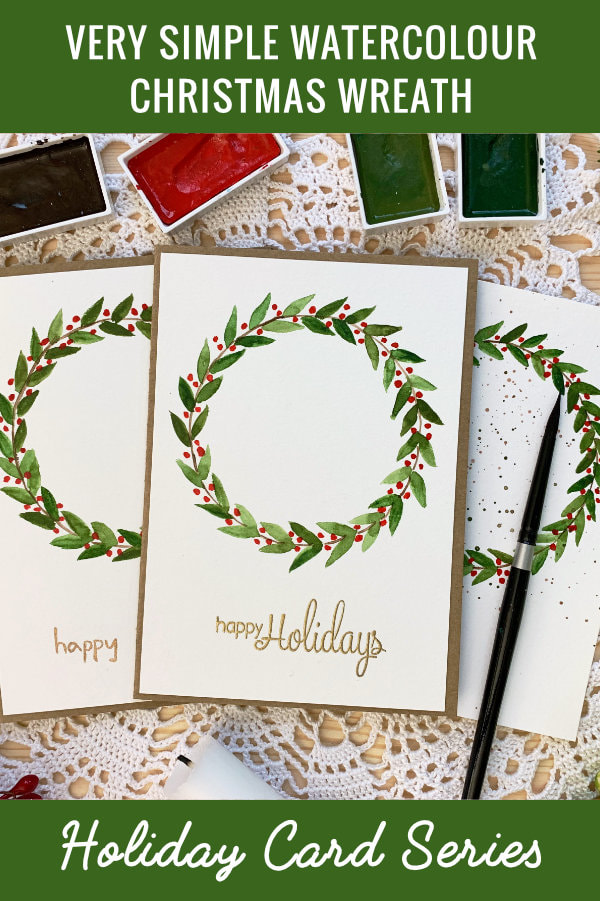
I cut the watercolour paper to the size of my card base, which is A6. In my last blog post the card stock was slightly bigger and I almost had to cut off part of the painting. Therefore I find it easier when the card stock is cut to the correct size, avoiding such mistakes. I placed the wreath at the top part of the panel, because I will be adding a sentiment below it. If you don’t want to add a sentiment, you can paint the wreath in the middle of the panel or make a square card, I think that would look good as well. Also, if you have a stamp in the shape of a banner that you can put across the wreath, then you would place the wreath in the middle as well. To paint the wreath I started with drawing a circle with a pencil. I used a cup to dot that and I lightly drew the outline of the circle. And then I started painting the leafs, following the circle. I picked two different shades of green, but if you don’t have two different shades of green, you can just use one, or mix blue and green together for the second shade. 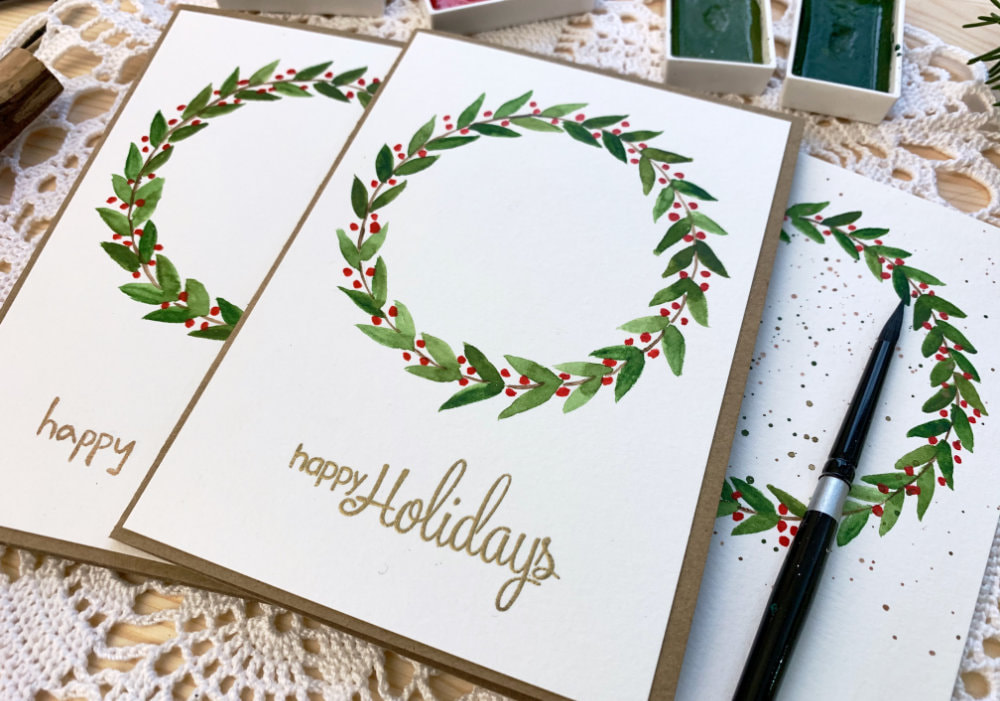
The shape of the leaf I was trying to do is round at the bottom and pointy at the top, but some leafs were round at the top as well. And Because I don’t know how to paint the leaf in one stroke
I painted first one half of the leaf and then the other half. I painted the leafs in pairs, some slightly above each other, some side by side. You could also place them further apart. It’s all up to you. I was moving the card stock, this way it was easier to paint at the same angle. Be careful that you don’t touch the leafs that are still wet, as you are moving the card stock. This happened to me few times, but I painted over it and it was OK. The brush I’m using is in the size 8, but the size of the brush depends on the size of your project. If you were making 5x7 card then you might need to use a bigger brush and if you want smaller leafs, you would use a smaller brush. 
I let the piece dry and then I painted the red berries, in between the leafs, using a size 4 brush. The berries were more just little imperfect dots. I was alternating between two berries, one on each side and three berries, two on one side and one on the other, depending how much space there was between the leafs.
Once the berries were painted, the wreath really comes to life. Even when I wasn’t happy with some leafs, it no longer mattered. After painting the berries, I’m definitely getting the Christmas vibes. Although the wreath would look good even without the berries, e.g. for a Birthday card. The last step in painting the wreath, was to paint over the pencil line. Of course you can just erase it, but I thought painting it brown is a great finishing touch. It makes it look little bit like a brunch of a tree. I used a brush in the size 1, but you could also use the tip of a bigger brush. I’m just not the best when it comes to lines and using a very small brush was very helpful. The parts where the leafs were together I skipped , I didn’t paint over them, otherwise I was painting one solid line. 
For the sentiment I tried to write it myself, but this is not really my thing. My handwriting is all over the place. I prefer to stamp the sentiment and I thought it would look even more festive, if I heat embossed it, using a golden embossing powder.
Lastly I adhered the panels on top of a card base that I pre-cut and pre-scored using a craft card stock. I let the card as it is, without adding any embellishments, but you can add them if you want. Some red or golden enamel dots or bakers twine between the sentiment and the wreath, that would look very nice. Maybe I will do that next time. However, I painted few of these wreaths and on some I added little bit of a splatter and now I don’t know if I like the wreath with or without splatter. 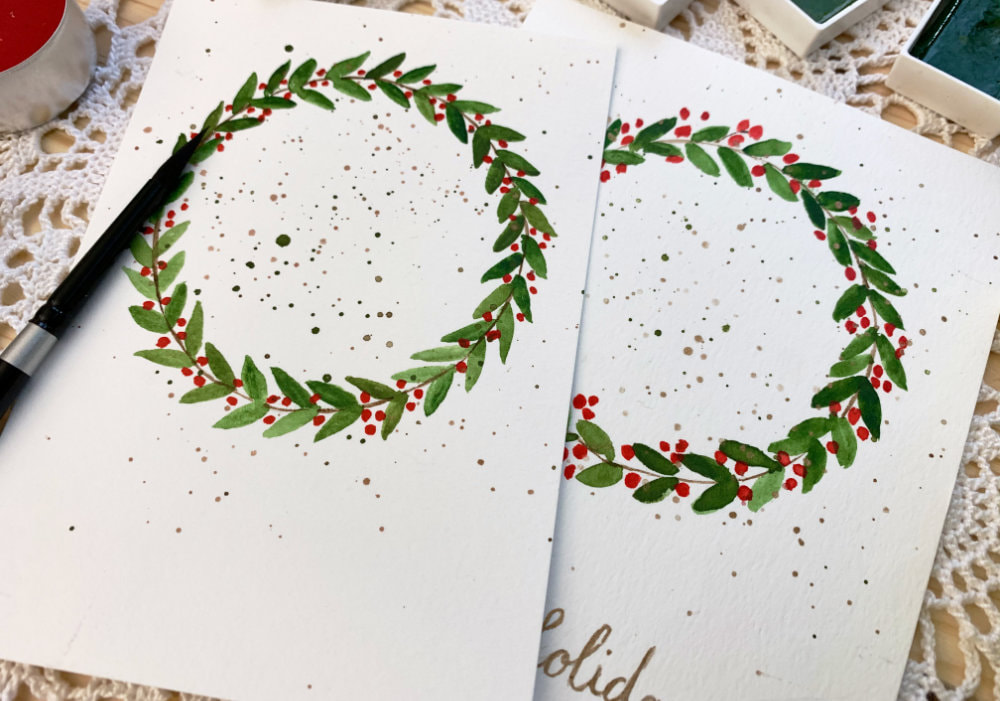
QUICK STEP-BY-STEP HOW TO
That’s all for my projects today. I hope you will give it a try. Trust me it’s super simple, even if you haven painted a wreath before. Thanks so much for stopping by today, and have a great day! VIDEO TUTORIAL
Watch the video below or on my YouTube Channel.
PRODUCTS USED
Disclaimer: I’m currently not using any affiliate links. These links are just to help you find the products. The list includes alternatives to what I was using and while I haven't used some of them, I only recommend brands I trust.
Kuretake, Gansai Tambi, Watercolour Paints 36 Set
AmazonDE | AmazonUK Canson XL, Watercolour Cardstock , 300gsm/140lb AmazonDE | AmazonUK Daler Rowney Watercolour Brushes AmazonDE | AmazonUK Daler Rowney Small Watercolour Brushes AmazonDE | AmazonUK Silver, Black Velvet brushes JacksonsArtUK Faber Castell, HB Graphite Pencil AmazonDE | AmazonUK Clearly Besotted, All Occassion Sentiments (N.A.) Tsukineko Versamark Watermark Ink Pad AmazonDE | AmazonUK My Sweet Petunia, Mini MISTI Stamping Tool StempelmühleDE | BumbleberrysUK Papermania, Stamp Block AmazonDE | AmazonUK WOW! Embossing Powder, Metallic Gold AmazonDE | AmazonUK EK Susccess, Anti-Static Powder Tool AmazonDE | AmazonUK Docrafts Papermania, Heat Tool AmazonDE | AmazonUK Joy Crafts, Kraft Paper,A4 300gsm/140lb (card base) KreativbuntDE | AmazonUK Papermania, A6 Card Bases + Envelopes, Craft AmazonDE | AmazonUK Sellotape Double Sided Tape AmazonDE | AmazonUK Stick It!, Double Sided Foam Tape AmazonDE | AmazonUK Tonic Studios, Guillotine A4 AmazonDE | AmazonUK Crafting Mat, Black AmazonDE | AmazonUK YOU MIGHT ALSO LIKEPIN ME
Did you like the card? I would love, if you pinned it to your board on Pinterest!
0 Comments
Leave a Reply. |
FOLLOW ME
SEE MORE


CATEGORIES
All
Stamping Die Cutting Using Stencil Heat Embossing Embossing or Texture Paste Distress Inks Nuvo Products Stamping & Colouring Stamping With Solid Stamps Watercolouring Watercolour Pencils Waterbased Markers Pencil Colouring Alcohol Markers Altenew Markers Zig Brush Markers Easy Backgrounds Stamped Backgrounds Small Stamp Ideas Simple Cards Complex Cards Cardmaking For Beginners All
Painting With Acrylics Painting With Gouache Painting With Watercolours Drawing With Fineliner Minimal Supplies Cards Christmas & Holiday
Love & Valentine Mother's Day Father's Day Halloween Spring Cards Summer Cards Autumn/Fall Cards Winter Cards Cards For Children Cards For Women Cards For Men Thank You Cards Sympathy Cards Get Well Soon Cards Floral & Leav Cards Rainbow Colours Messy Watercolouring Modern Art Inspirations Geometric Patterns Landscape Painting Acrylics
Gouache Watercolours Watercolour Pencils Waterbased Markers Distress Inks Alcohol Markers Colouring Pencils No Stamps No Dies Cards
Cardmaking On A Budget Let’s Colour Quick Cards Fun Masculine Cards Background Ideas Distress Ink Combinations |

 RSS Feed
