
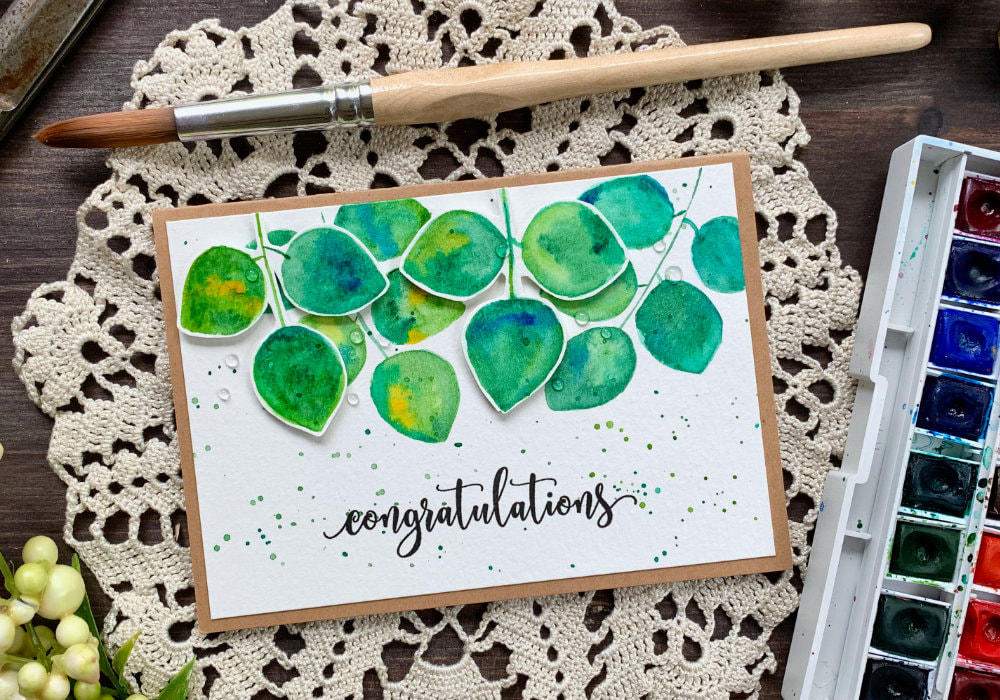
 Finally I have another full blog post and video for you. Not long ago I decided to add the short vertical videos to have content between what I call my full posts because I only upload three times a month. However, I use those when I don’t have the time to make a full video as these are easy to make. But let’s talk about this card. I have another budget friendly, beginner friendly card for you. I’m painting very simple leaves. Trust me they are easy to do because I find leaves very difficult to paint. I’m also using minimal supplies here. All you need are watercolours, a round brush, preferably with a pointy tip, watercolour card stock, card base, adhesive, scissors, jar with water and a paper towel. The exact products I used are listed below. For a while I wanted to add some aspects of the typical card making into the cards that I create from scratch, those where I paint my own images. If you think about it I already did, I use card bases, instead of folding the card stock on which I’m painting and I use stamps with sentiments. However, these are the basics, I wanted to do more. One of the things I was thinking about is fussy cutting. I do that all the time when I use stamps. 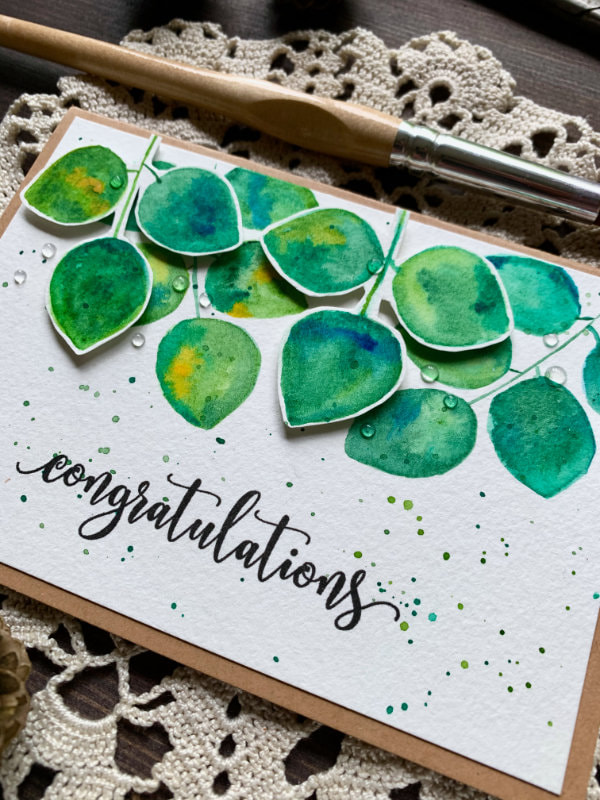 If you don’t know what fussy cutting is, it is simply cutting out an image instead of using dies. Many stamp set don’t come with coordinating dies and even if the dies are available, they are quite expensive. That’s why many card makers, including me opt out of buying those and just use scissors and cut out the stamped image. And why would you want to cut out an image? Well, because you can adhere it using a foam adhesive, which creates dimension and it looks pretty cool. The reason why I didn’t do this so far, is because I didn’t have the right inspiration, until I saw a photo on Instagram. I’m following the account schlemmer.art absolutely amazing account, very talented lady. In my feed I came across a post that you can see here, where she painted green leaves (she also used gold) and in the photo some of them are cut out. I don’t know her reasons for cutting them out, but this gave me inspiration for the card today. I only copied the green colour (not the gold) and the fussy cutting. Although the position of the leaves coming from the top was influenced from multiple photos of paintings and drawings from different accounts on Instagram and Pinterest. However those were leaves from hanging plants, so not exactly the same. 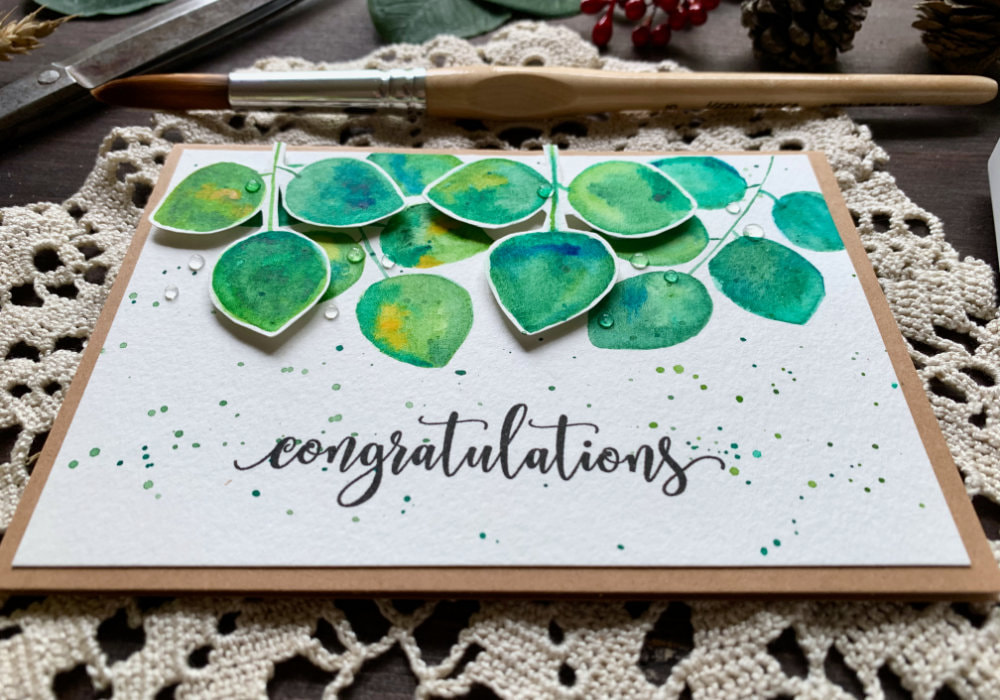 So how did I painted the leaves on my card? First I painted two brunches with leaves directly onto the watercolour panel. I’m painting upside down, therefore all the description is as I’m looking at it. I started with the stem on the left side and I painted a slightly curved line. The curve was going from left to right and I did the opposite on the other brunch. Then I painted the leaves. For the brunch on the left side, for the base colour, I used predominantly Hooker’s Green and on the right side I sued Sap Green. And because I am not the best at painting leaves, I first painted the outline and then I filled it with the colour. While the leaf was wet I added more saturated colour of the green I was using, I also adjusted the shape of the leaf and then I added few drops here and there, using the other greens and blues in the palette I was using. On the second brunch, where I used the Sap Green I also used yellow. NOTE: I’m using a palette with 12 pans from Winsor & Newton and The Hooker’s Green is not part of this palette. I took out the white and replaced it with this green. I wanted the shape of the leaves to be more round. I don’t know what kind of a leaf this is, I didn’t work with any reference. I just knew I didn’t want to do the same leaf I did on those two wreaths I painted before. First I painted three leaves, but then I decided to paint few additional leaves at the bottom of the brunch to fill the white space. 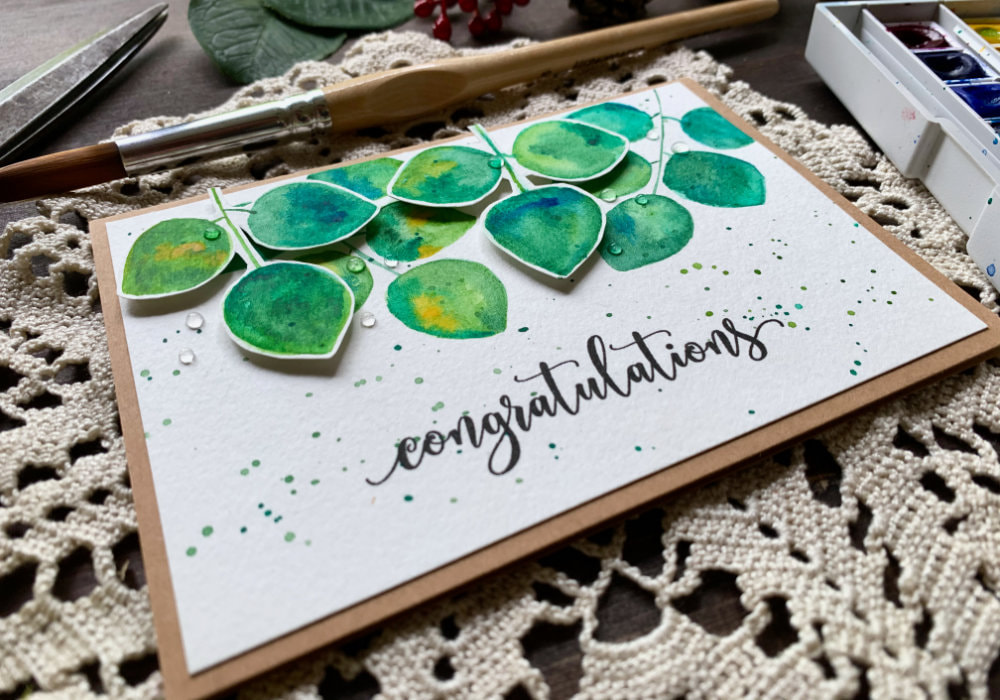 Next I painted additional branches, with just three leaves on a separate card stock. Those are the leaves that I will cut out. I painted them the same way as the leaves before. I needed only two, more would not fit on the panel. Also I had to re-paint one, because I painted two with a curve going the same direction, which didn’t look good when I put it on to the panel over the painted brunches. And after the leaves were dry, I used my scissors and cut them out. I left a white border, just as you would have when using dies. I actually like that effect. ALTERNATIVE: If you don’t want to do any fussy cutting, you can paint the first set of leaves lighter colour and then paint additional leaves over them, using more saturated colour. Before I adhered the leaves, I stamped the sentiment. I used the - congratulations - sentiment stamp that I used on many card before. It is one of my favourite sentiment stamps I have. And I stamped it with a black ink. 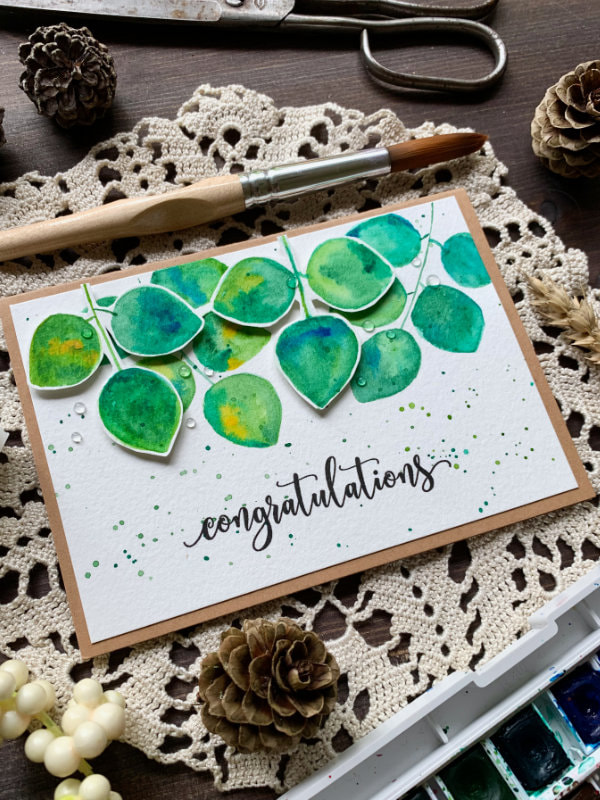 Next I attached double-sided foam squares on the backs of the cut out leaves and then I adhered them over the leaves I pained at the beginning. One I placed between the leaves and one I placed on the right side. The ends were little bit too long, I just use scissors to shorten them. ALTERNATIVE: If you do not have a foam tape, you can use a liquid glue on the back especially of the stem and adhere it that way. Once dry you can lift the leaves little bit, like curl it up a bit, which gives some dimension as well. After I adhered the leaves, I could not resit and added little bit of splatter. But of course you can skip this. Then I adhered the panel on top of a card base that I made out of a craft card stock and I used normal double-sided adhesive, without any foam. 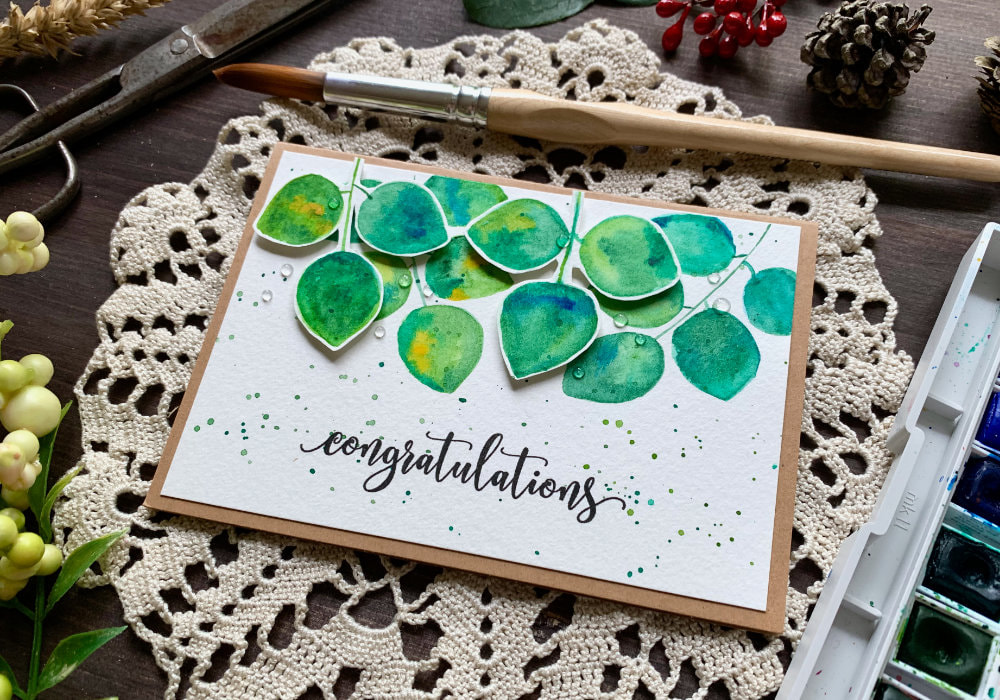 Lastly, something I often forget, I took clear Nuvo drops and added few drops around the leaves as well as on the leaves. Especially those drops on the leaves, after they dried, looked like rain drops. Btw. if you don’t know Nuvo drops, this is a liquid and after you apply it, when it dries hardens. It’s pretty much like enamel dots. You use these to embellish your cards. That’s it for the card today, make sure you check out my video on YouTube and give it a Like, the list of product is down below, where you can also find few blog posts that I think you might enjoy. And if you have any questions, just drop me a line. VIDEO TUTORIALWatch the video below or on my YouTube Channel. PRODUCTS USEDDisclaimer: I’m currently not using any affiliate links. These links are just to help you find the products. The list includes alternatives to what I was using and while I haven't used some of them, I only recommend brands I trust. Winsor & Newton, Cotman Watercolor Palette AmazonDE | AmazonUK Blue Squid Brush Set AmazonDE | AmazonUK Canson XL, Watercolour Cardstock , 300gsm/140lb AmazonDE | AmazonUK Avery Elle, Magnolia Stamp Set MennysShopDE | SevenHillsCraftsUK Tsukineko, Versafine Ink pad, Onyx Black AmazonDE | AmazonUK Tonic Studios, Nuvo Crystal Drops - Morning Dew BastelWeltDE | CraftStashUK Dovecraft, Foam Squares AmazonDE | AmazonUK Sellotape Double Sided Tape AmazonDE | AmazonUK Joy Crafts, Kraft Paper,A4 300gsm/140lb (card base) KreativbuntDE | AmazonUK Papermania, A6 Card Bases + Envelopes, Craft AmazonDE | AmazonUK Fiscars, Guillotine A5 AmazonDE | AmazonUK Crafting Mat, Black AmazonDE | AmazonUK YOU MIGHT ALSO LIKEPIN MEDid you like the card? I would love, if you pinned it to your board on Pinterest! 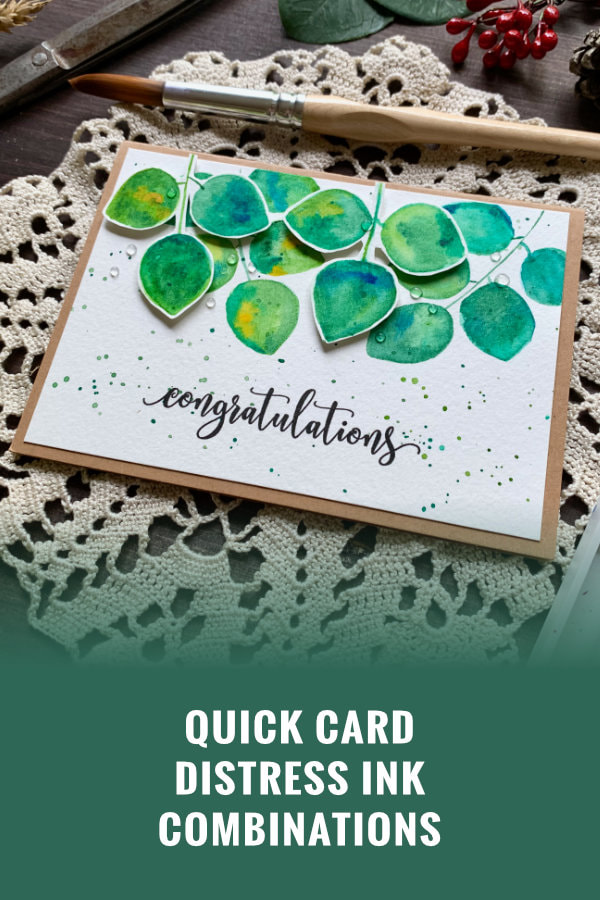
0 Comments
Leave a Reply. |
FOLLOW ME
SEE MORE


CATEGORIES
All
Stamping Die Cutting Using Stencil Heat Embossing Embossing or Texture Paste Distress Inks Nuvo Products Stamping & Colouring Stamping With Solid Stamps Watercolouring Watercolour Pencils Waterbased Markers Pencil Colouring Alcohol Markers Altenew Markers Zig Brush Markers Easy Backgrounds Stamped Backgrounds Small Stamp Ideas Simple Cards Complex Cards Cardmaking For Beginners All
Painting With Acrylics Painting With Gouache Painting With Watercolours Drawing With Fineliner Minimal Supplies Cards Christmas & Holiday
Love & Valentine Mother's Day Father's Day Halloween Spring Cards Summer Cards Autumn/Fall Cards Winter Cards Cards For Children Cards For Women Cards For Men Thank You Cards Sympathy Cards Get Well Soon Cards Floral & Leav Cards Rainbow Colours Messy Watercolouring Modern Art Inspirations Geometric Patterns Landscape Painting Acrylics
Gouache Watercolours Watercolour Pencils Waterbased Markers Distress Inks Alcohol Markers Colouring Pencils No Stamps No Dies Cards
Cardmaking On A Budget Let’s Colour Quick Cards Fun Masculine Cards Background Ideas Distress Ink Combinations |
 RSS Feed
