
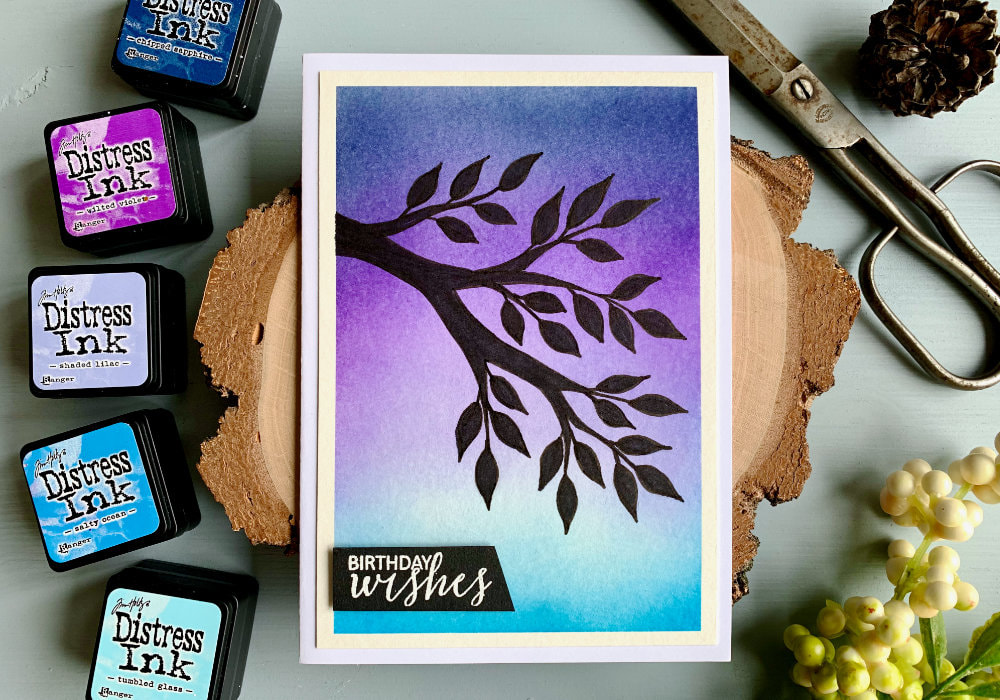
 I have another sunset Distress ink blending combination with a sunset background for you. Don't worry, while I'm planning to do a lot of blending combos, which are perfect for YouTube Shorts, there are plenty other cards that I have prepared for the future. However, last week was quite busy and I didn't have the time to create a main video (that is a video with a voiceover), so I made another Distress background, which is much faster. The colours I used for this background are, from top to bottom: - Chipped Sapphire - Wilted Violet - Shaded Lilac - Tumbled Glass - Salty Ocean 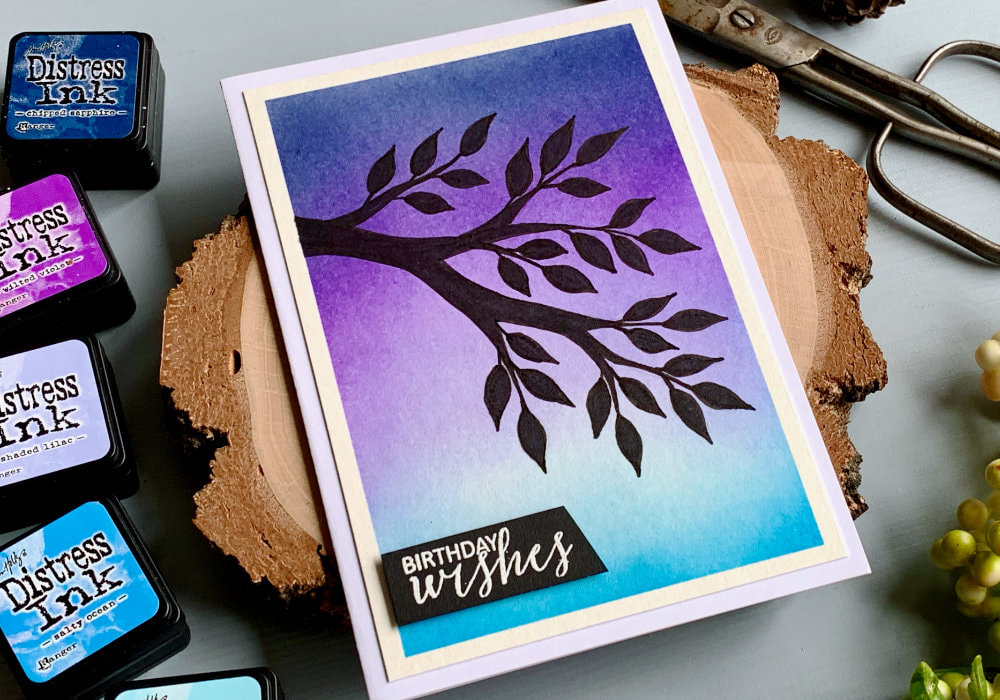 I applied two, in some cases three layers of each ink. Mind you, it might be that my inks need re-inking. I started at the top with the Chipped Sapphire, then Wilted Violet and Shaded Lilac. And then I moved to the bottom of the panel, which is the Canson XL watercolour paper and I applied the Salty Ocean and above it I used the Tumbled Glass. The last two inks I applied only at a small part of the bottom of the card stock, the majority of the background I wanted to be purple. I was thinking about using the Seedless Preserves or Dusty Concord instead of the Chipped Sapphire, but I wanted to have a purple on the blue side, that's why I decided to use a dark blue ink. 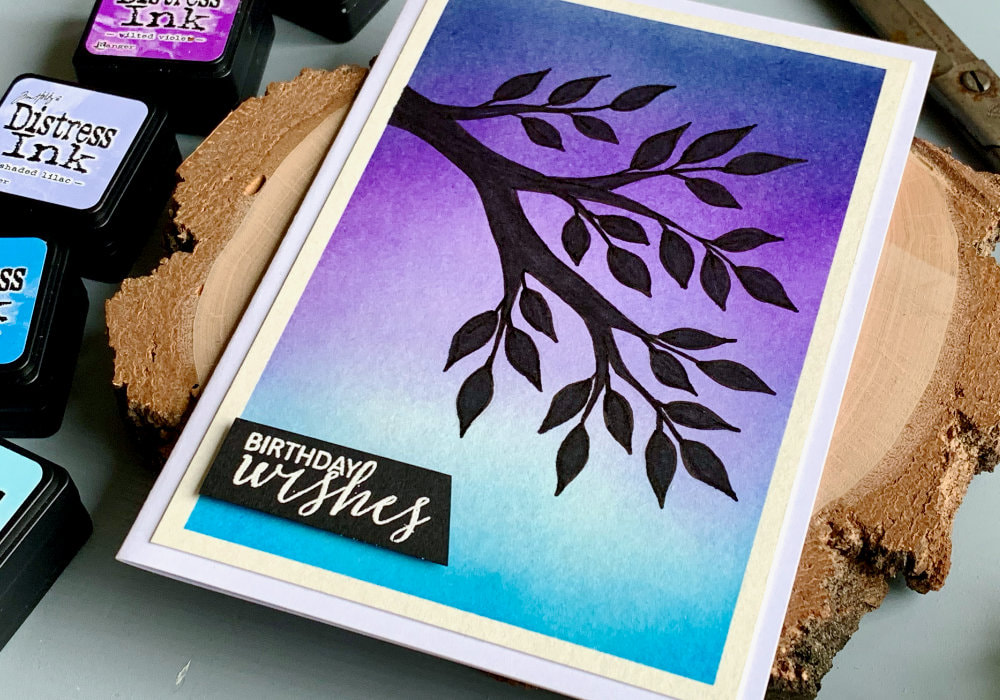 Before I even made the background, I needed to come up with an idea what to put on it. I could have done another row of trees, which is an option for you, but I wanted to do something new. As you can see, I drew a silhouette with a tree branch and leaves. The idea came from cards that I will be sharing with you soon, where I paint trees. I started by drawing a sketch and transferring it onto the background, which didn't work well as on the top it was way too dark and I didn't really see it. Maybe if I had a transfer paper it would be better, who knows. I just was following the sketch I prepared. I used a black fine liner for the outlines and to fill them up I used a black marker, something like Sharpie. You don't need both, the fine liner was great for the thin lines and I could use it to fill up at least the leaves, but as I don't have a shop near by, where I could buy these pens easily, I didn't want to waste it. 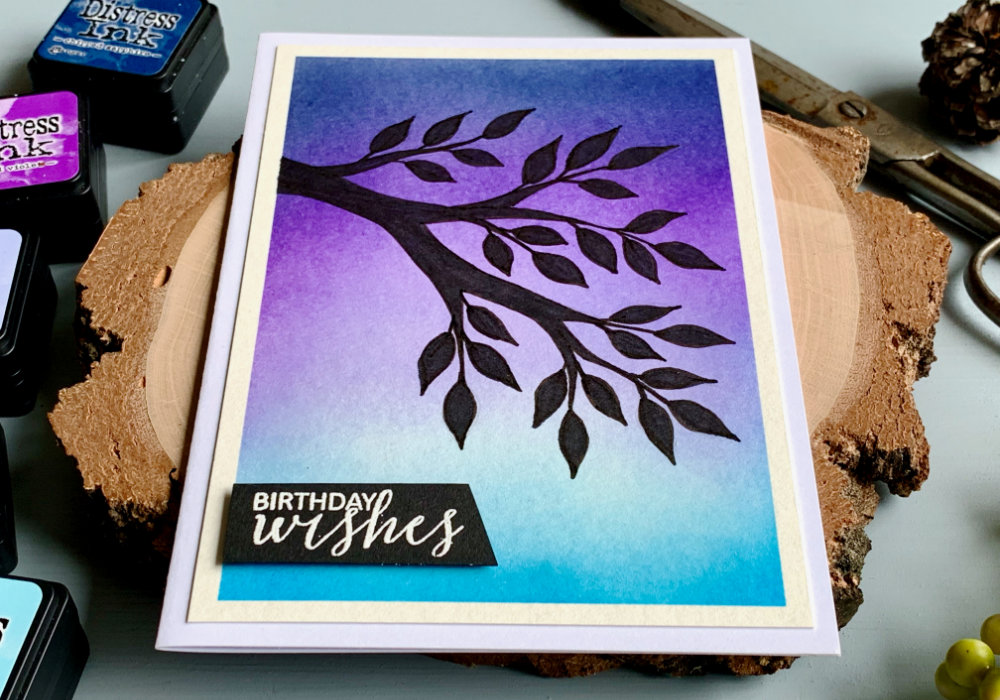 For the greeting I picked a sentiment that says Best Wishes. I stamped and heat embossed it in white on a black card stock and I cut it into a banner. Lastly I adhered the panel on top of a white card base using a simple double-sided adhesive and the banner I attached using a foam tape. You can see a quick video of me making this card on my YouTube channel or Instagram and make sure you subscribe/follow. QUICK VIDEOWatch the video below or directly on my YouTube channel or Instagram. YOU MIGHT ALSO LIKEPIN MEDid you like the card? I would love, if you pinned it to your board on Pinterest! 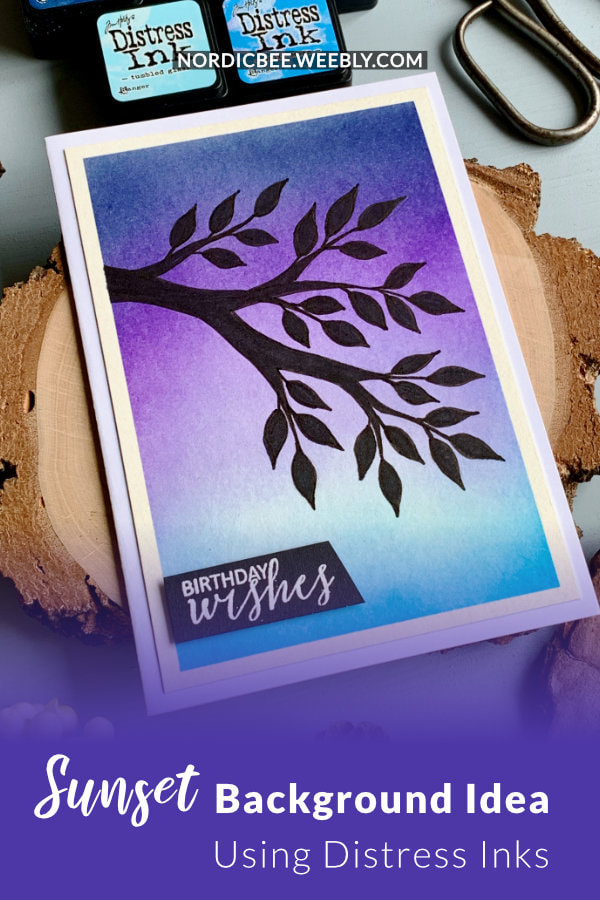
0 Comments
Leave a Reply. |
FOLLOW ME
SEE MORE


CATEGORIES
All
Stamping Die Cutting Using Stencil Heat Embossing Embossing or Texture Paste Distress Inks Nuvo Products Stamping & Colouring Stamping With Solid Stamps Watercolouring Watercolour Pencils Waterbased Markers Pencil Colouring Alcohol Markers Altenew Markers Zig Brush Markers Easy Backgrounds Stamped Backgrounds Small Stamp Ideas Simple Cards Complex Cards Cardmaking For Beginners All
Painting With Acrylics Painting With Gouache Painting With Watercolours Drawing With Fineliner Minimal Supplies Cards Christmas & Holiday
Love & Valentine Mother's Day Father's Day Halloween Spring Cards Summer Cards Autumn/Fall Cards Winter Cards Cards For Children Cards For Women Cards For Men Thank You Cards Sympathy Cards Get Well Soon Cards Floral & Leav Cards Rainbow Colours Messy Watercolouring Modern Art Inspirations Geometric Patterns Landscape Painting Acrylics
Gouache Watercolours Watercolour Pencils Waterbased Markers Distress Inks Alcohol Markers Colouring Pencils No Stamps No Dies Cards
Cardmaking On A Budget Let’s Colour Quick Cards Fun Masculine Cards Background Ideas Distress Ink Combinations |
 RSS Feed
