

This week I wanted to make something very simple and there is nothing more simple than doing the messy watercolouring technique. Also I have finally got the rest of my crafting stash back, which includes a die-cutting machine, so you will see me adding a few die-cut elements here and there. I will try to keep it at low, especially for those cards that I make from scratch.
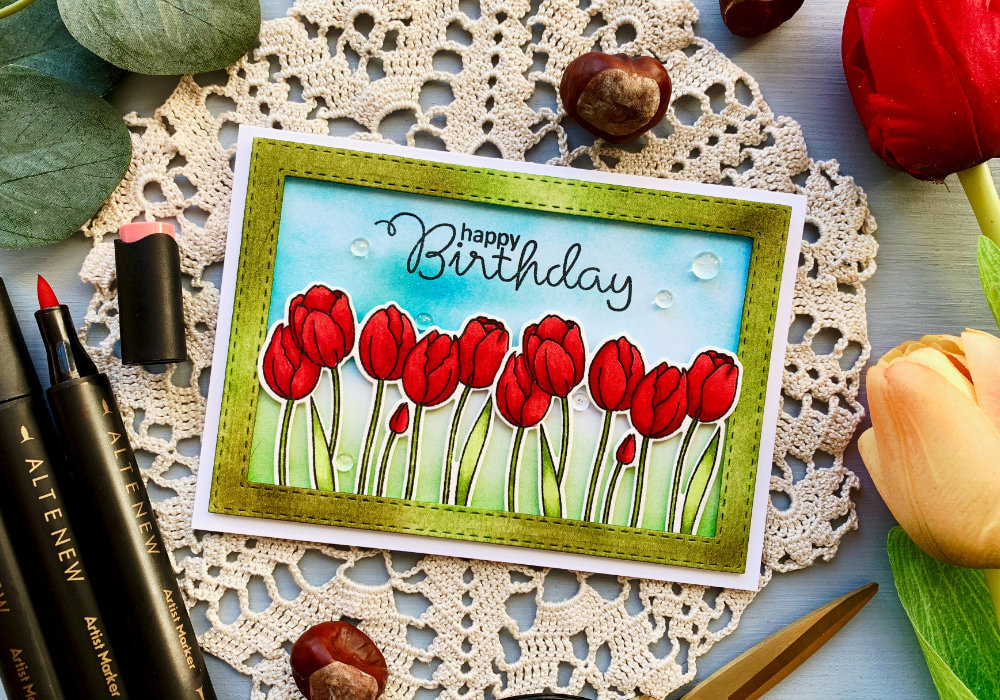
I used an older stamp set from Clearly Besotted, it's called "Poppy Petals" and at the time of writing this blog post it is still available. This is literally - wow moment for me! I haven't been shopping for stamps for over a year and the stamps I do buy are already old. Having a stamp set that is still available, especially by Clearly Besotted makes me very happy. The stamp set has a bunch of poppies and it is similar to two other stamp sets I used last year, those were with tulips and daffodils. If you would like to see those, just click on the links below this blog post. 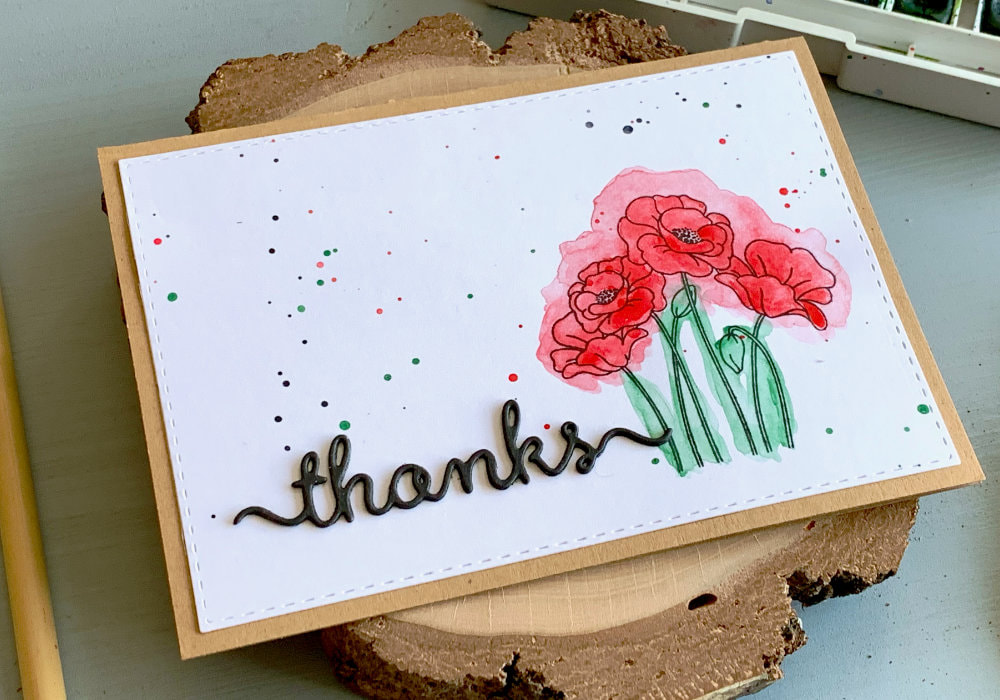
​I started by stamping the image with the poppies in the right hand corner of my panel. I used the Versafine ink in Onyx black, this is a waterproof ink - very important if you are using a watercolouring medium. The card stock I'm using is the Bristol paper and while it is a thicker paper, it is not meant to be used with watercolours that means I had to be careful about how much water I'm using.
After the ink was dry I started applying the colours. I only needed red, green and later also black, but that is optional. For the red I used the Cadmium Red Deep Hue from Winsor & Newton. I added a few drops of clean water into the pan, mixed it with my brush and started painting. As I mentioned earlier, I'm doing the messy watercolouring technique and the general idea behind this technique is to be messy and go outside of the lines. So I did just that, I applied the red across the flowers going outside of the lines and the same I did with the stems and the unopened poppies, which I painted the Hooker's Green Dark, also from Winsor & Newton. 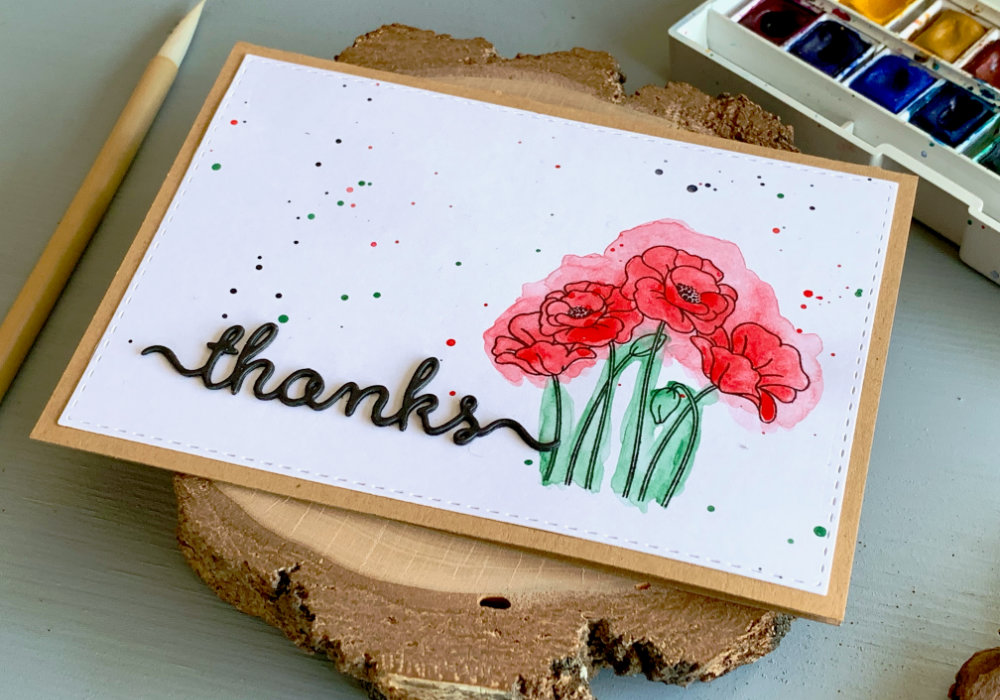
​You can leave as it is, however I wanted the red flowers to be more prominent, therefore I carefully added another layer of the red paint.
I waited till the piece is a little bit dry and then I added a splatter, mainly across the white space on the left. I not only used the red and green paints, I also added black. Next I die-cut the panel using a stitched rectangular die from Create A Smile and I also die-cut the greeting. I picked a die that says thanks, simply because the size was perfect. I die-cut three of the words and I glued them on top of each other, which makes the greeting more interesting. 
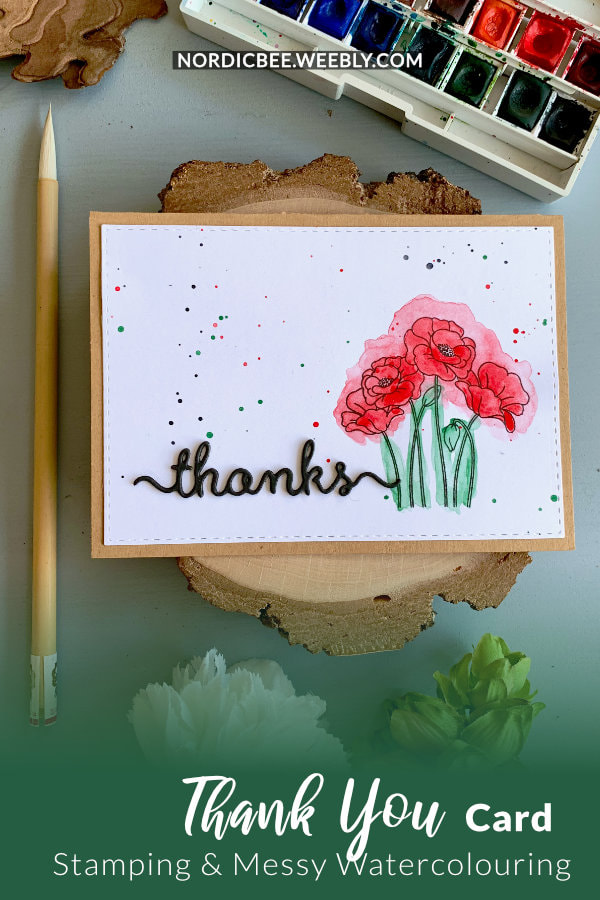
Lastly I adhered the panel on top of a card base made out of a craft card stock. I used a simple double-sided tape to adhere it. You can add some embellishments such as sequins, but for me the splatter was enough.
You can see a quick video of me making this card on my YouTube channel or Instagram and make sure you subscribe/follow. QUICK VIDEO
Watch the video below or directly on my YouTube channel or Instagram.
YOU MIGHT ALSO LIKEPIN ME
Did you like the card? I would love, if you pinned it to your board on Pinterest!
0 Comments
Leave a Reply. |
FOLLOW ME
SEE MORE


CATEGORIES
All
Stamping Die Cutting Using Stencil Heat Embossing Embossing or Texture Paste Distress Inks Nuvo Products Stamping & Colouring Stamping With Solid Stamps Watercolouring Watercolour Pencils Waterbased Markers Pencil Colouring Alcohol Markers Altenew Markers Zig Brush Markers Easy Backgrounds Stamped Backgrounds Small Stamp Ideas Simple Cards Complex Cards Cardmaking For Beginners All
Painting With Acrylics Painting With Gouache Painting With Watercolours Drawing With Fineliner Minimal Supplies Cards Christmas & Holiday
Love & Valentine Mother's Day Father's Day Halloween Spring Cards Summer Cards Autumn/Fall Cards Winter Cards Cards For Children Cards For Women Cards For Men Thank You Cards Sympathy Cards Get Well Soon Cards Floral & Leav Cards Rainbow Colours Messy Watercolouring Modern Art Inspirations Geometric Patterns Landscape Painting Acrylics
Gouache Watercolours Watercolour Pencils Waterbased Markers Distress Inks Alcohol Markers Colouring Pencils No Stamps No Dies Cards
Cardmaking On A Budget Let’s Colour Quick Cards Fun Masculine Cards Background Ideas Distress Ink Combinations |
 RSS Feed
